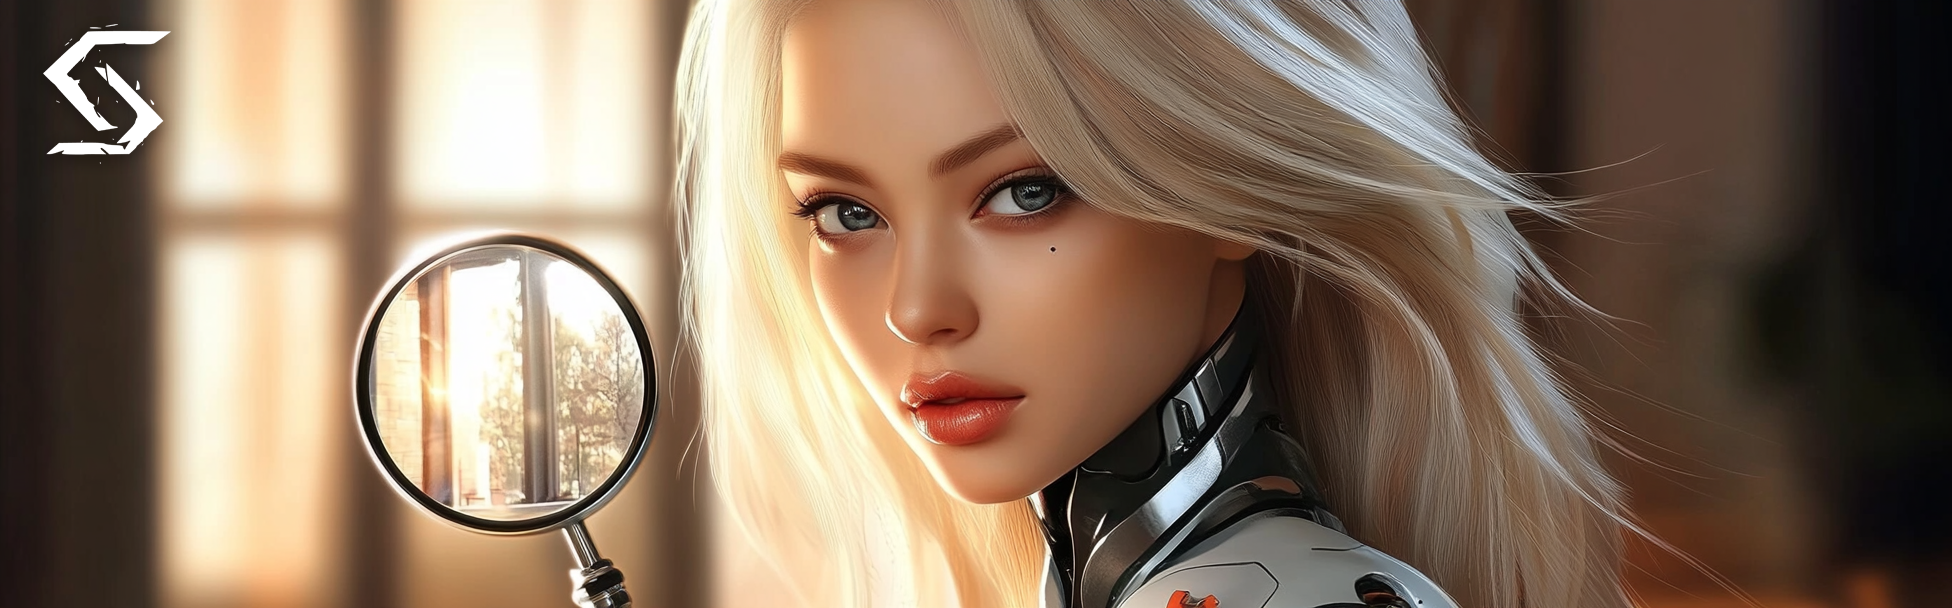
Magnific Upscaler is an AI-powered tool designed to enhance and upscale images. It does more than increase resolution, it adds new details by refining textures, skin, hair, and fine elements.
The model significantly improves image quality, delivering sharper and more detailed results.
🎛 Navigation
🏠 Main Menu > 🎨 Design with AI > 🔍 Magnific Upscaler


💥 Step-by-step guide to using the Magnific Upscaler AI
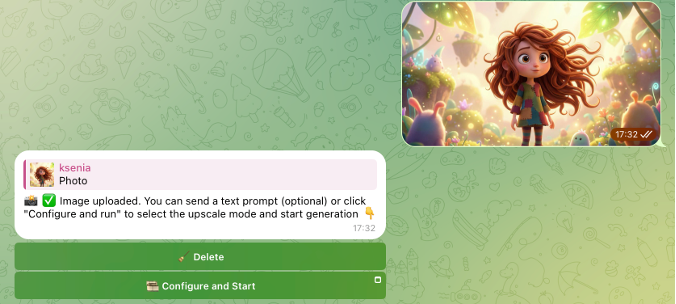
Uploading an image
First, you need to upload a single image to begin working.
Image requirements:
- Supported formats - JPEG and PNG
- Maximum file size - 15 MB
After uploading an image, you can either delete it or proceed to setup and launch.
Delete:
Removes the image from Magnific Upscaler. Useful if you uploaded the wrong file or want to replace it.
Configure and Start:
Click “Set up and run” to continue. A settings window will open, allowing you to adjust processing parameters before running the model.
Model settings
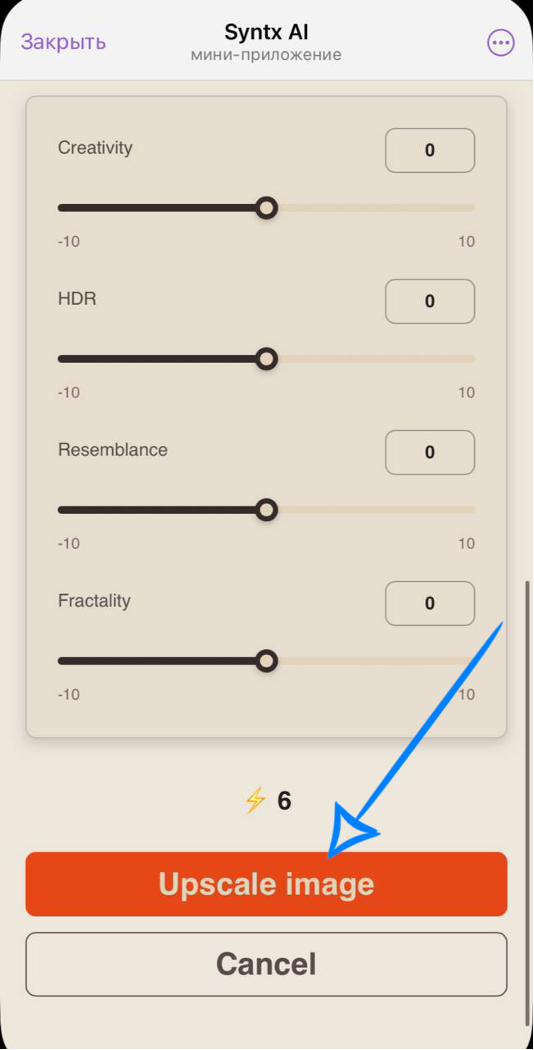
After clicking the “Configure and Start” button, a window with model parameters will open. First, you need to select the desired mode.
Creative Mode (Magnific) - a mode with maximum image enhancement. In this mode, the AI adds new details and textures, resulting in a more expressive and refined image. Creative Mode supports ready-made optimization presets, selection of rendering engines, and the use of a text prompt.
Precision v1 Mode - a mode for careful image enhancement while preserving the original look. Suitable when it’s important to make minimal changes to the source image. This mode includes settings for sharpness, grain, and level of detail.
Precision v2 Mode - an updated version of Precision v1, providing even more accurate and higher-quality detail enhancement.
Creative Mode (Magnific)
When using Creative Mode, you can upscale an image from 2x to 8x.
This mode also provides a range of adjustable settings for the generation process, allowing you to have more flexible control over how the image is enhanced.

Scale
This setting allows you to increase the image resolution by 2x, 4x, or 8x.
2x Scale
The image is enlarged 2 times on each side. For example, an image with a resolution of 1000×1000 pixels will become 2000×2000 pixels.
4x Scale
The image is enlarged 4 times on each side. For example, an image with a resolution of 1000×1000 pixels will become 4000×4000 pixels.
8x Scale
The image is enlarged 8 times on each side. For example, an image with a resolution of 1000×1000 pixels will become 8000×8000 pixels.
16x Scale
The image is enlarged 16 times on each side. For example, an image with a resolution of 487 × 272 pixels will become 7792 × 4352 pixels.
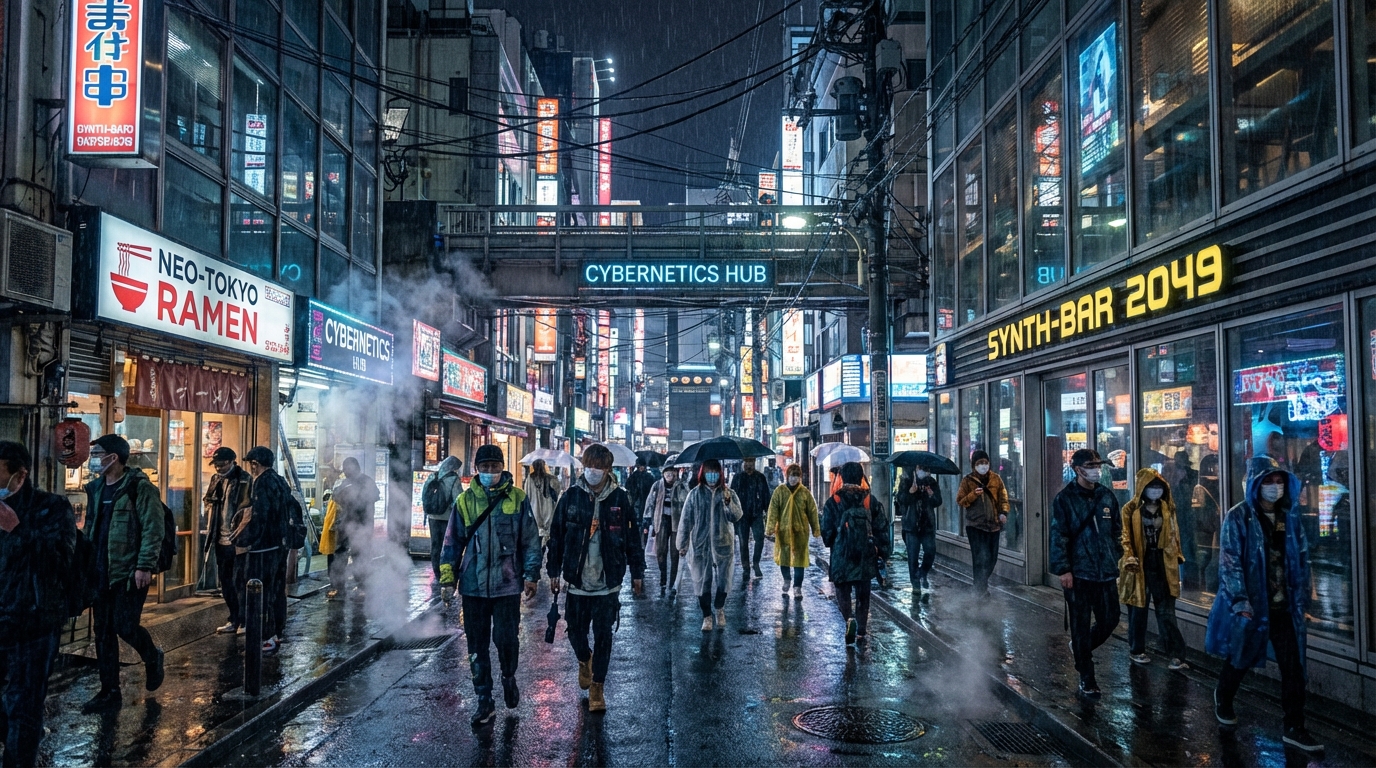
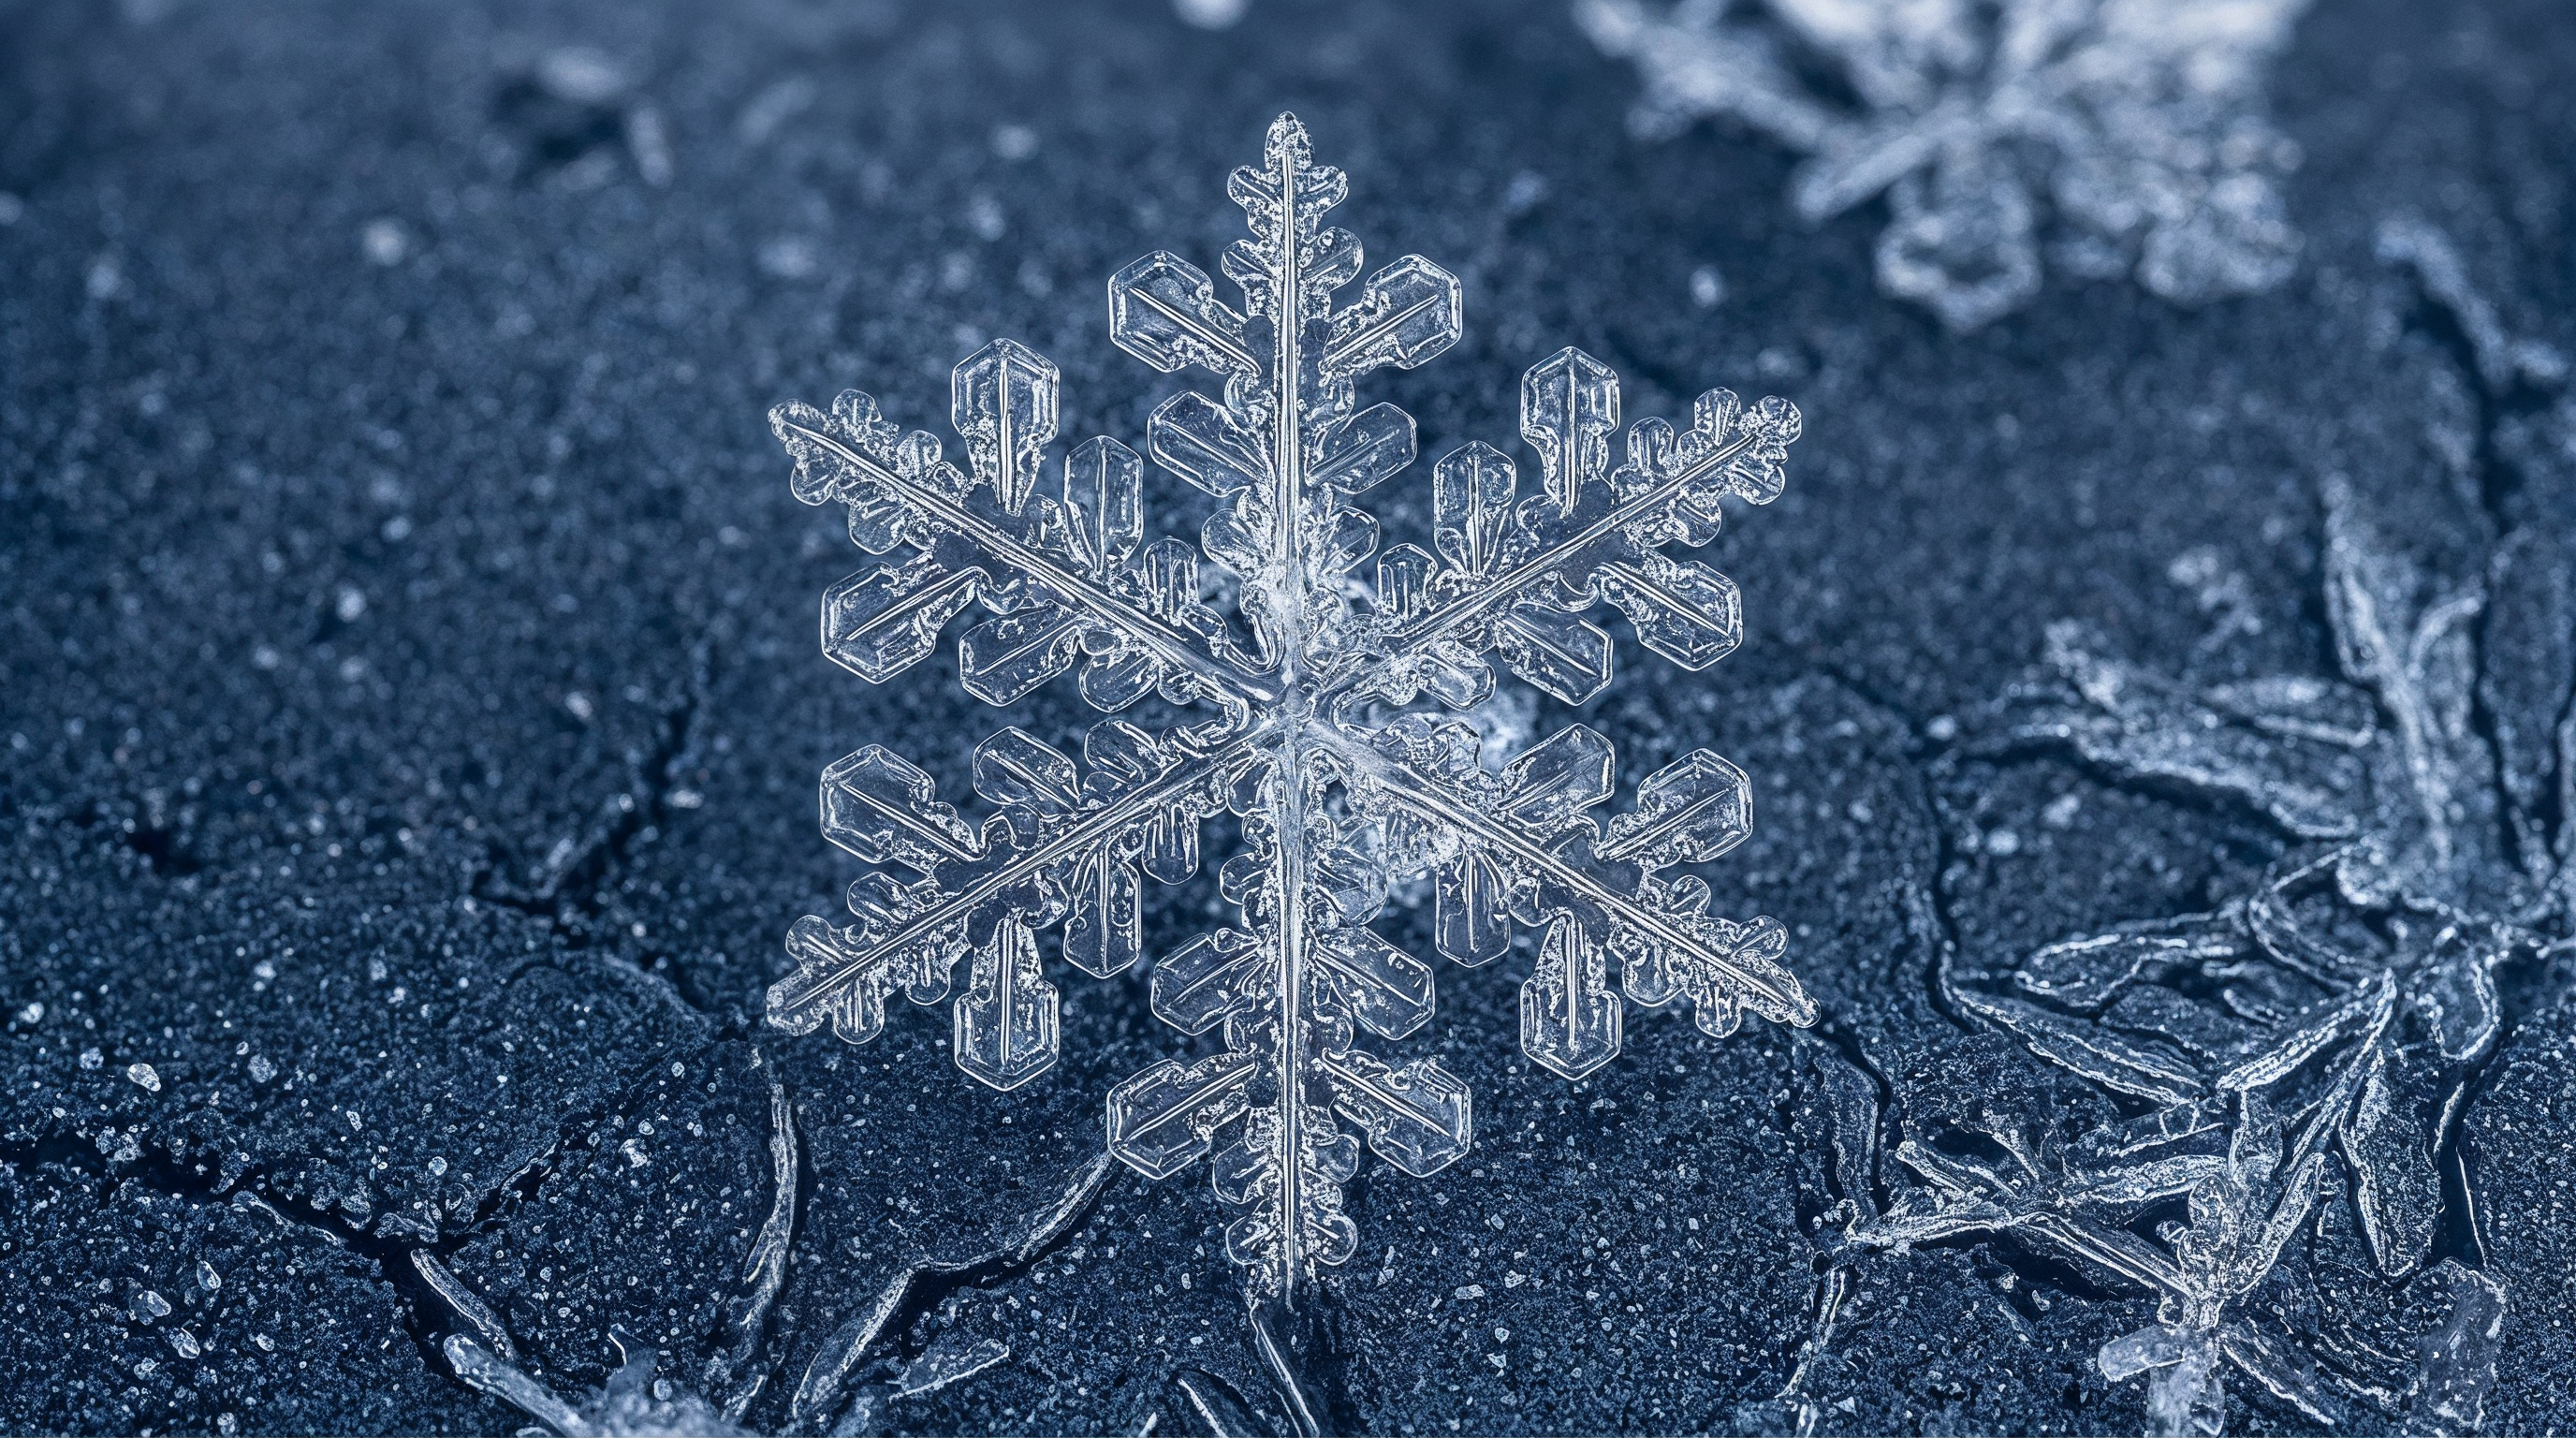
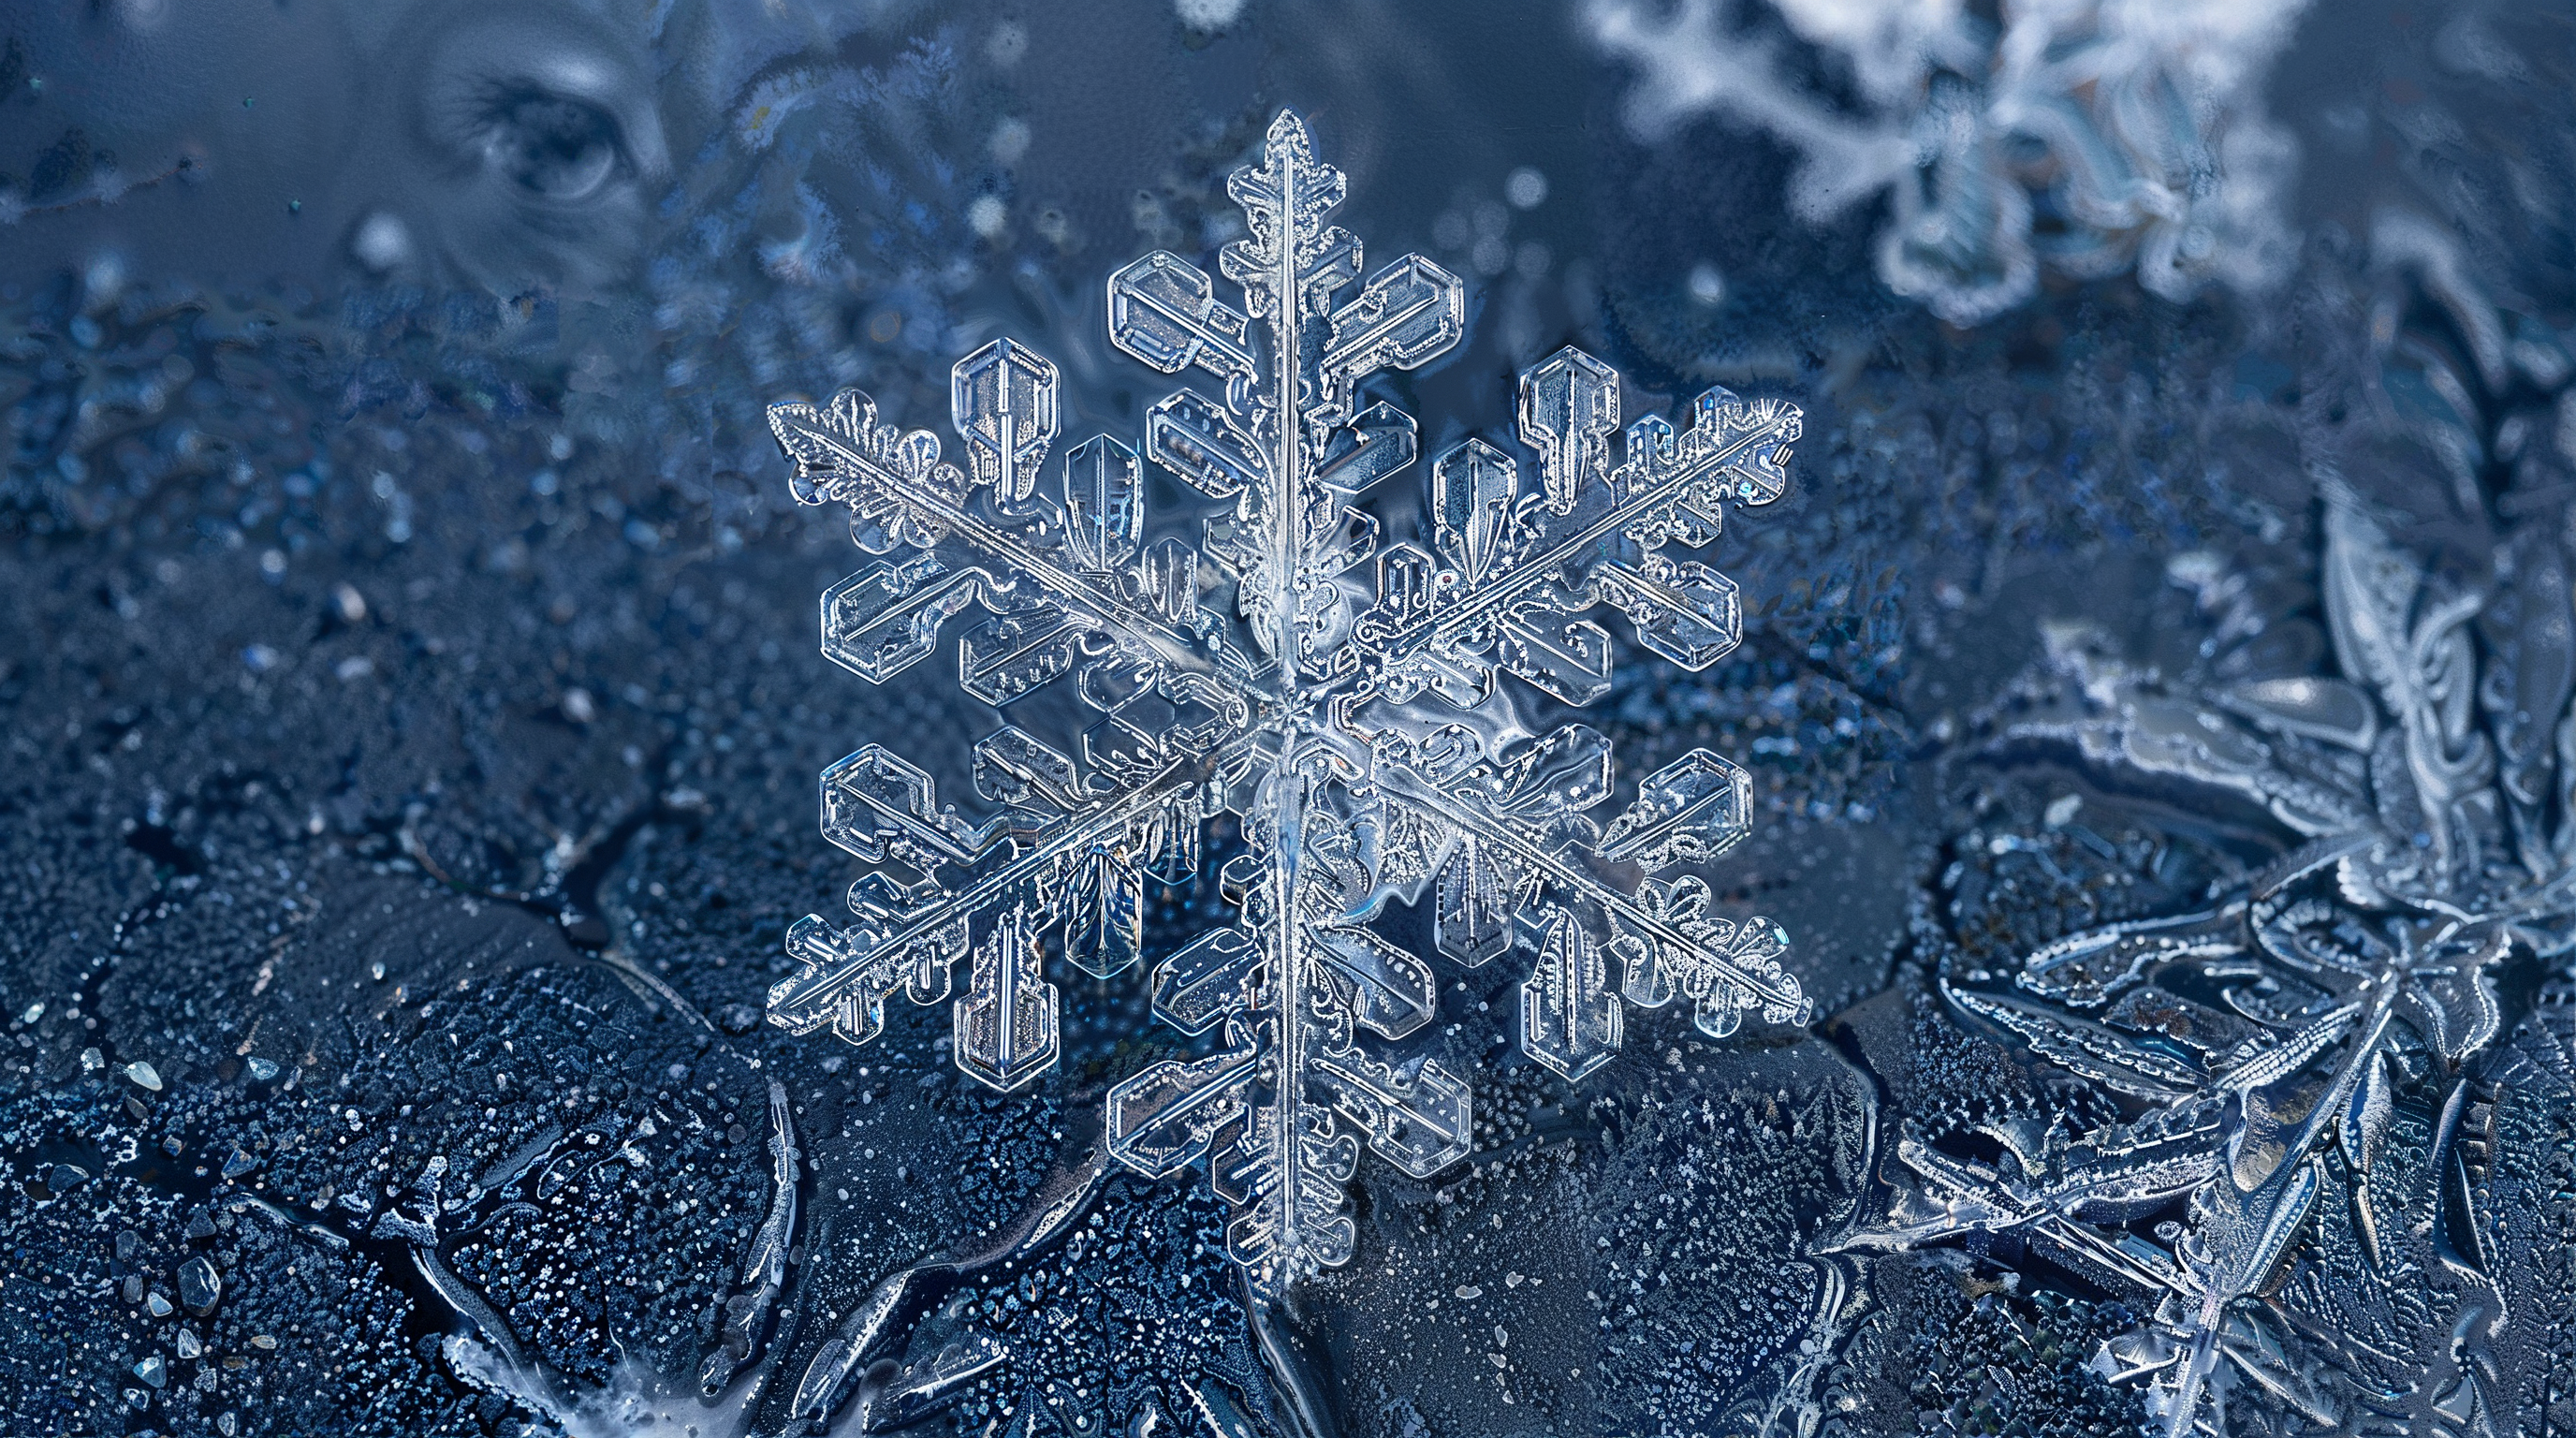
Example:
Original:
1280 × 712
2x Scale:
2560 × 1424
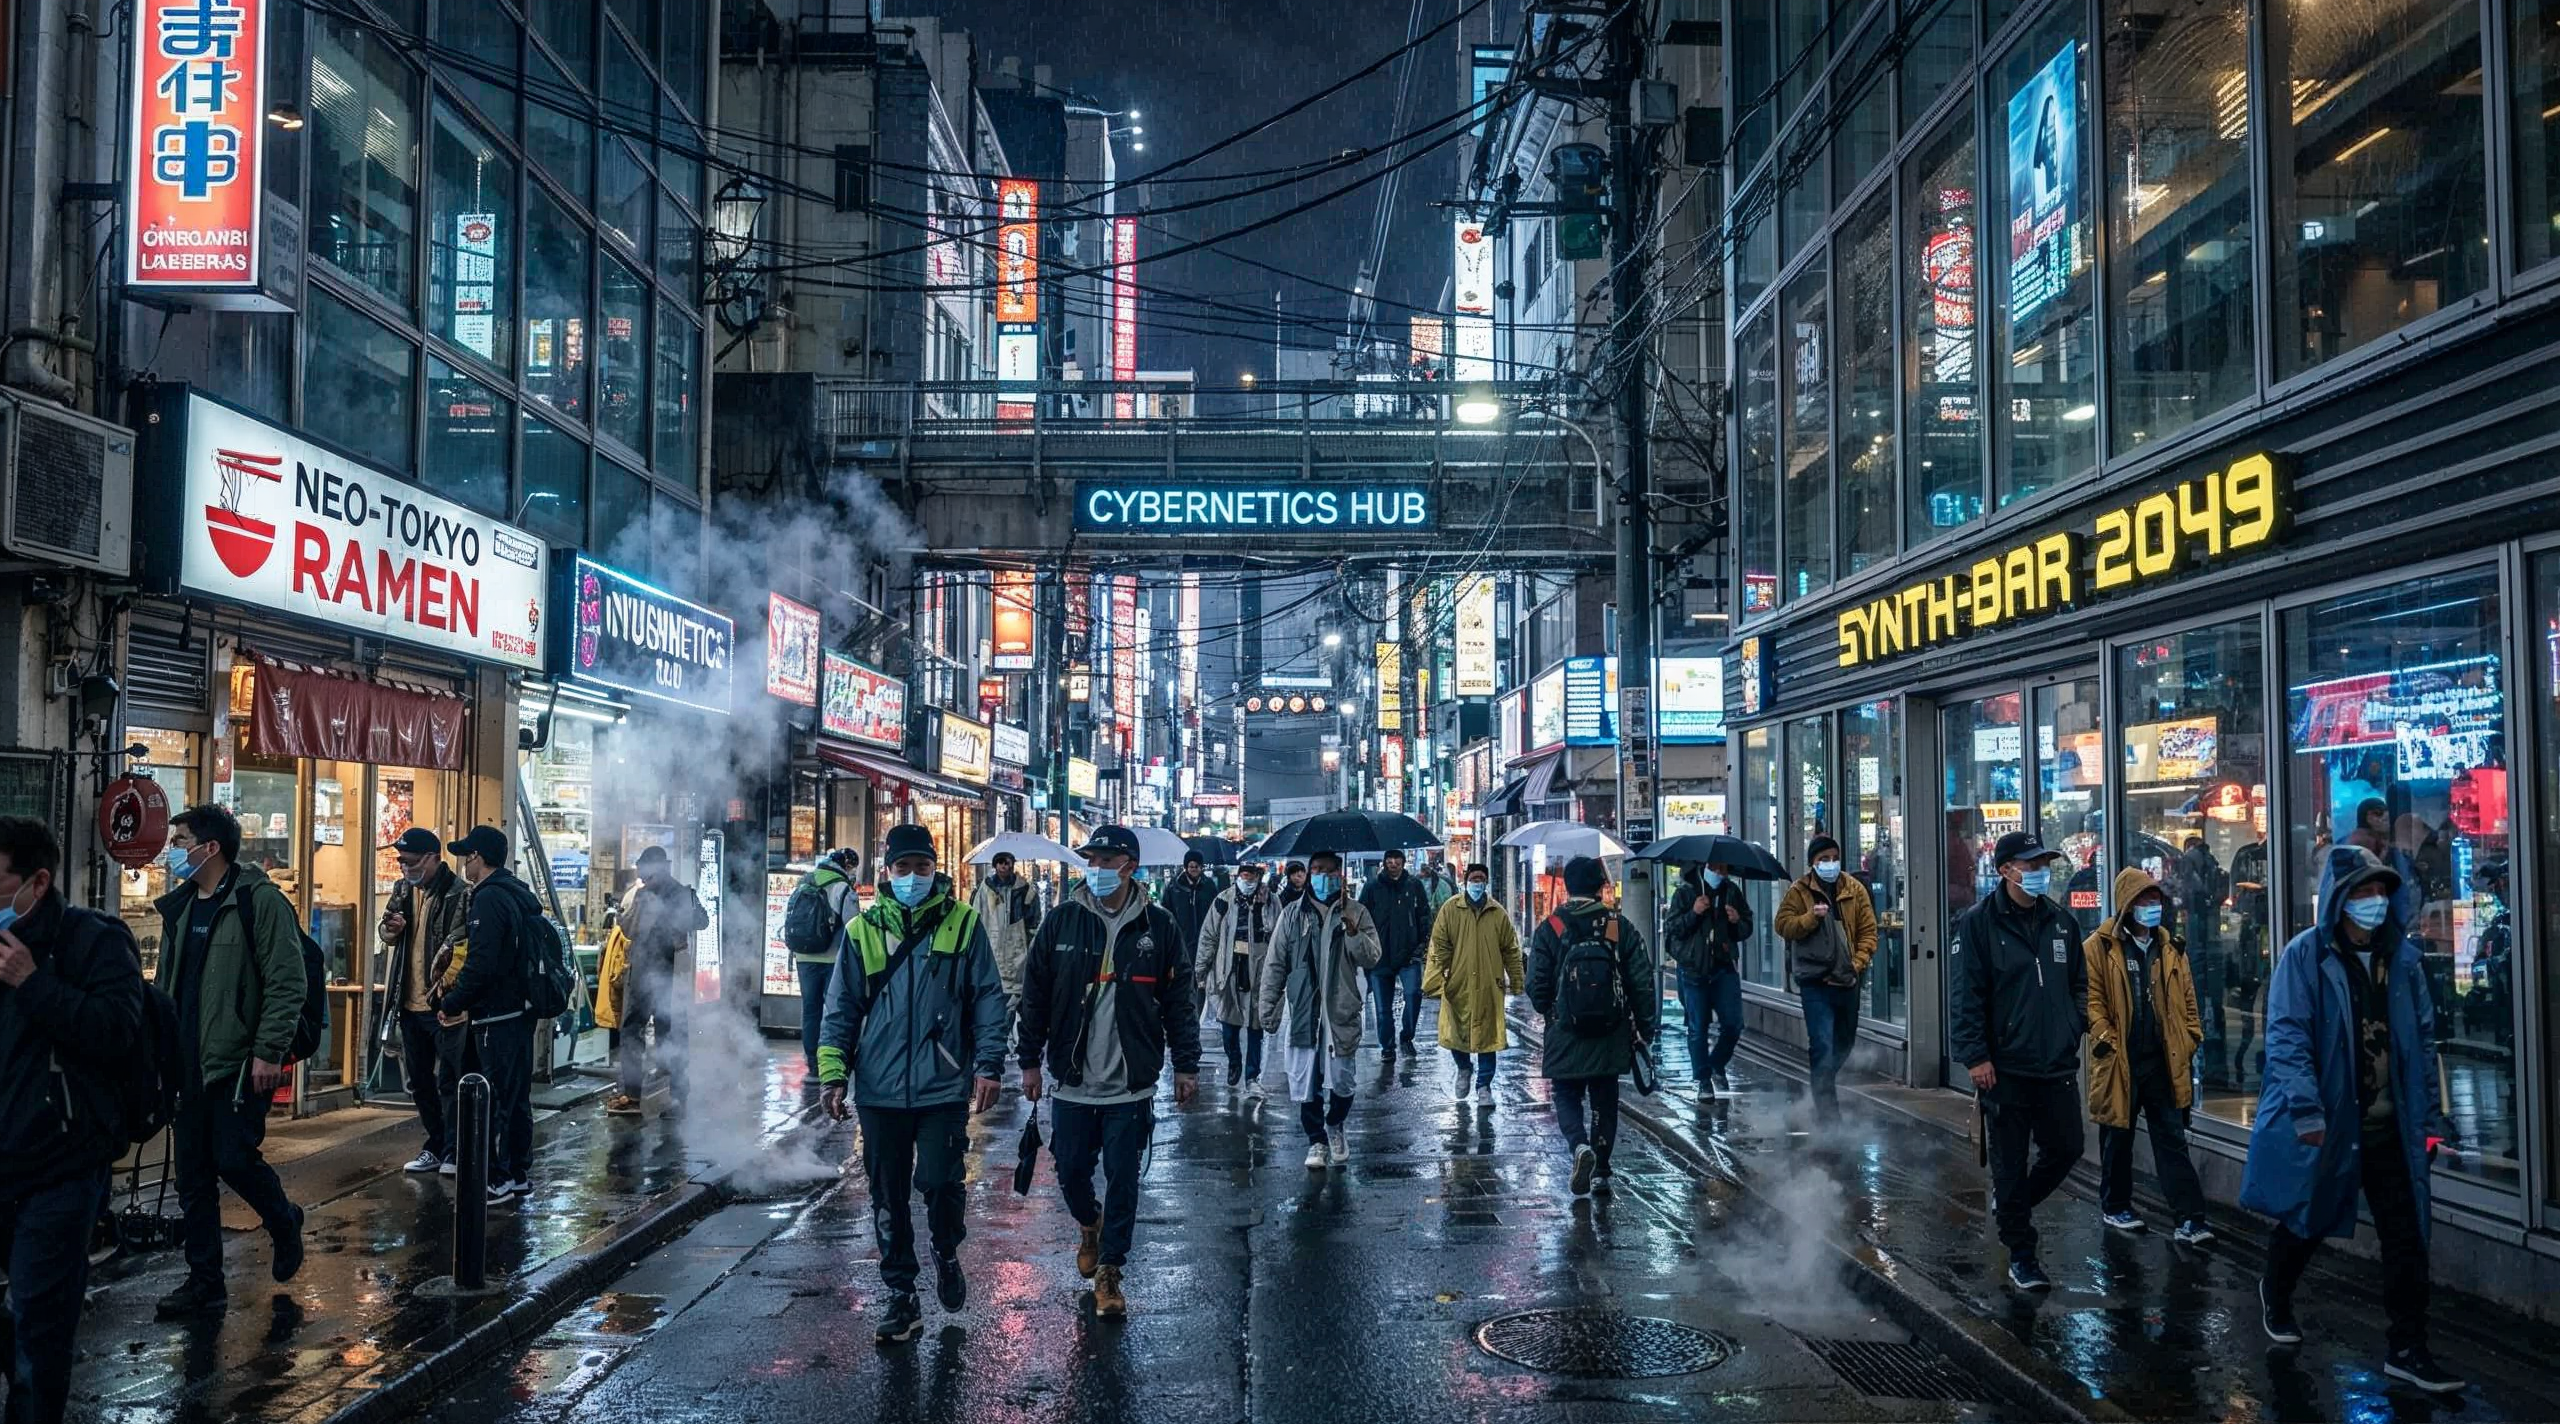
4x Scale:
5120 × 2848
8x Scale:
10240 × 5696

16x Scale:
7792 × 4352
Optimized for
This parameter provides a set of ready-made presets that help the AI adapt image processing based on the image type.
Choosing the appropriate preset allows you to achieve a more accurate and high-quality result without manually adjusting settings.
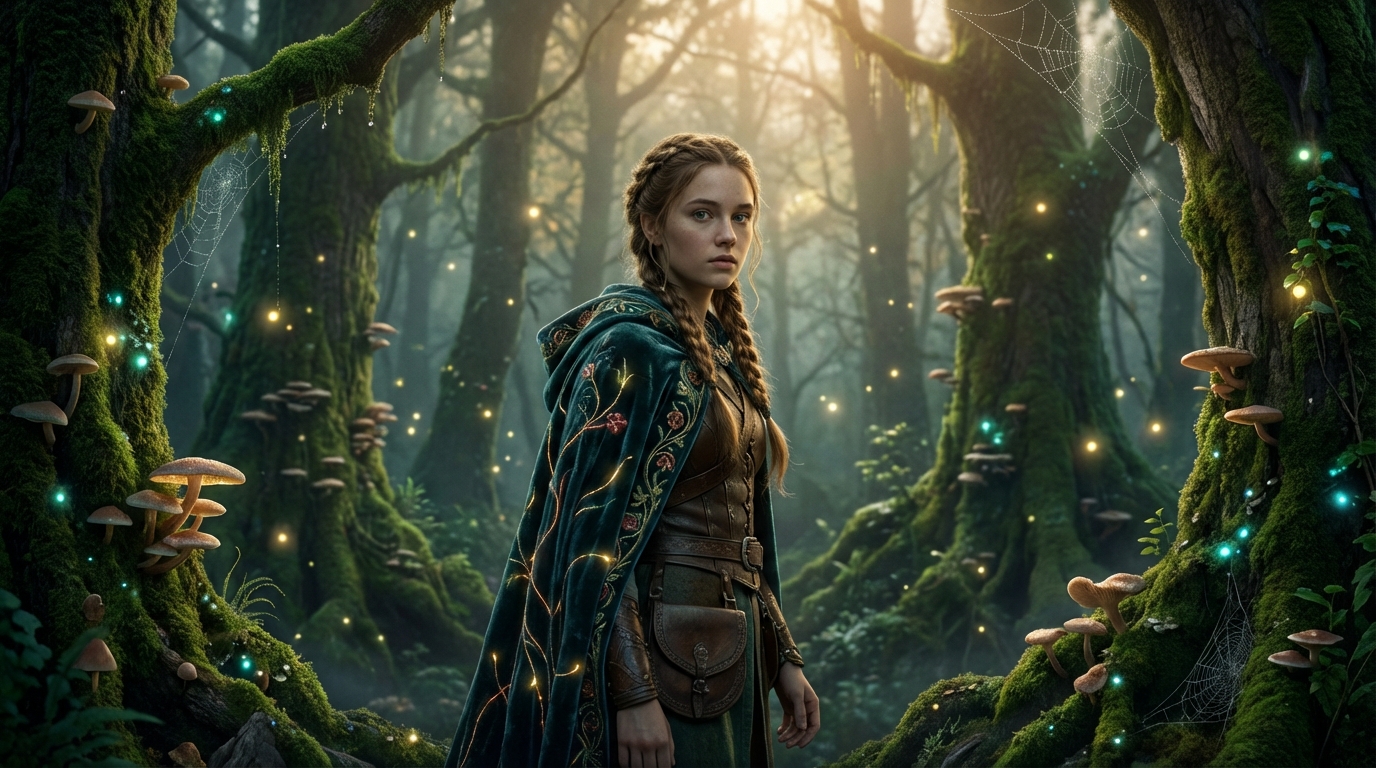
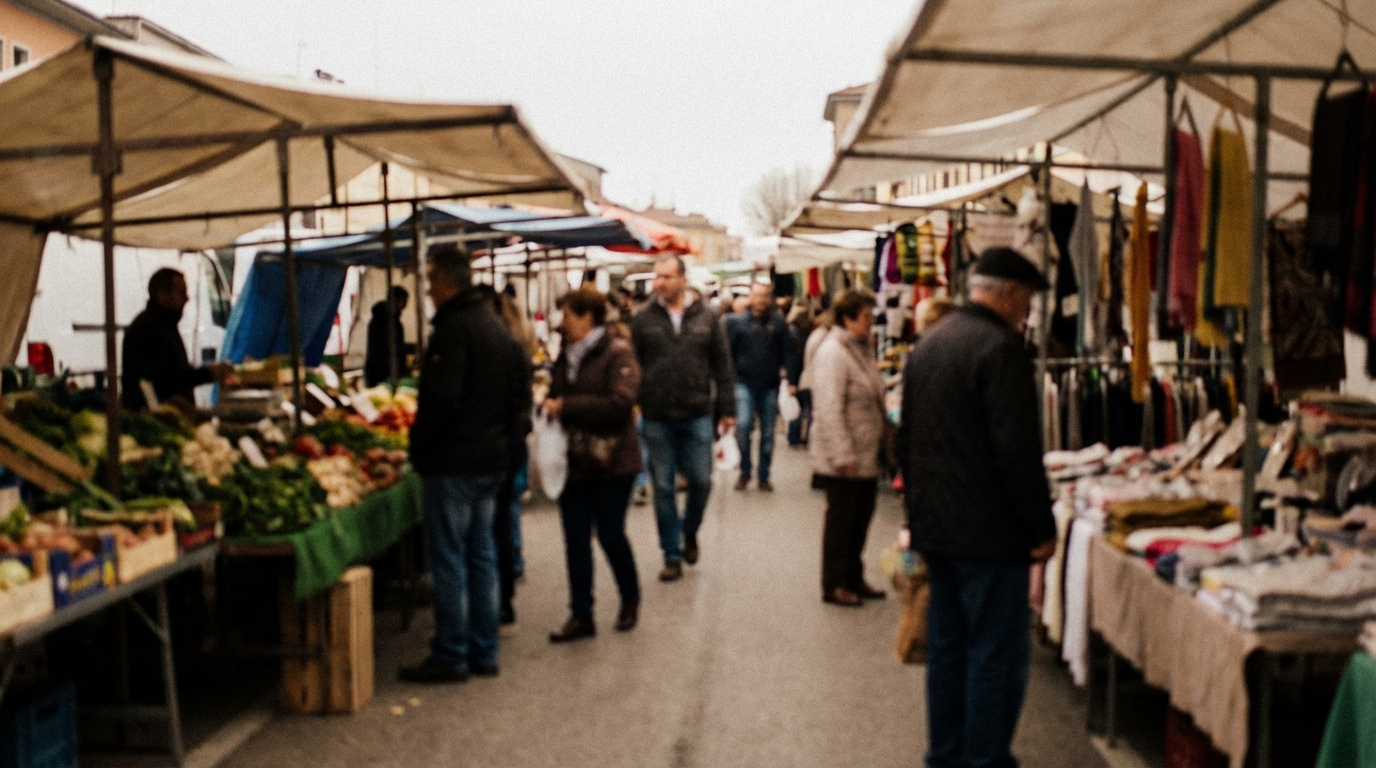
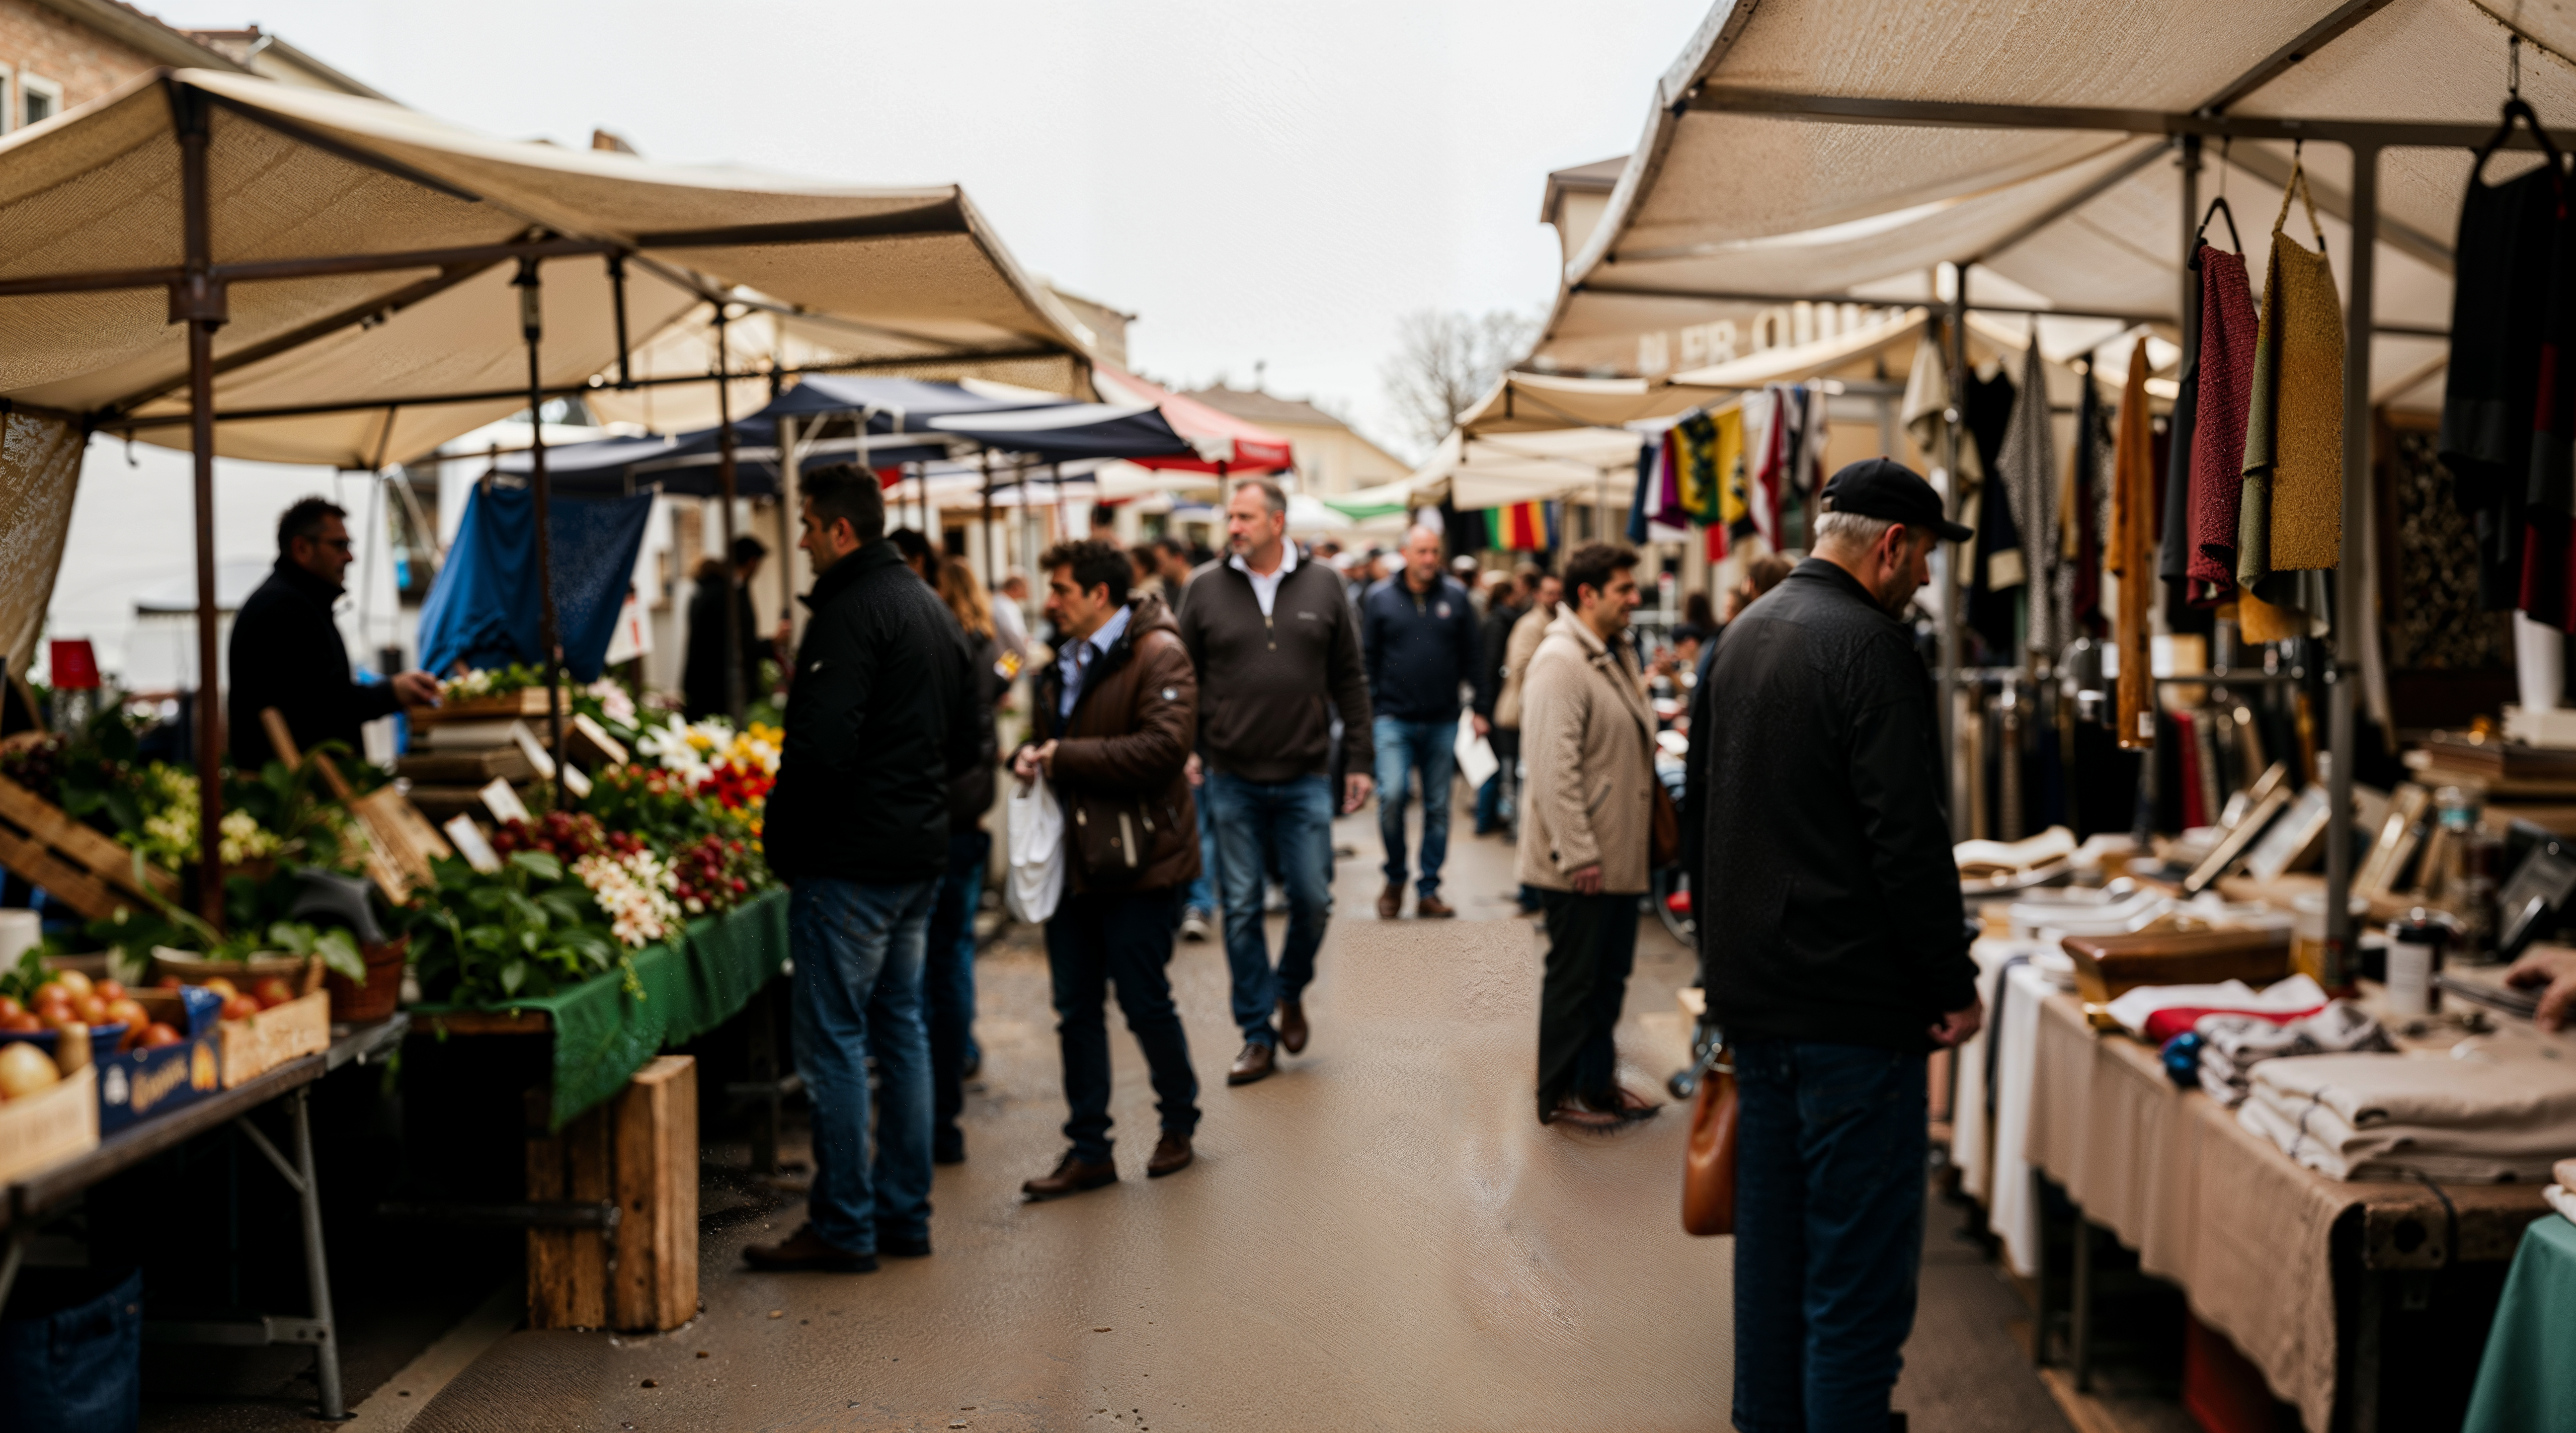
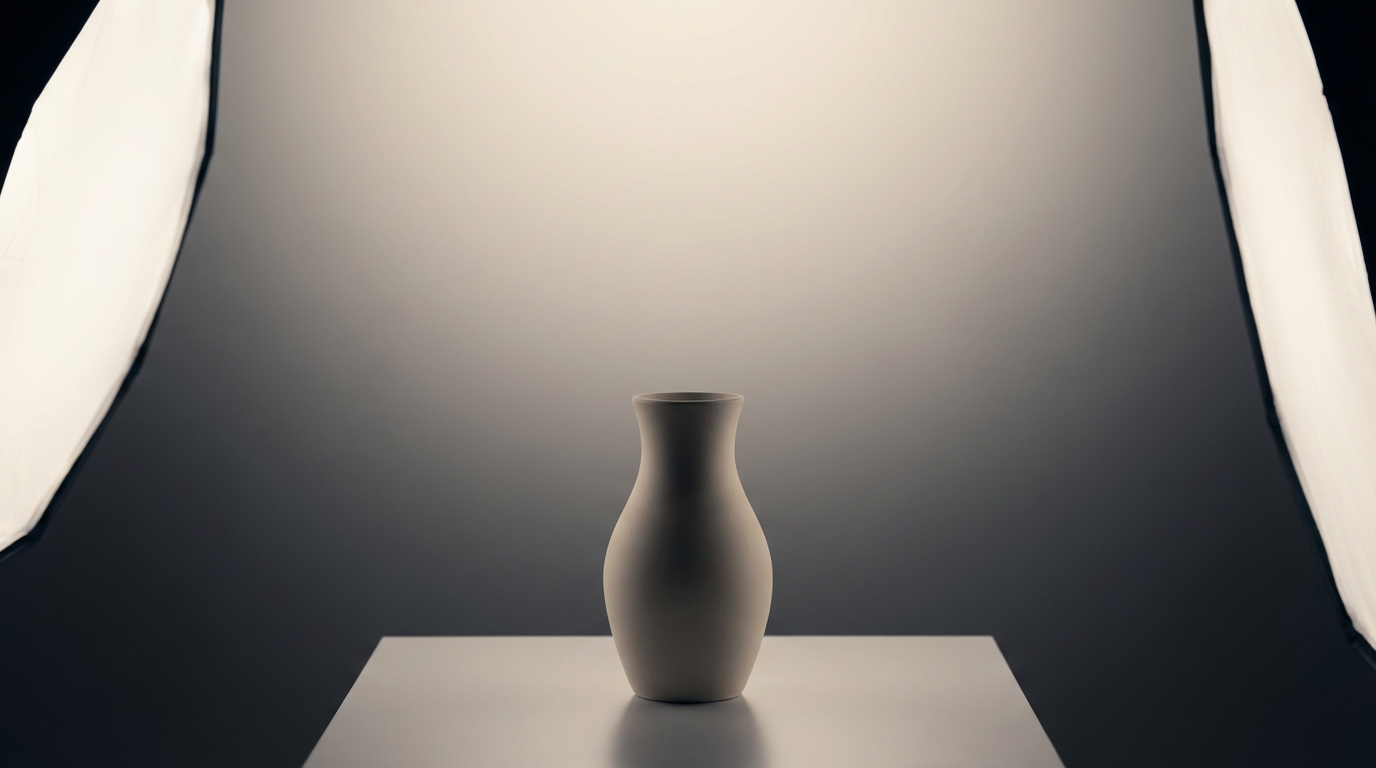
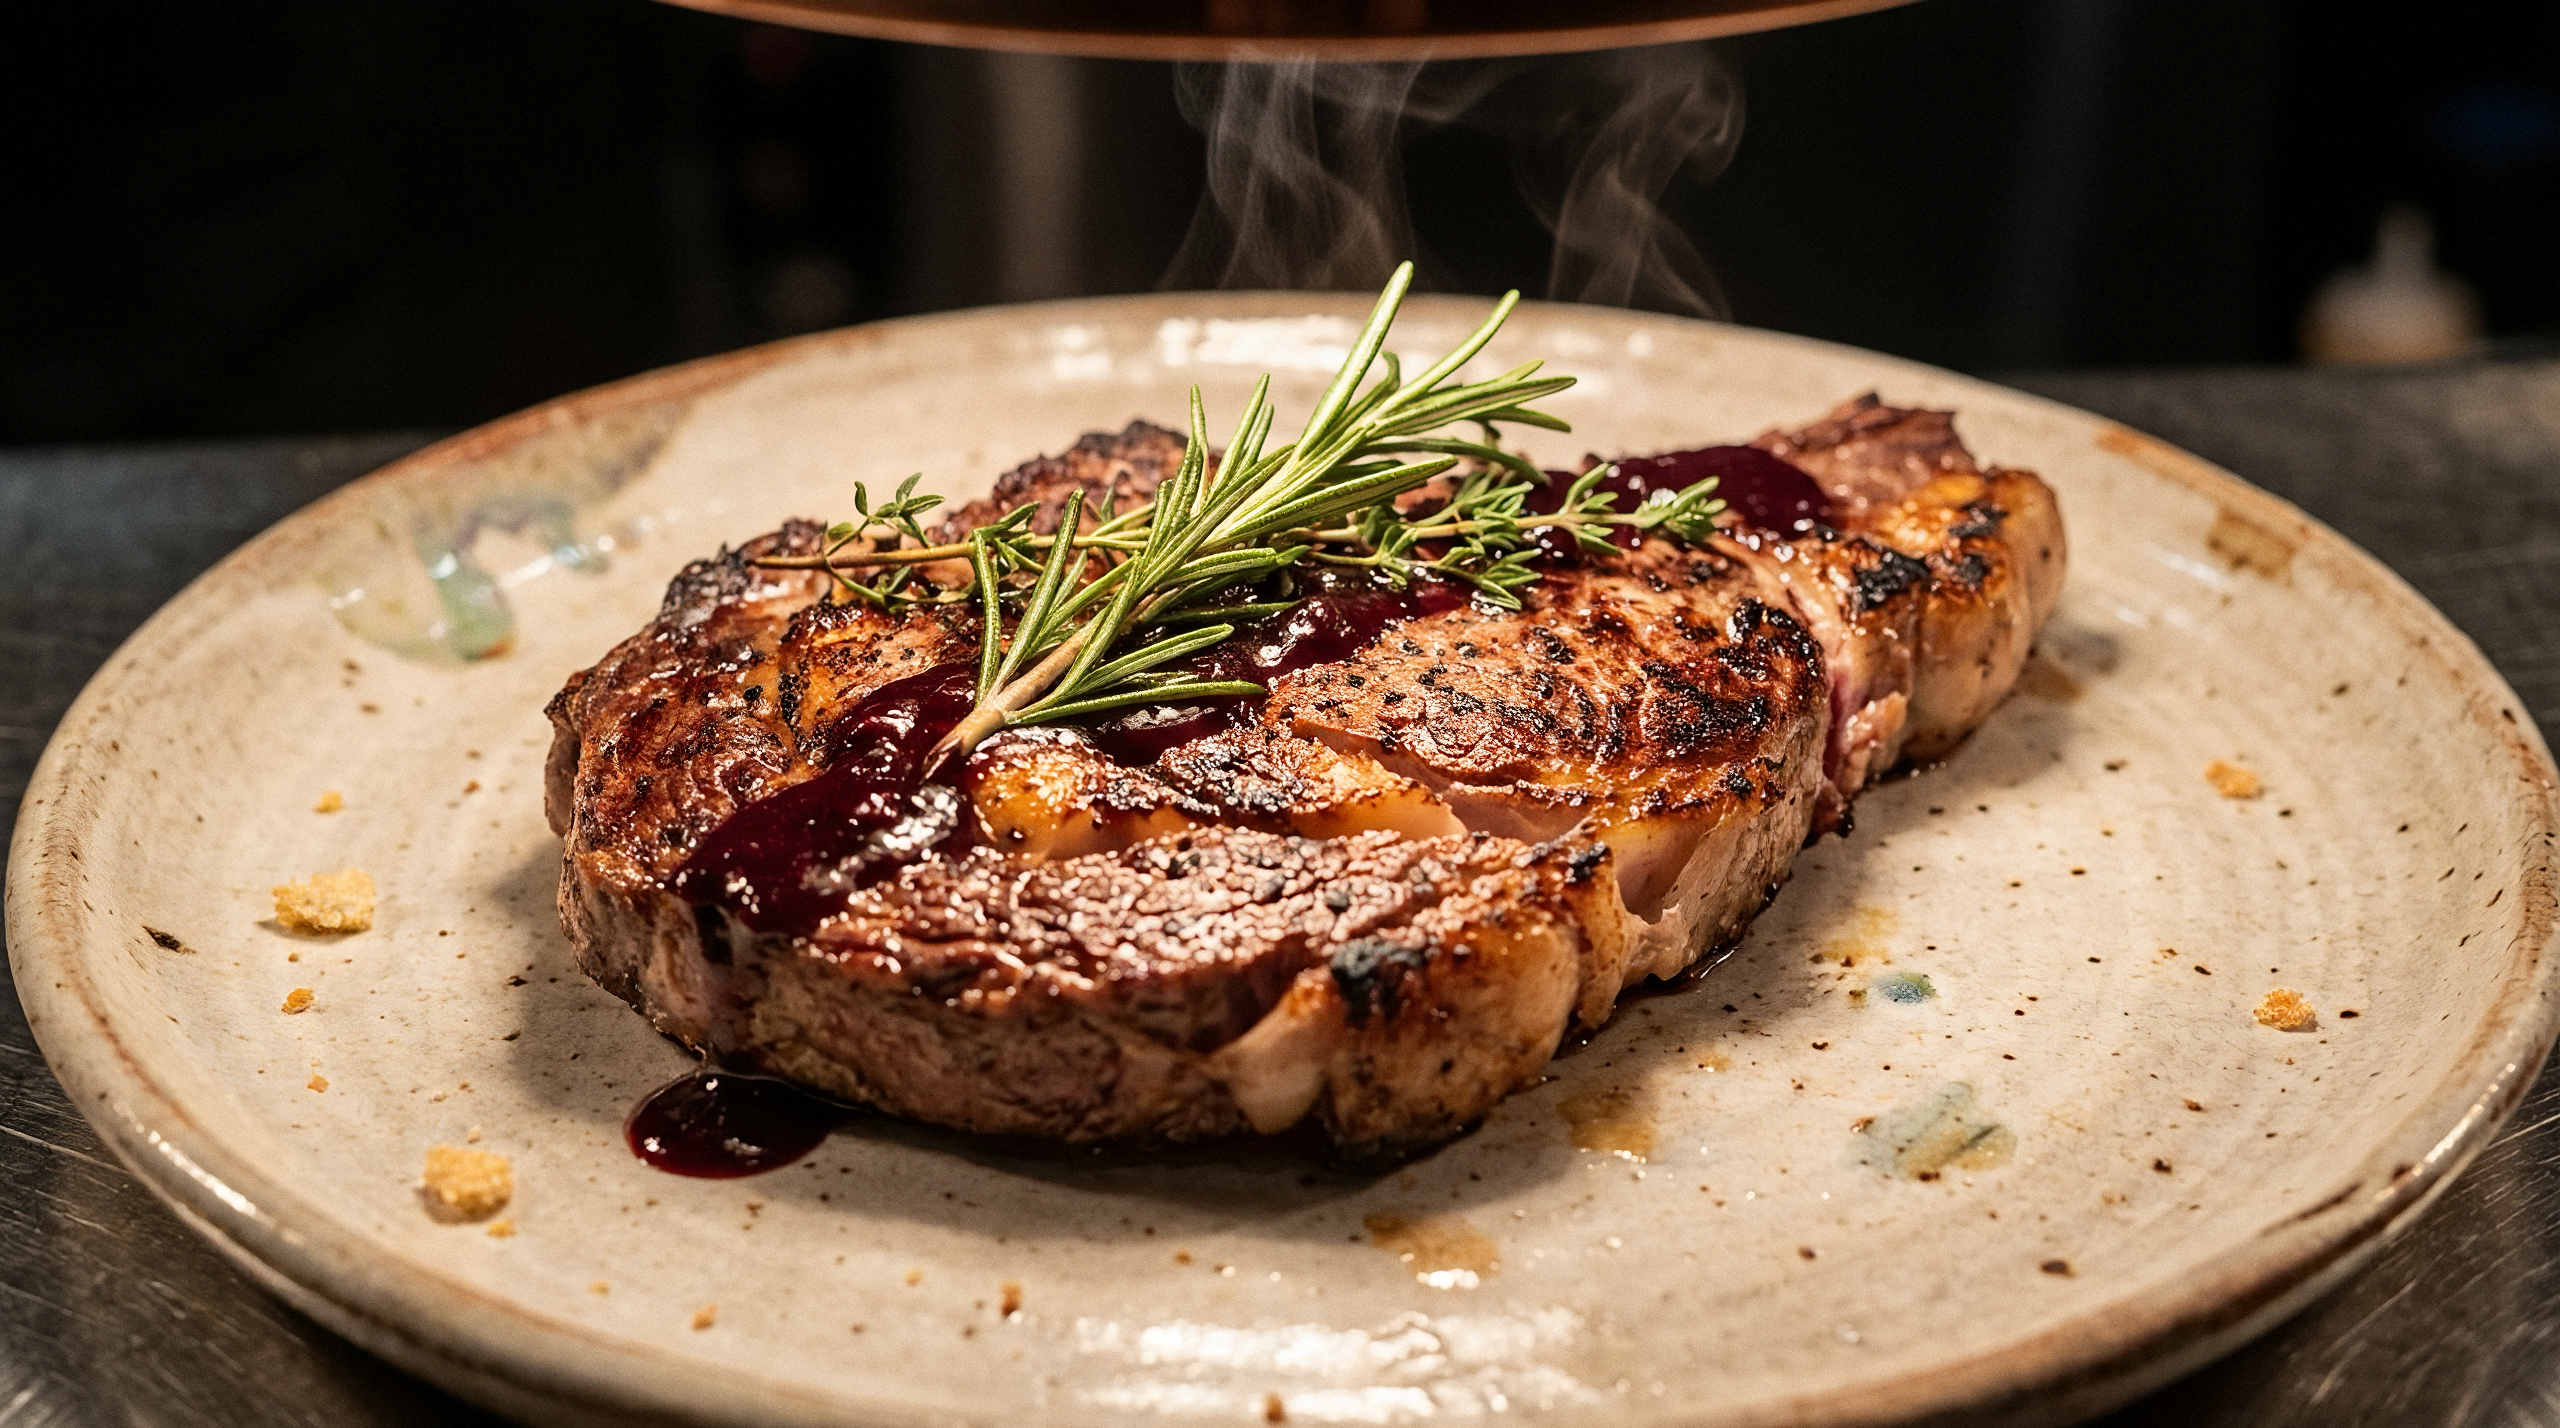
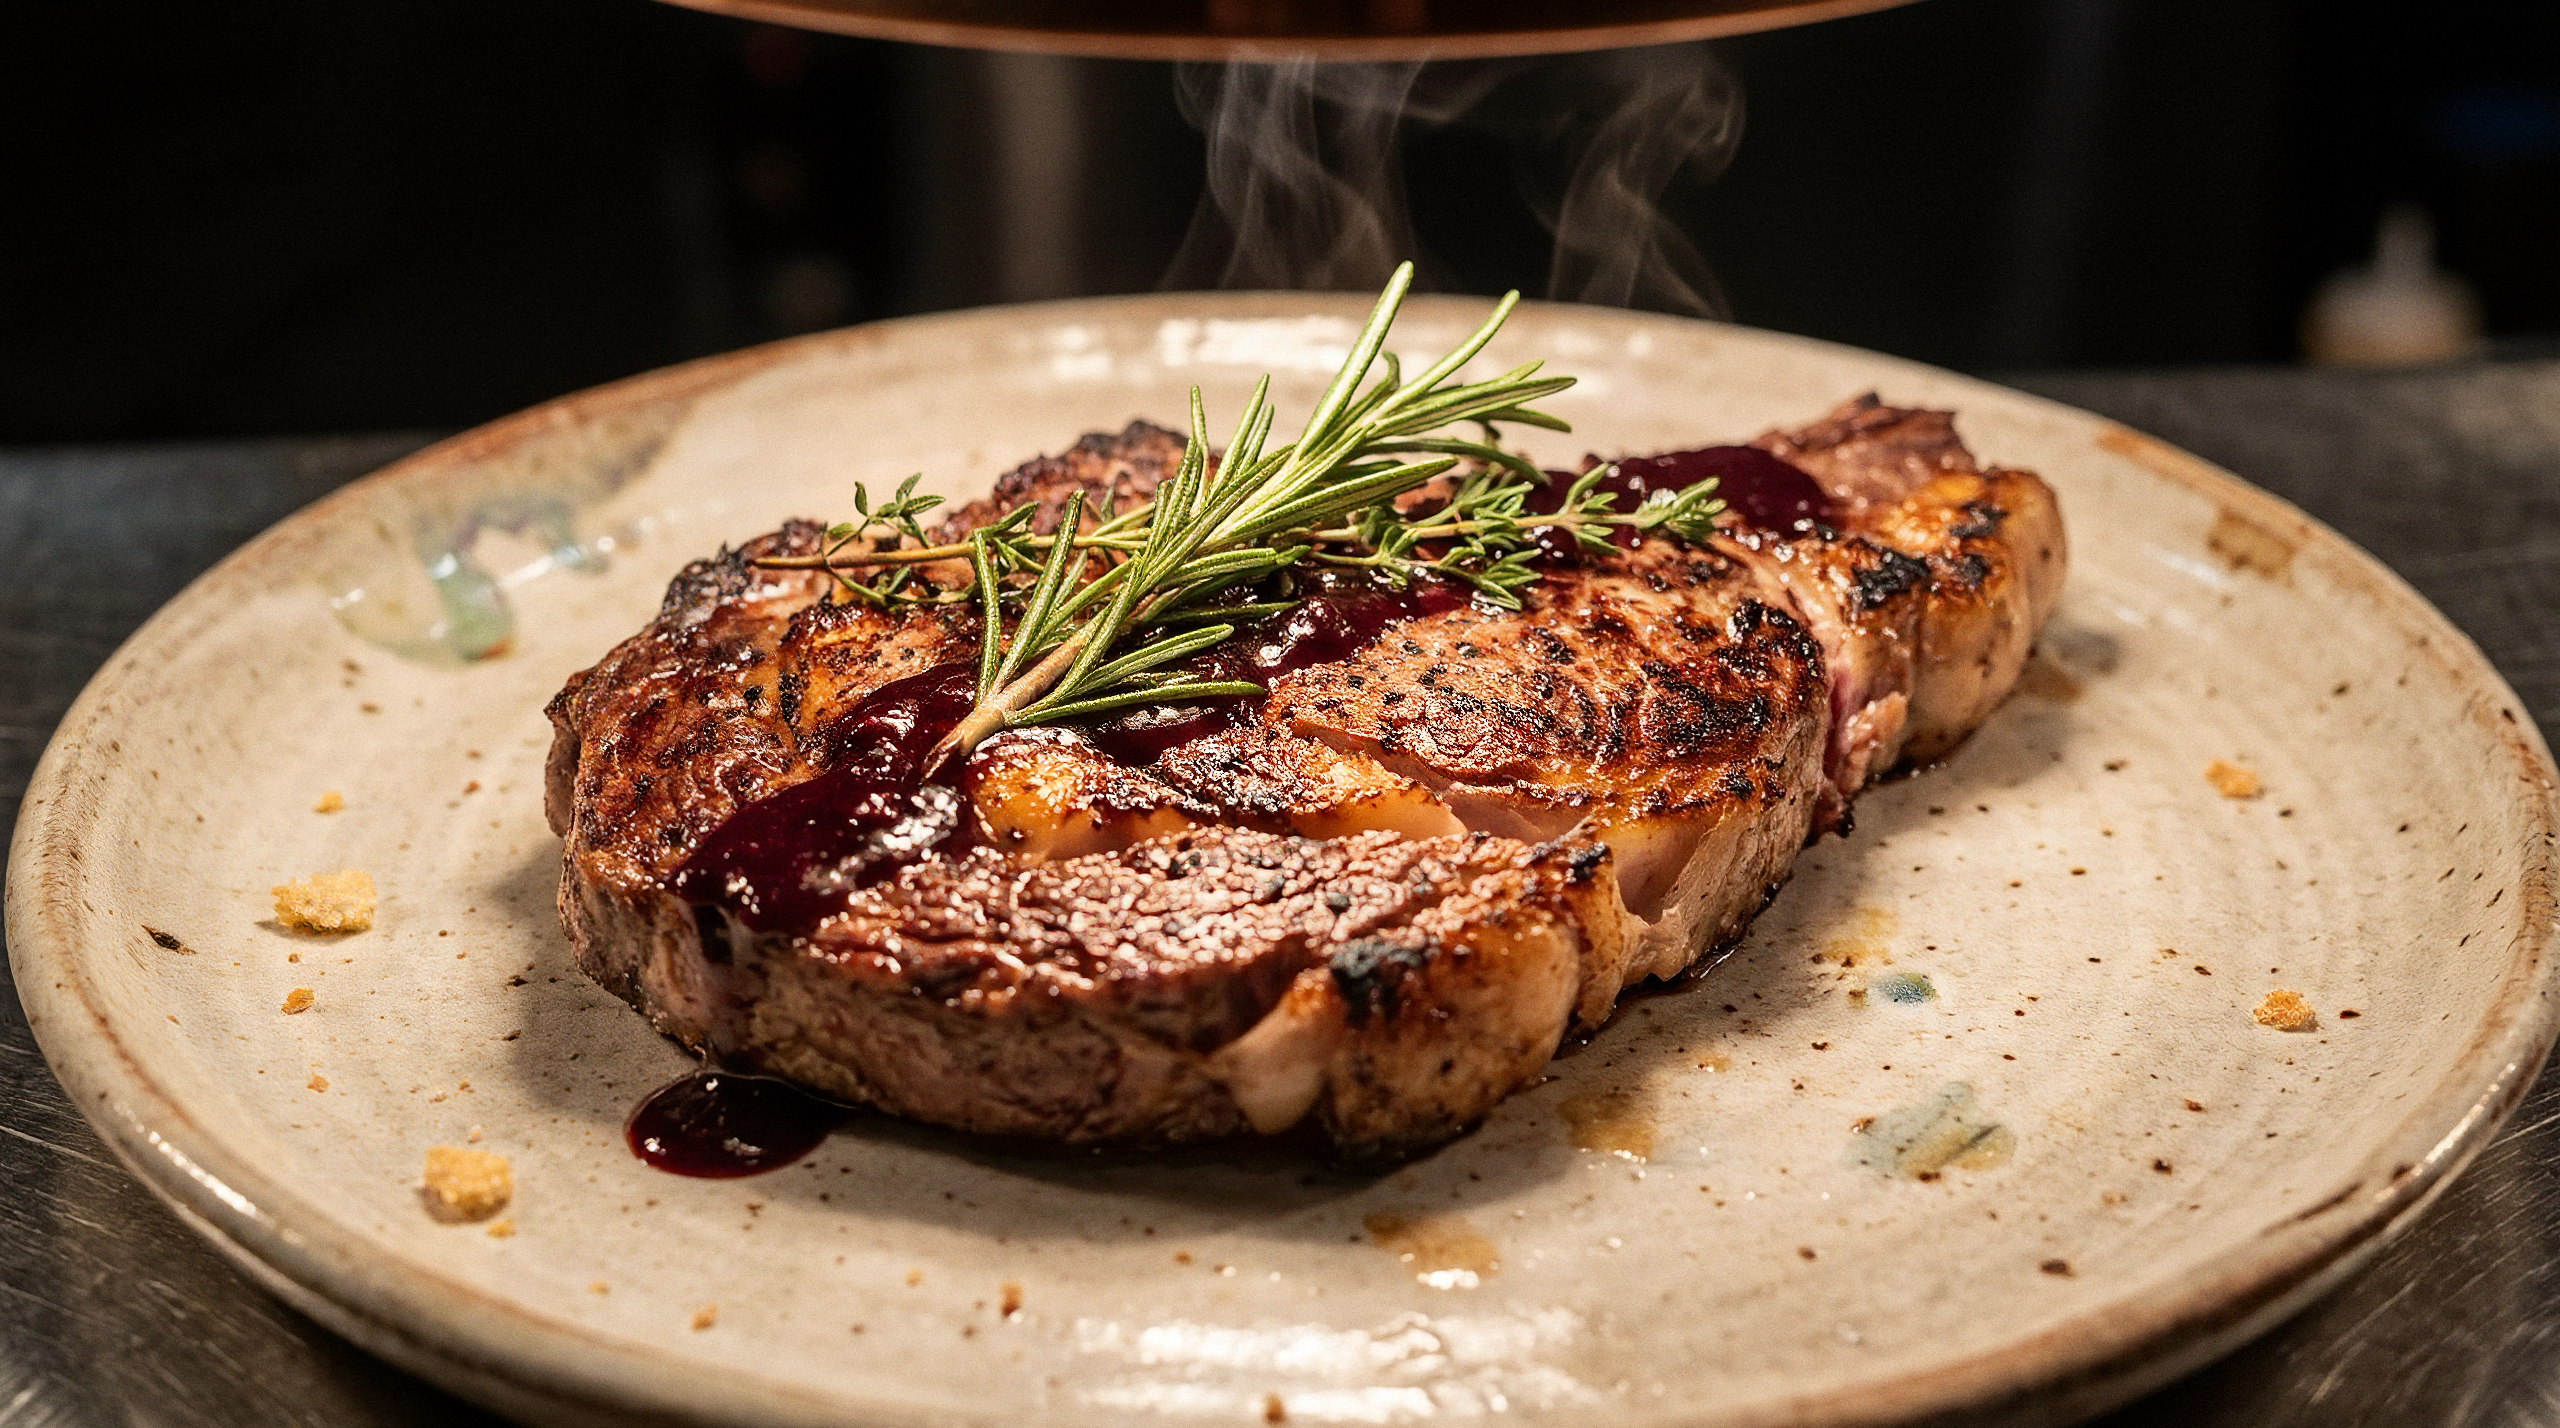
Standard - a universal mode suitable for most images.
Example:
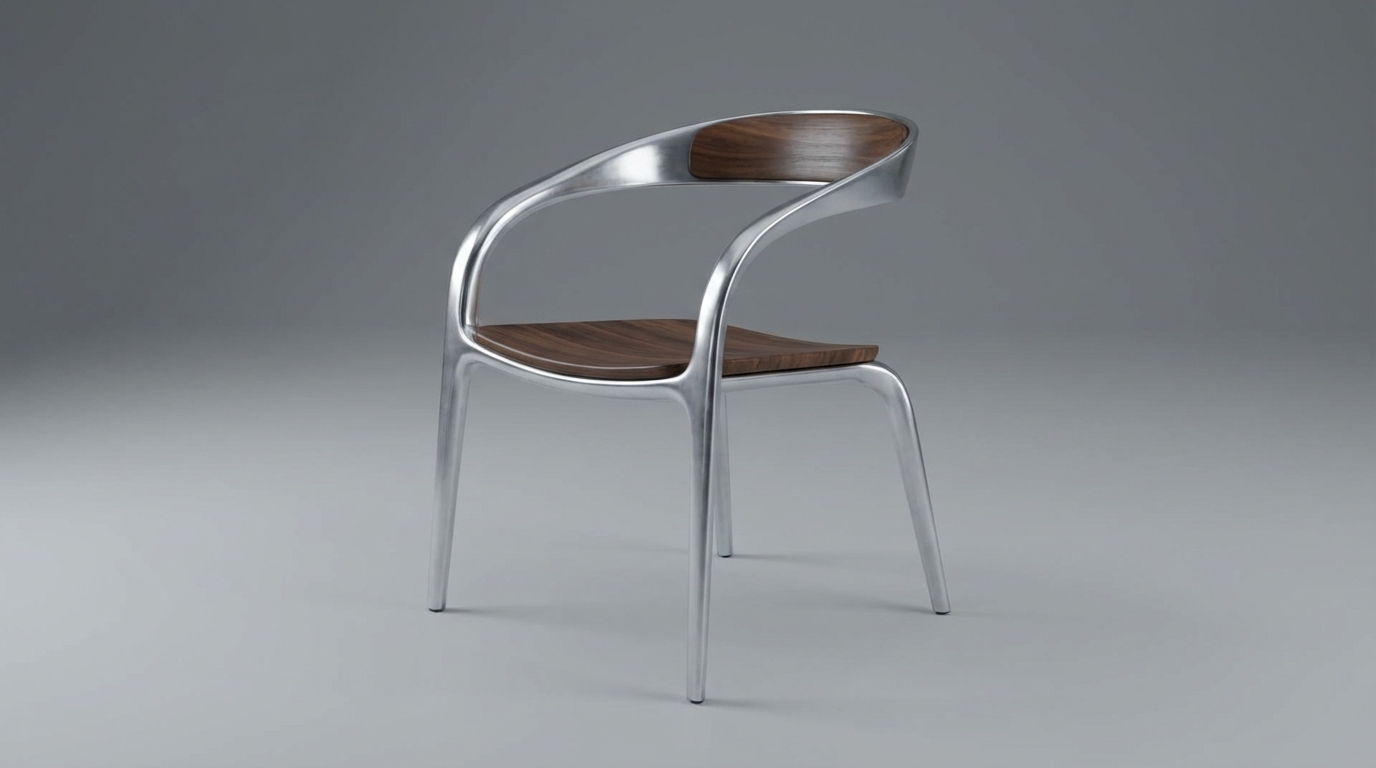
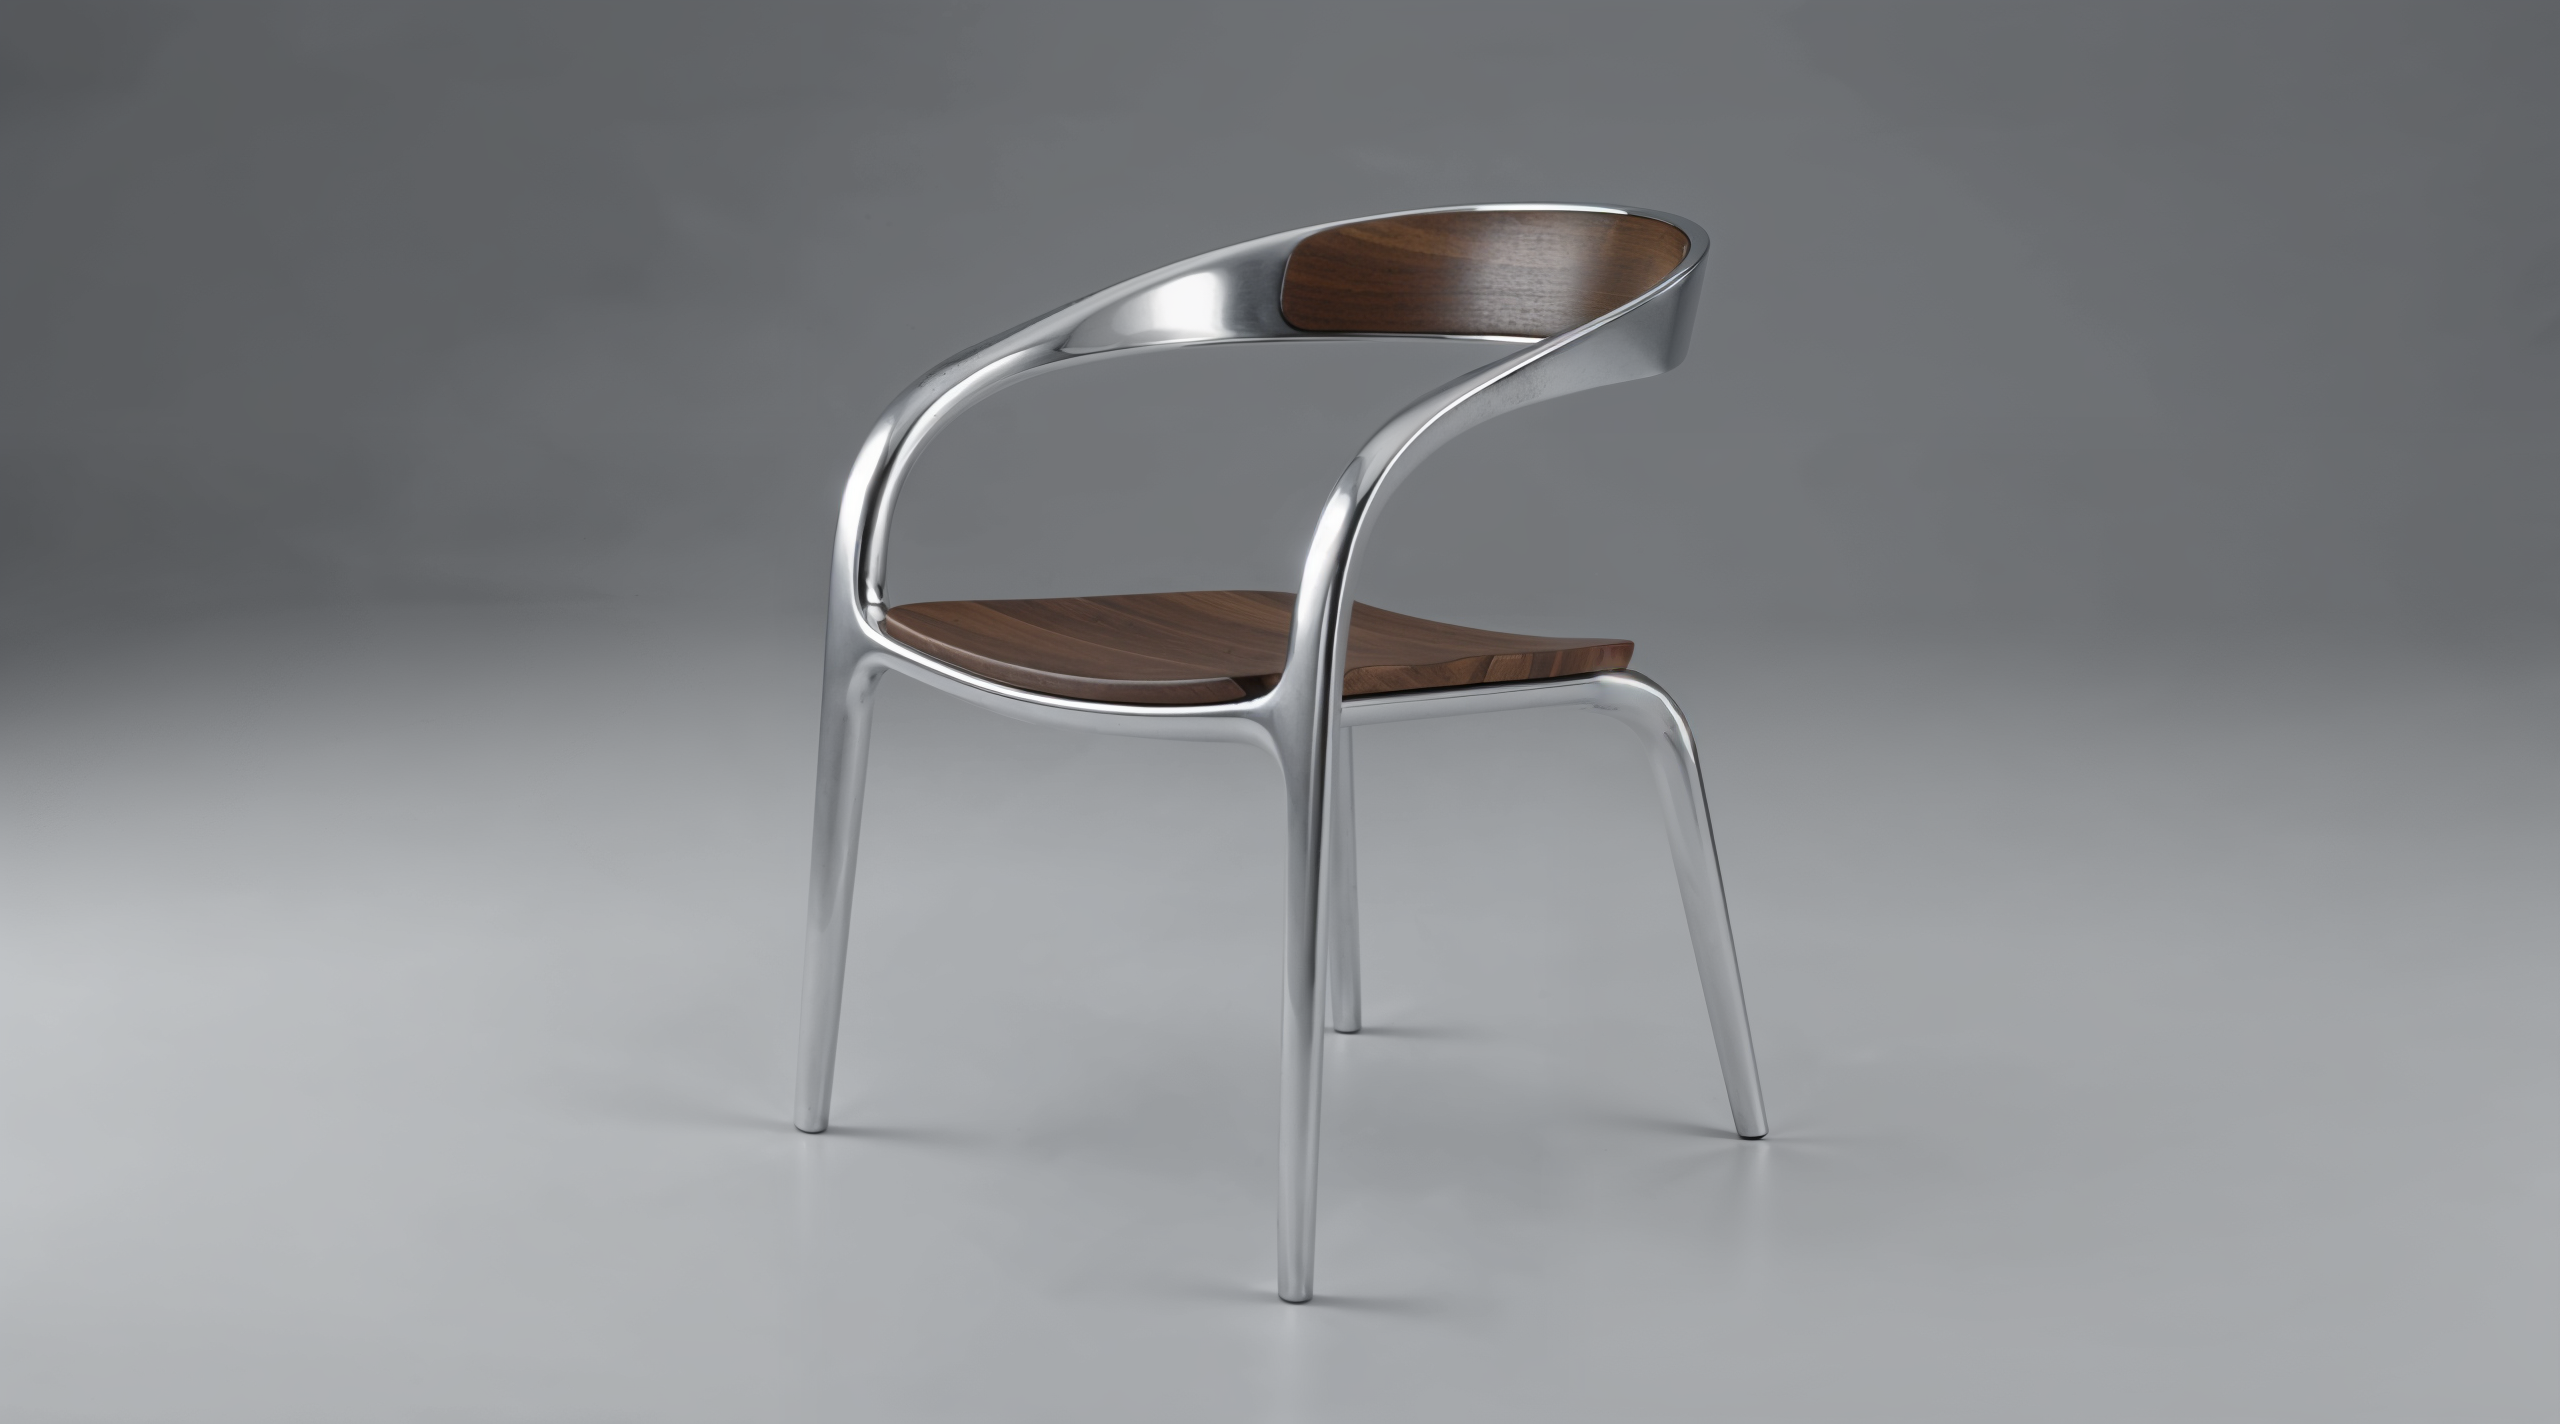
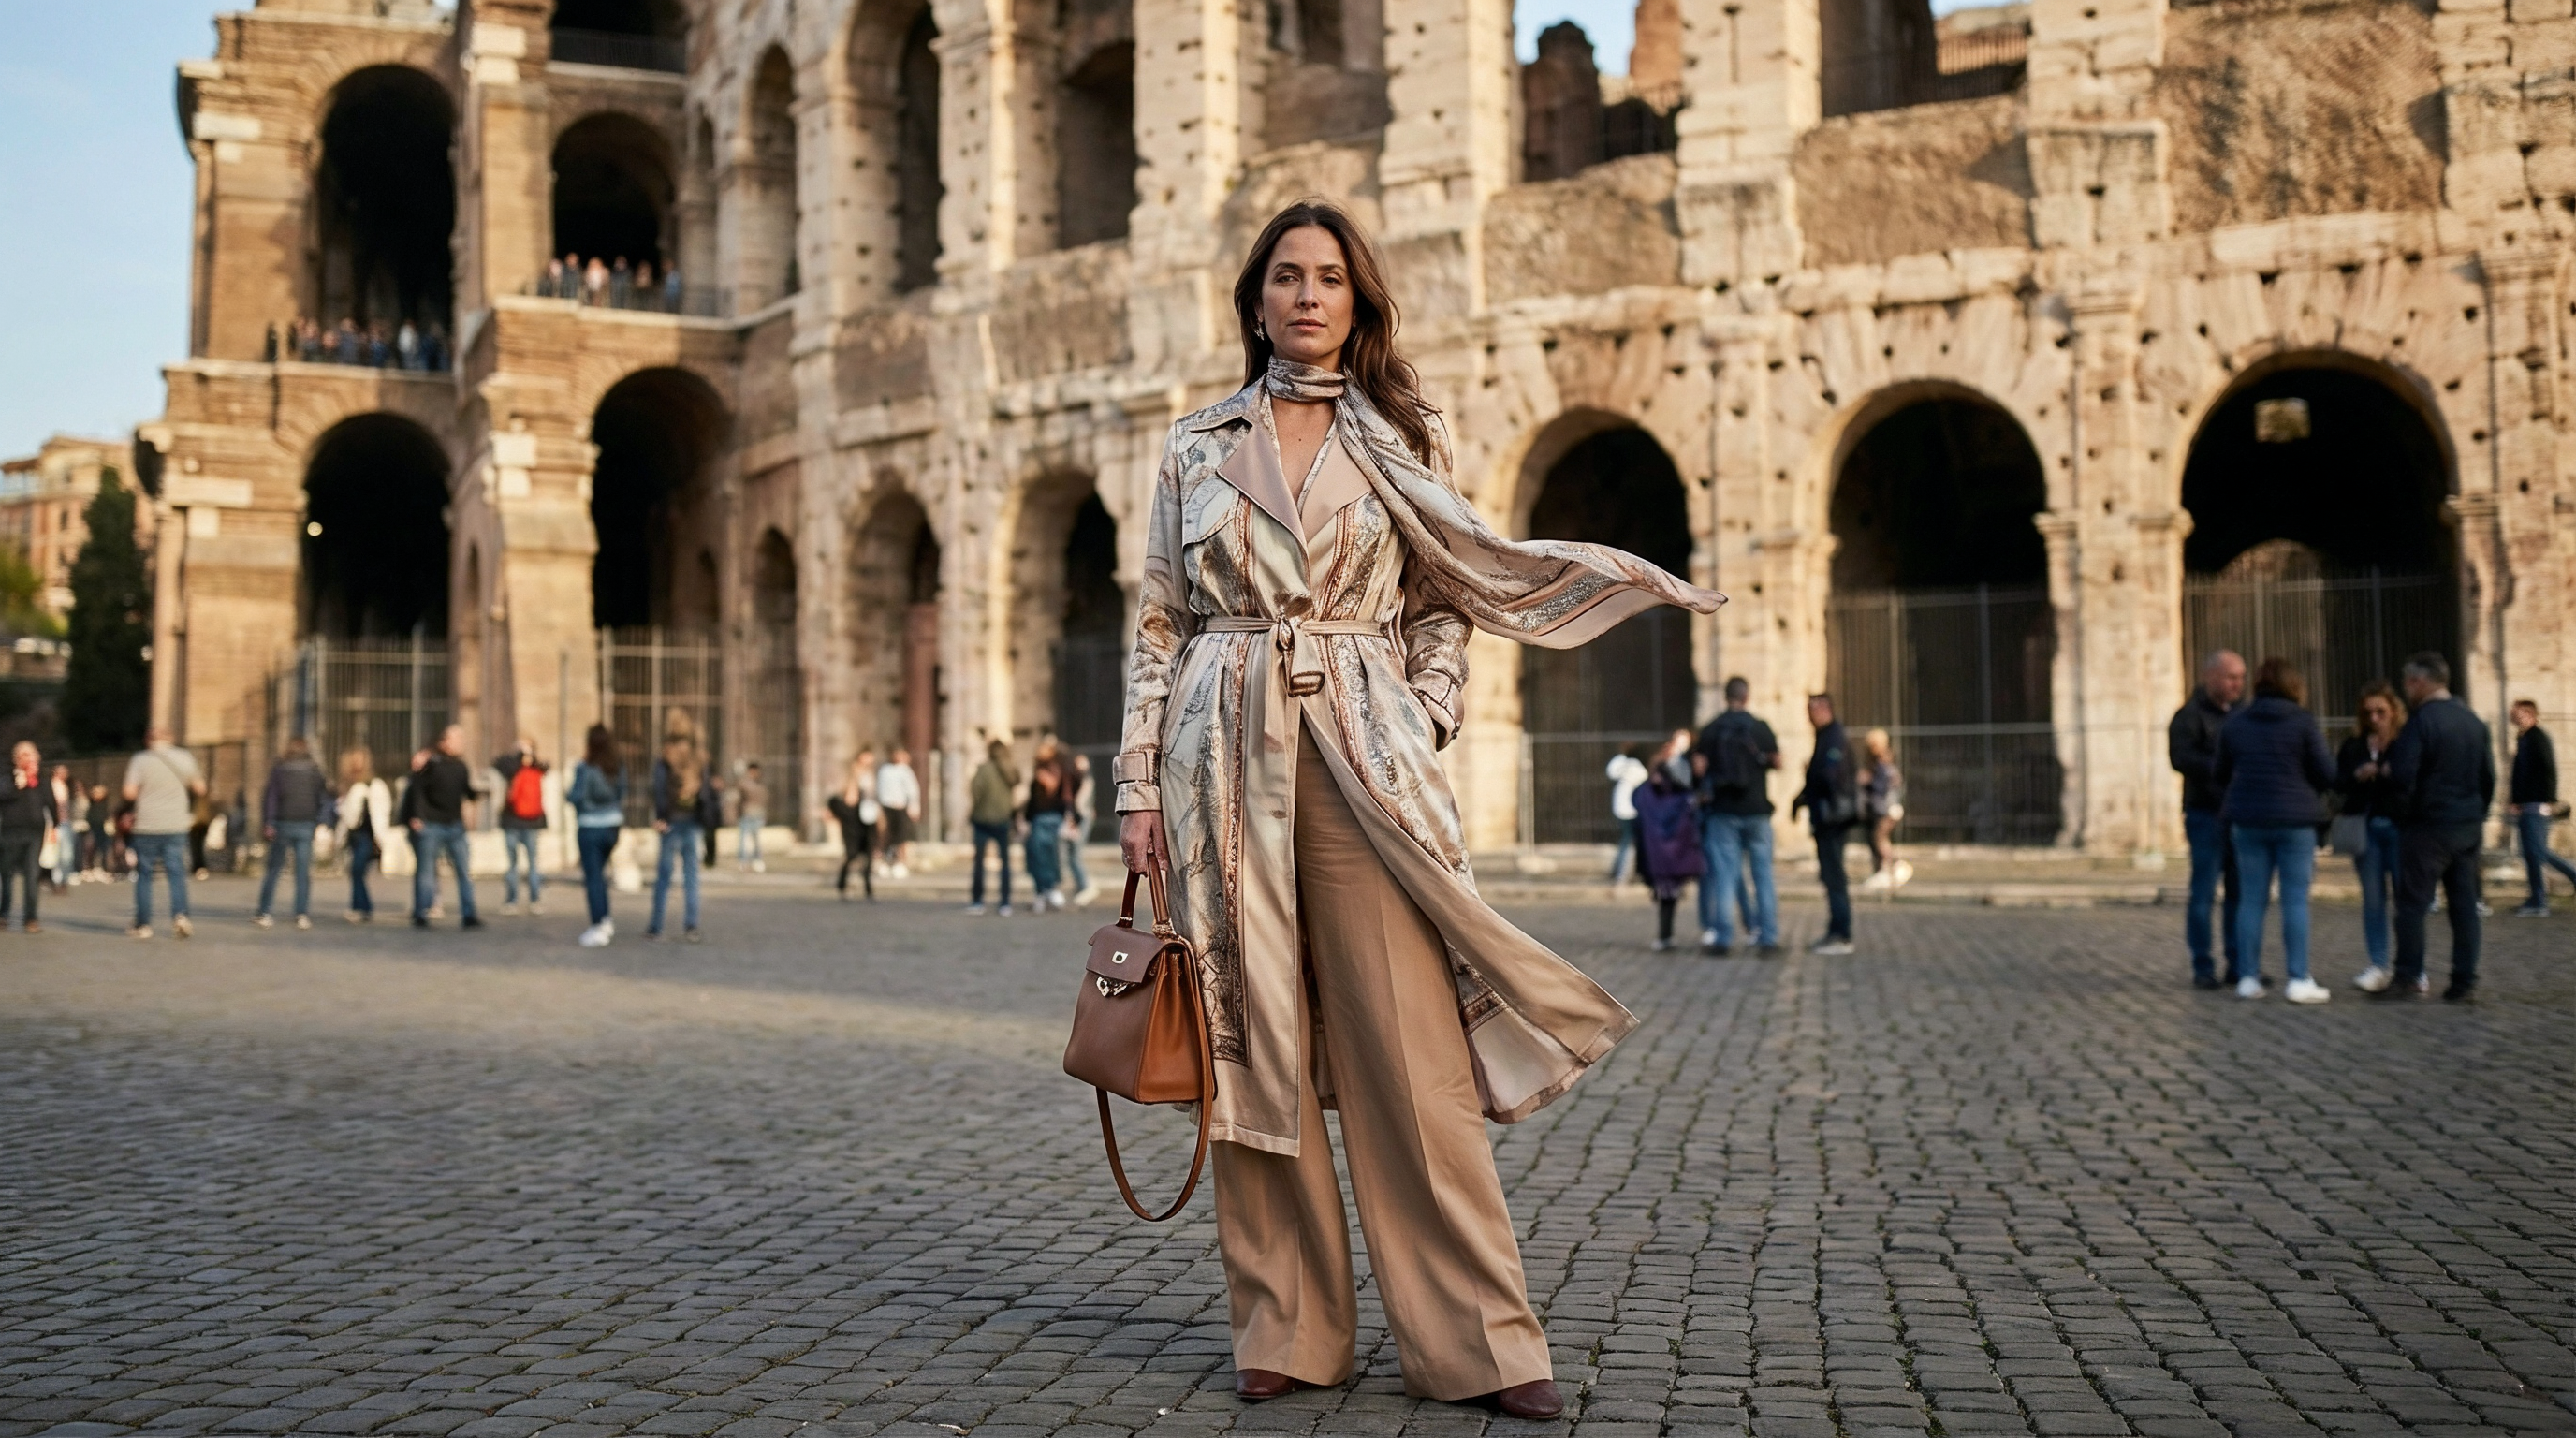
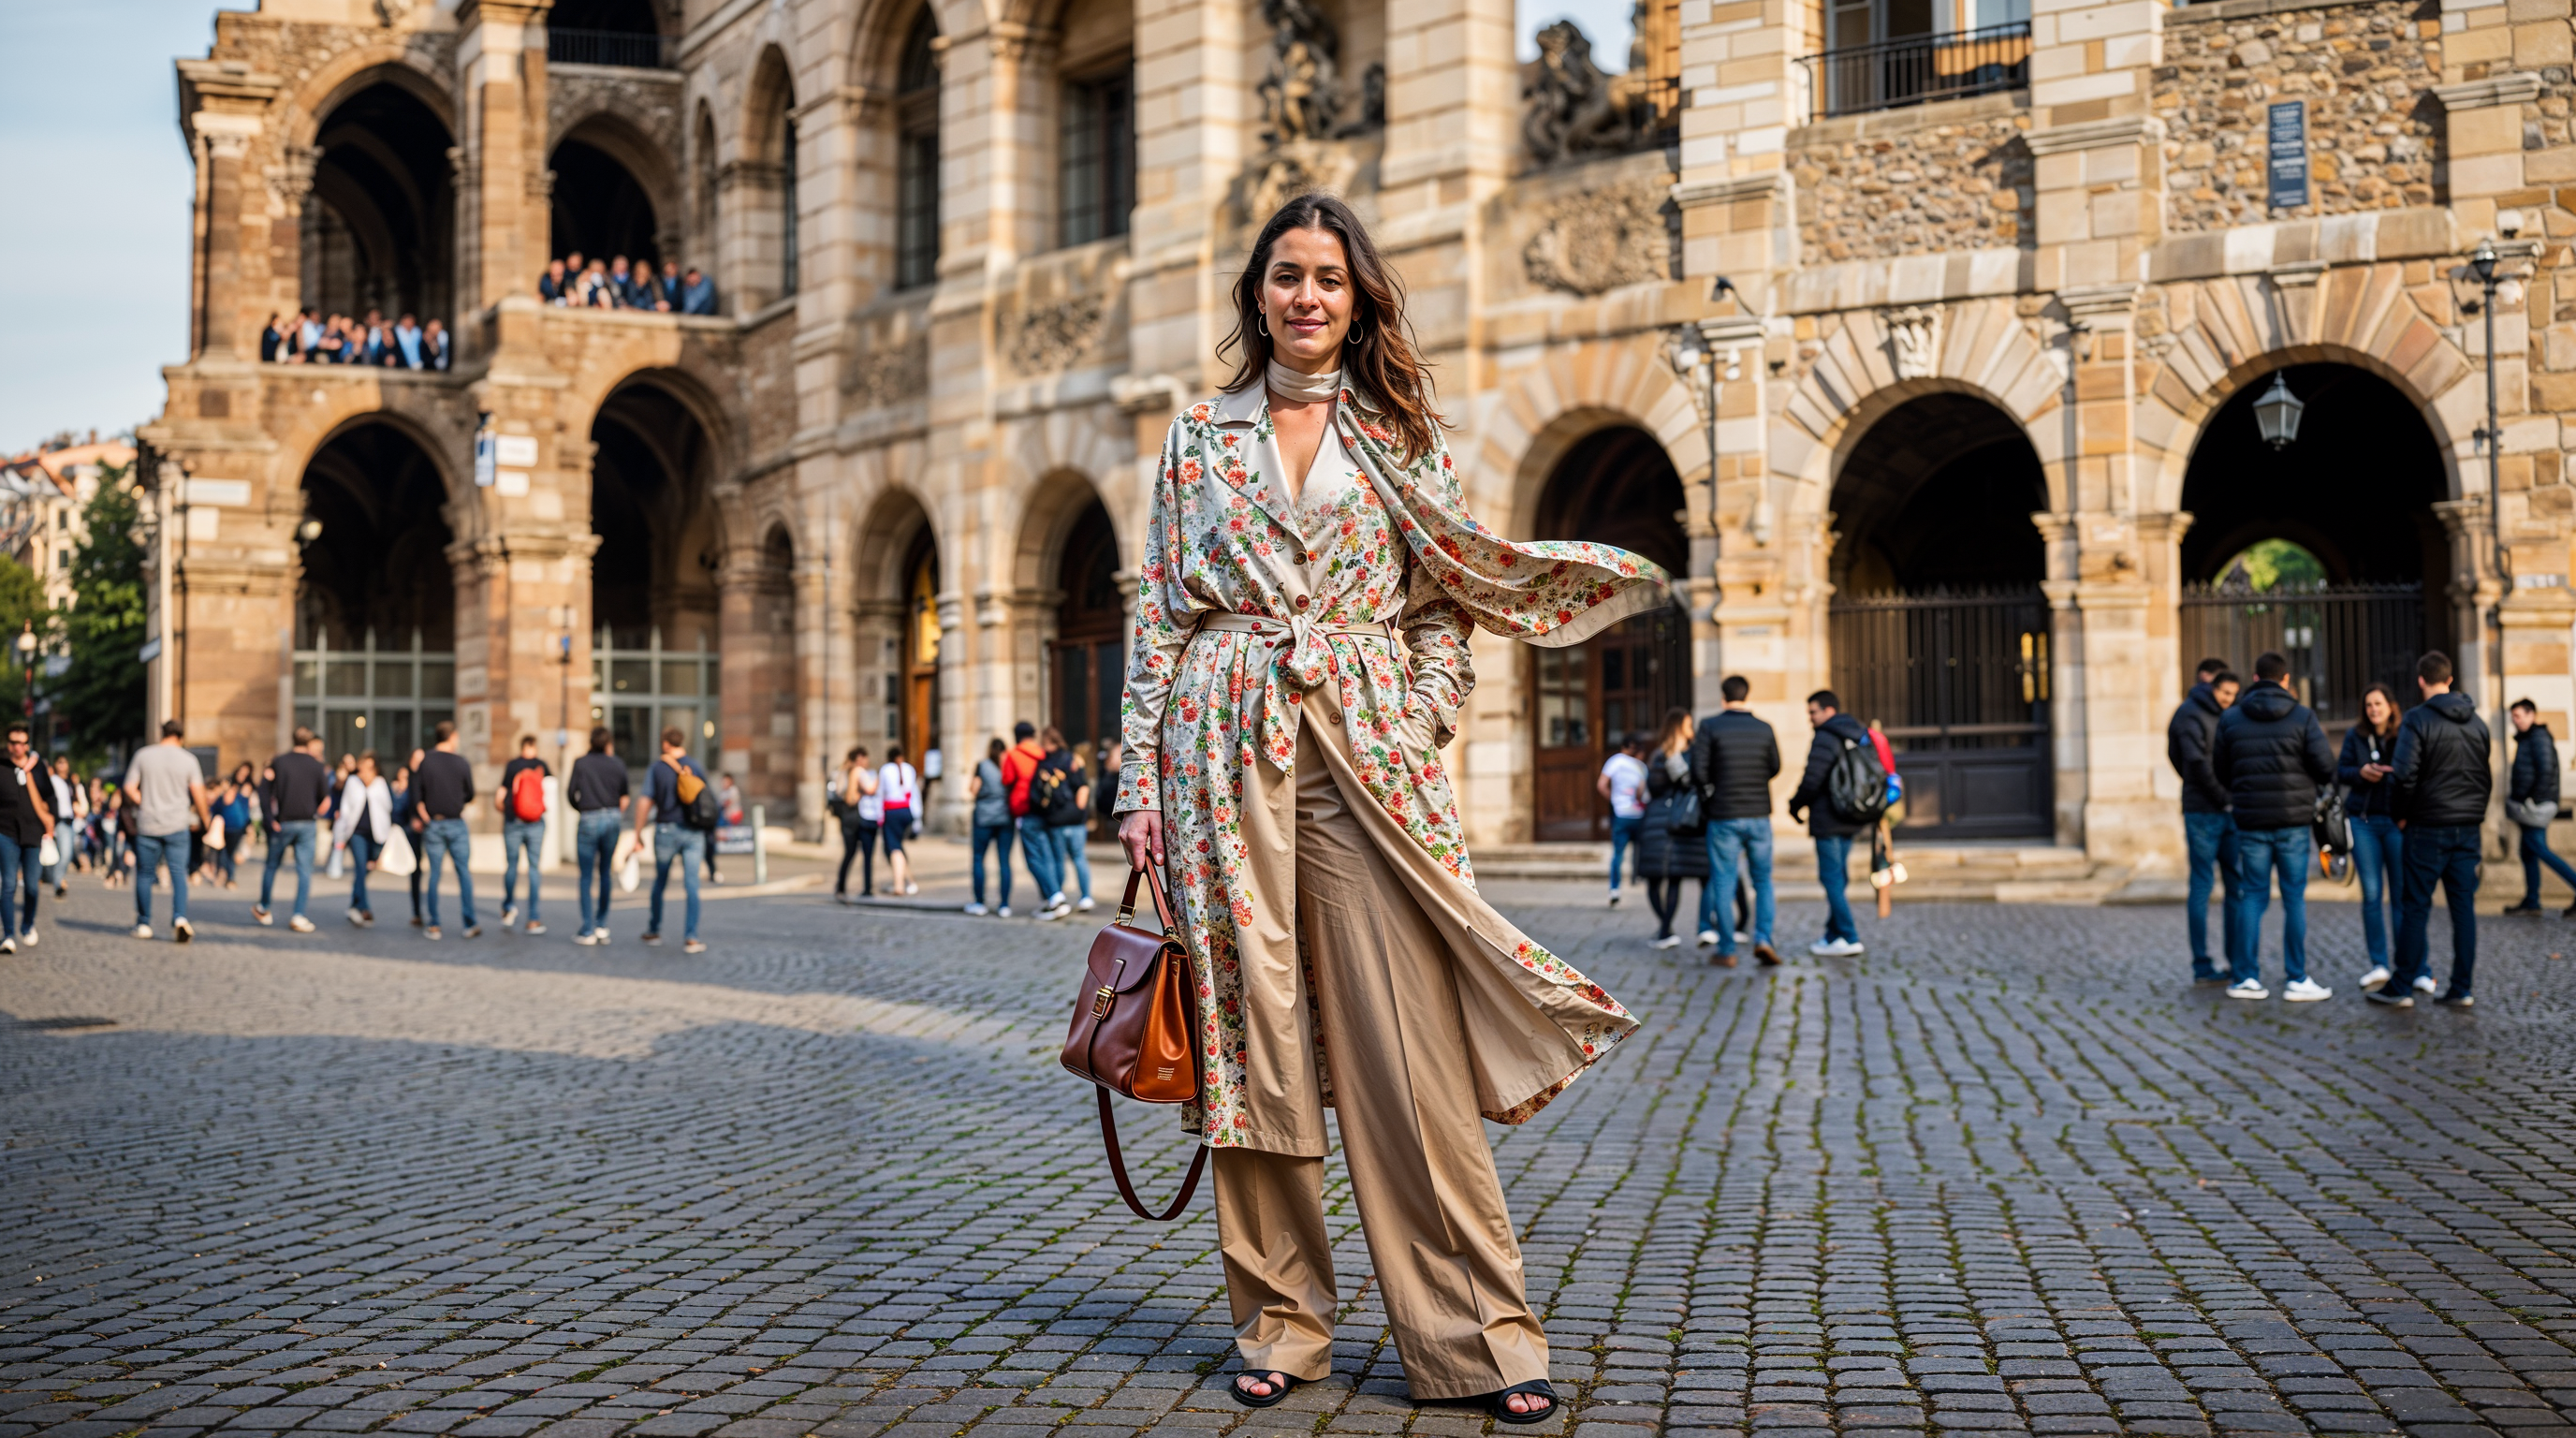
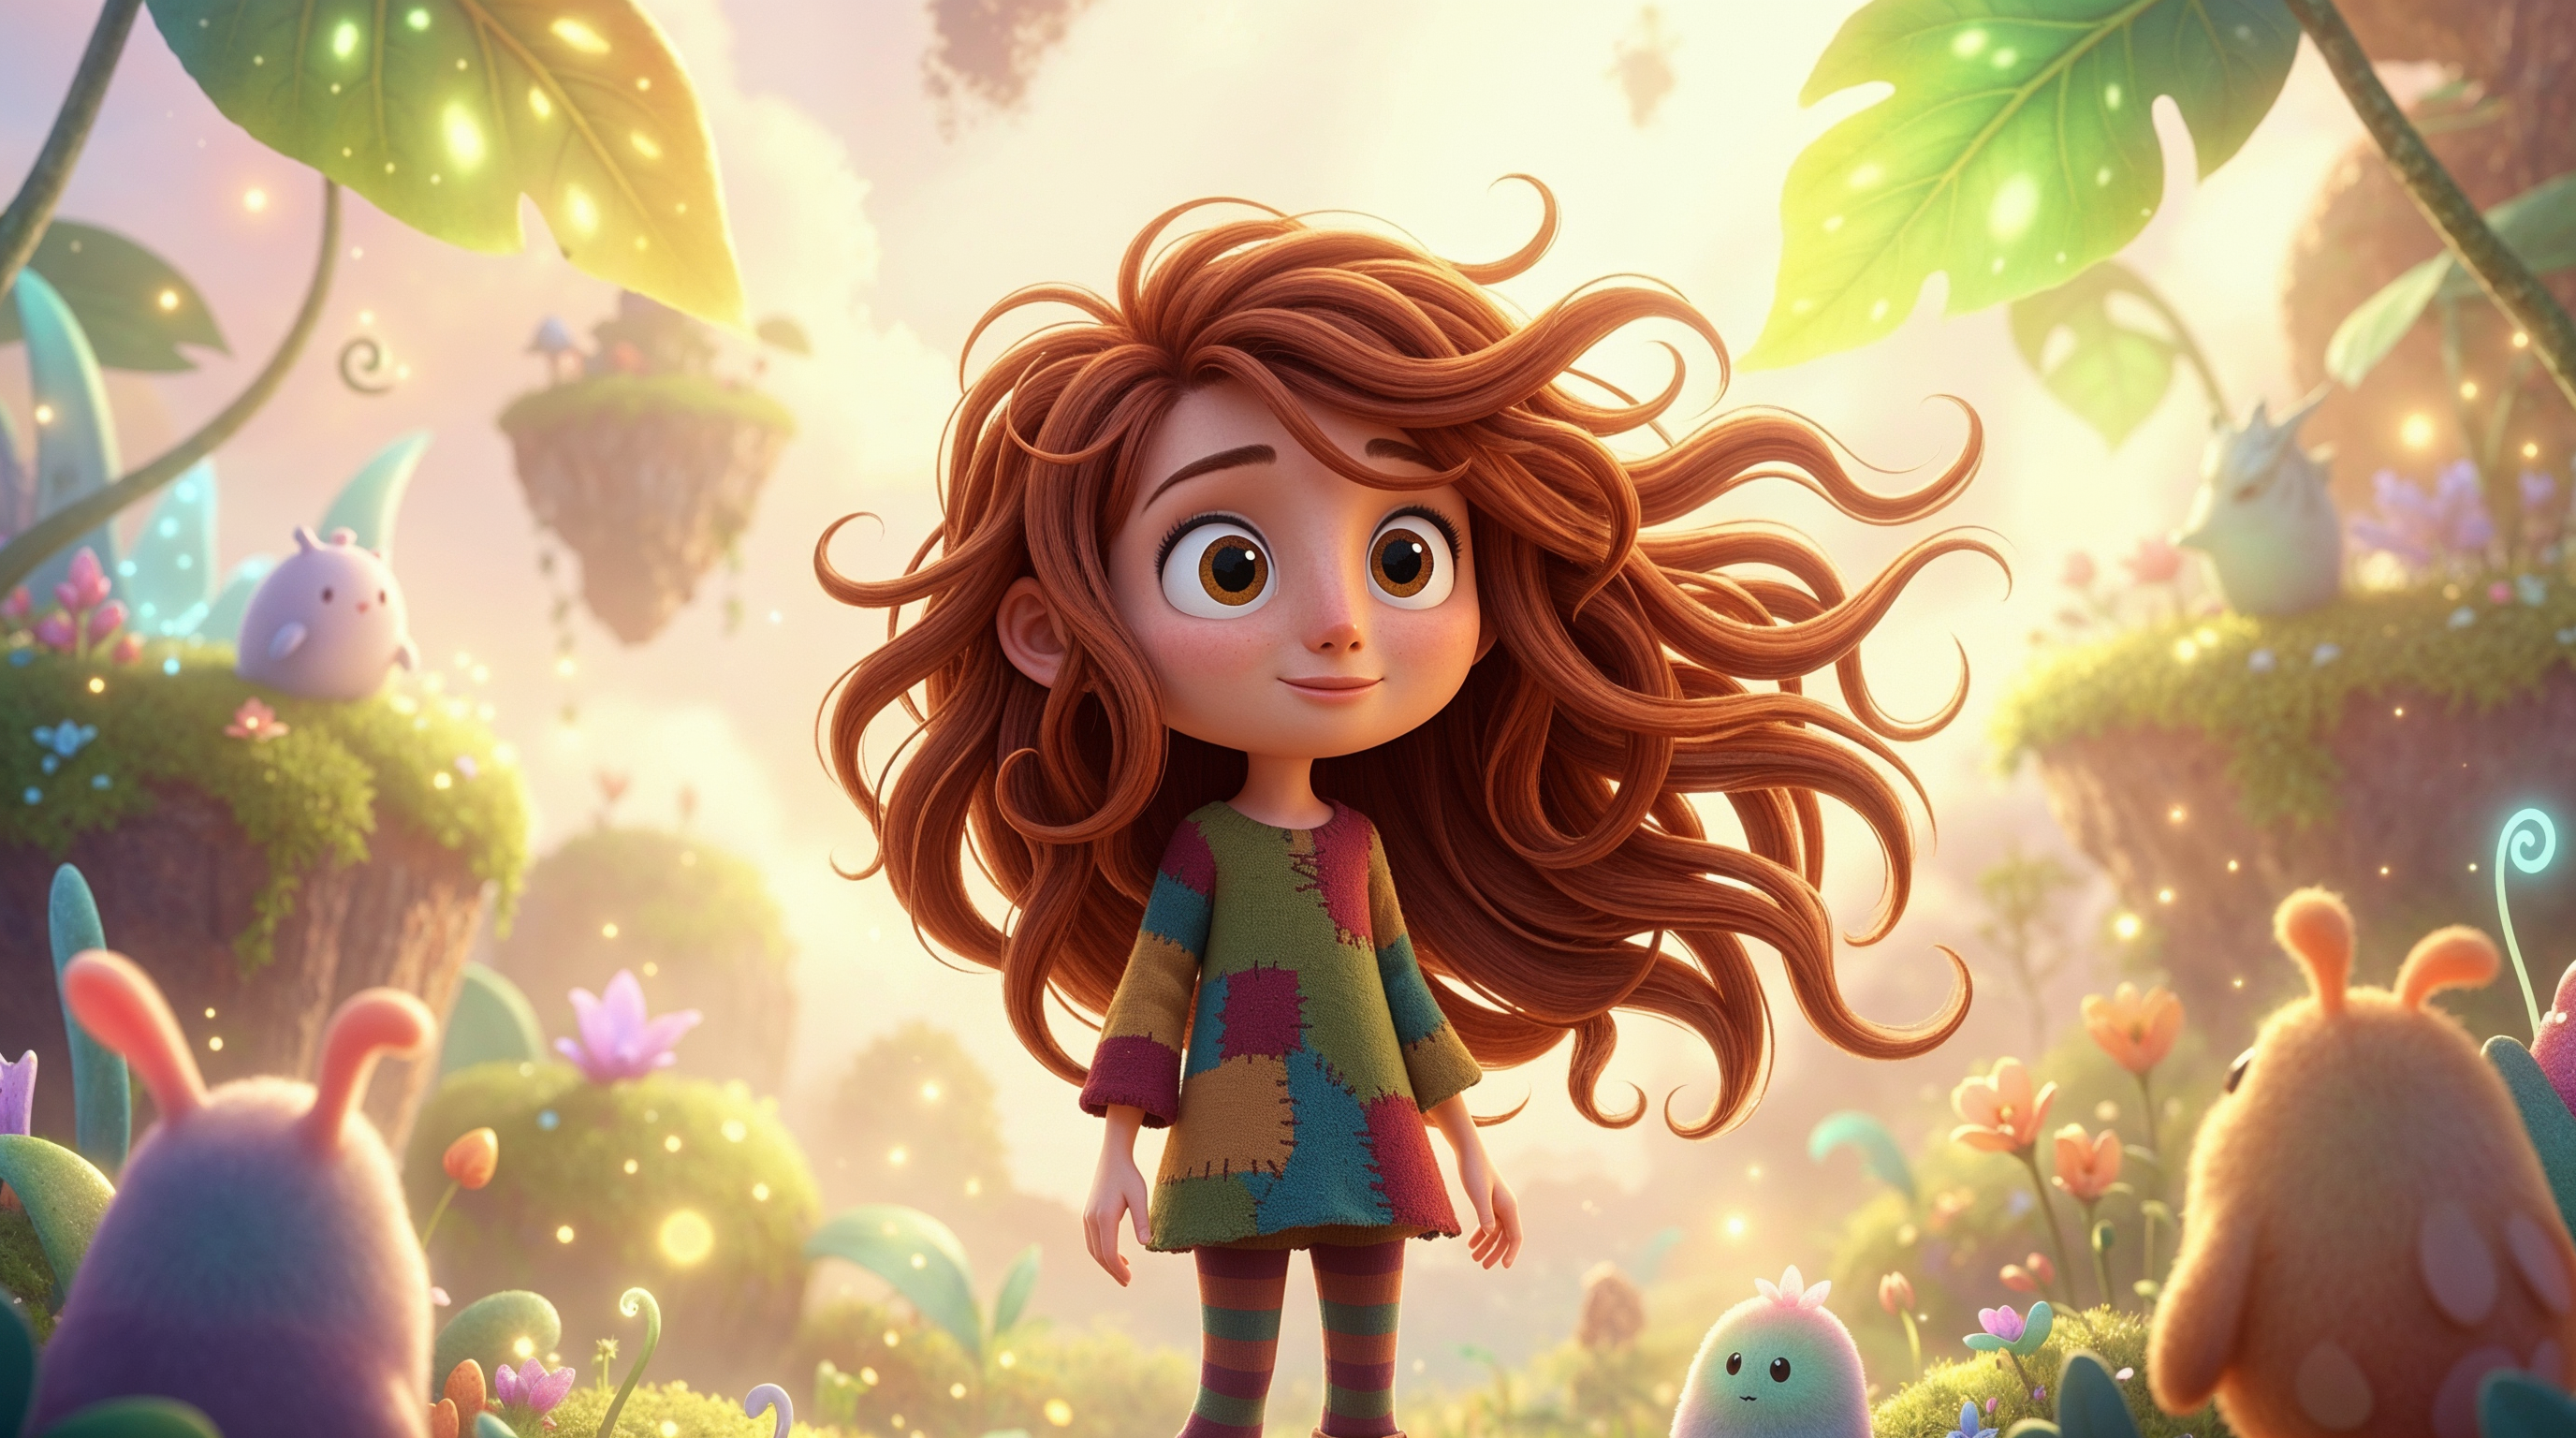
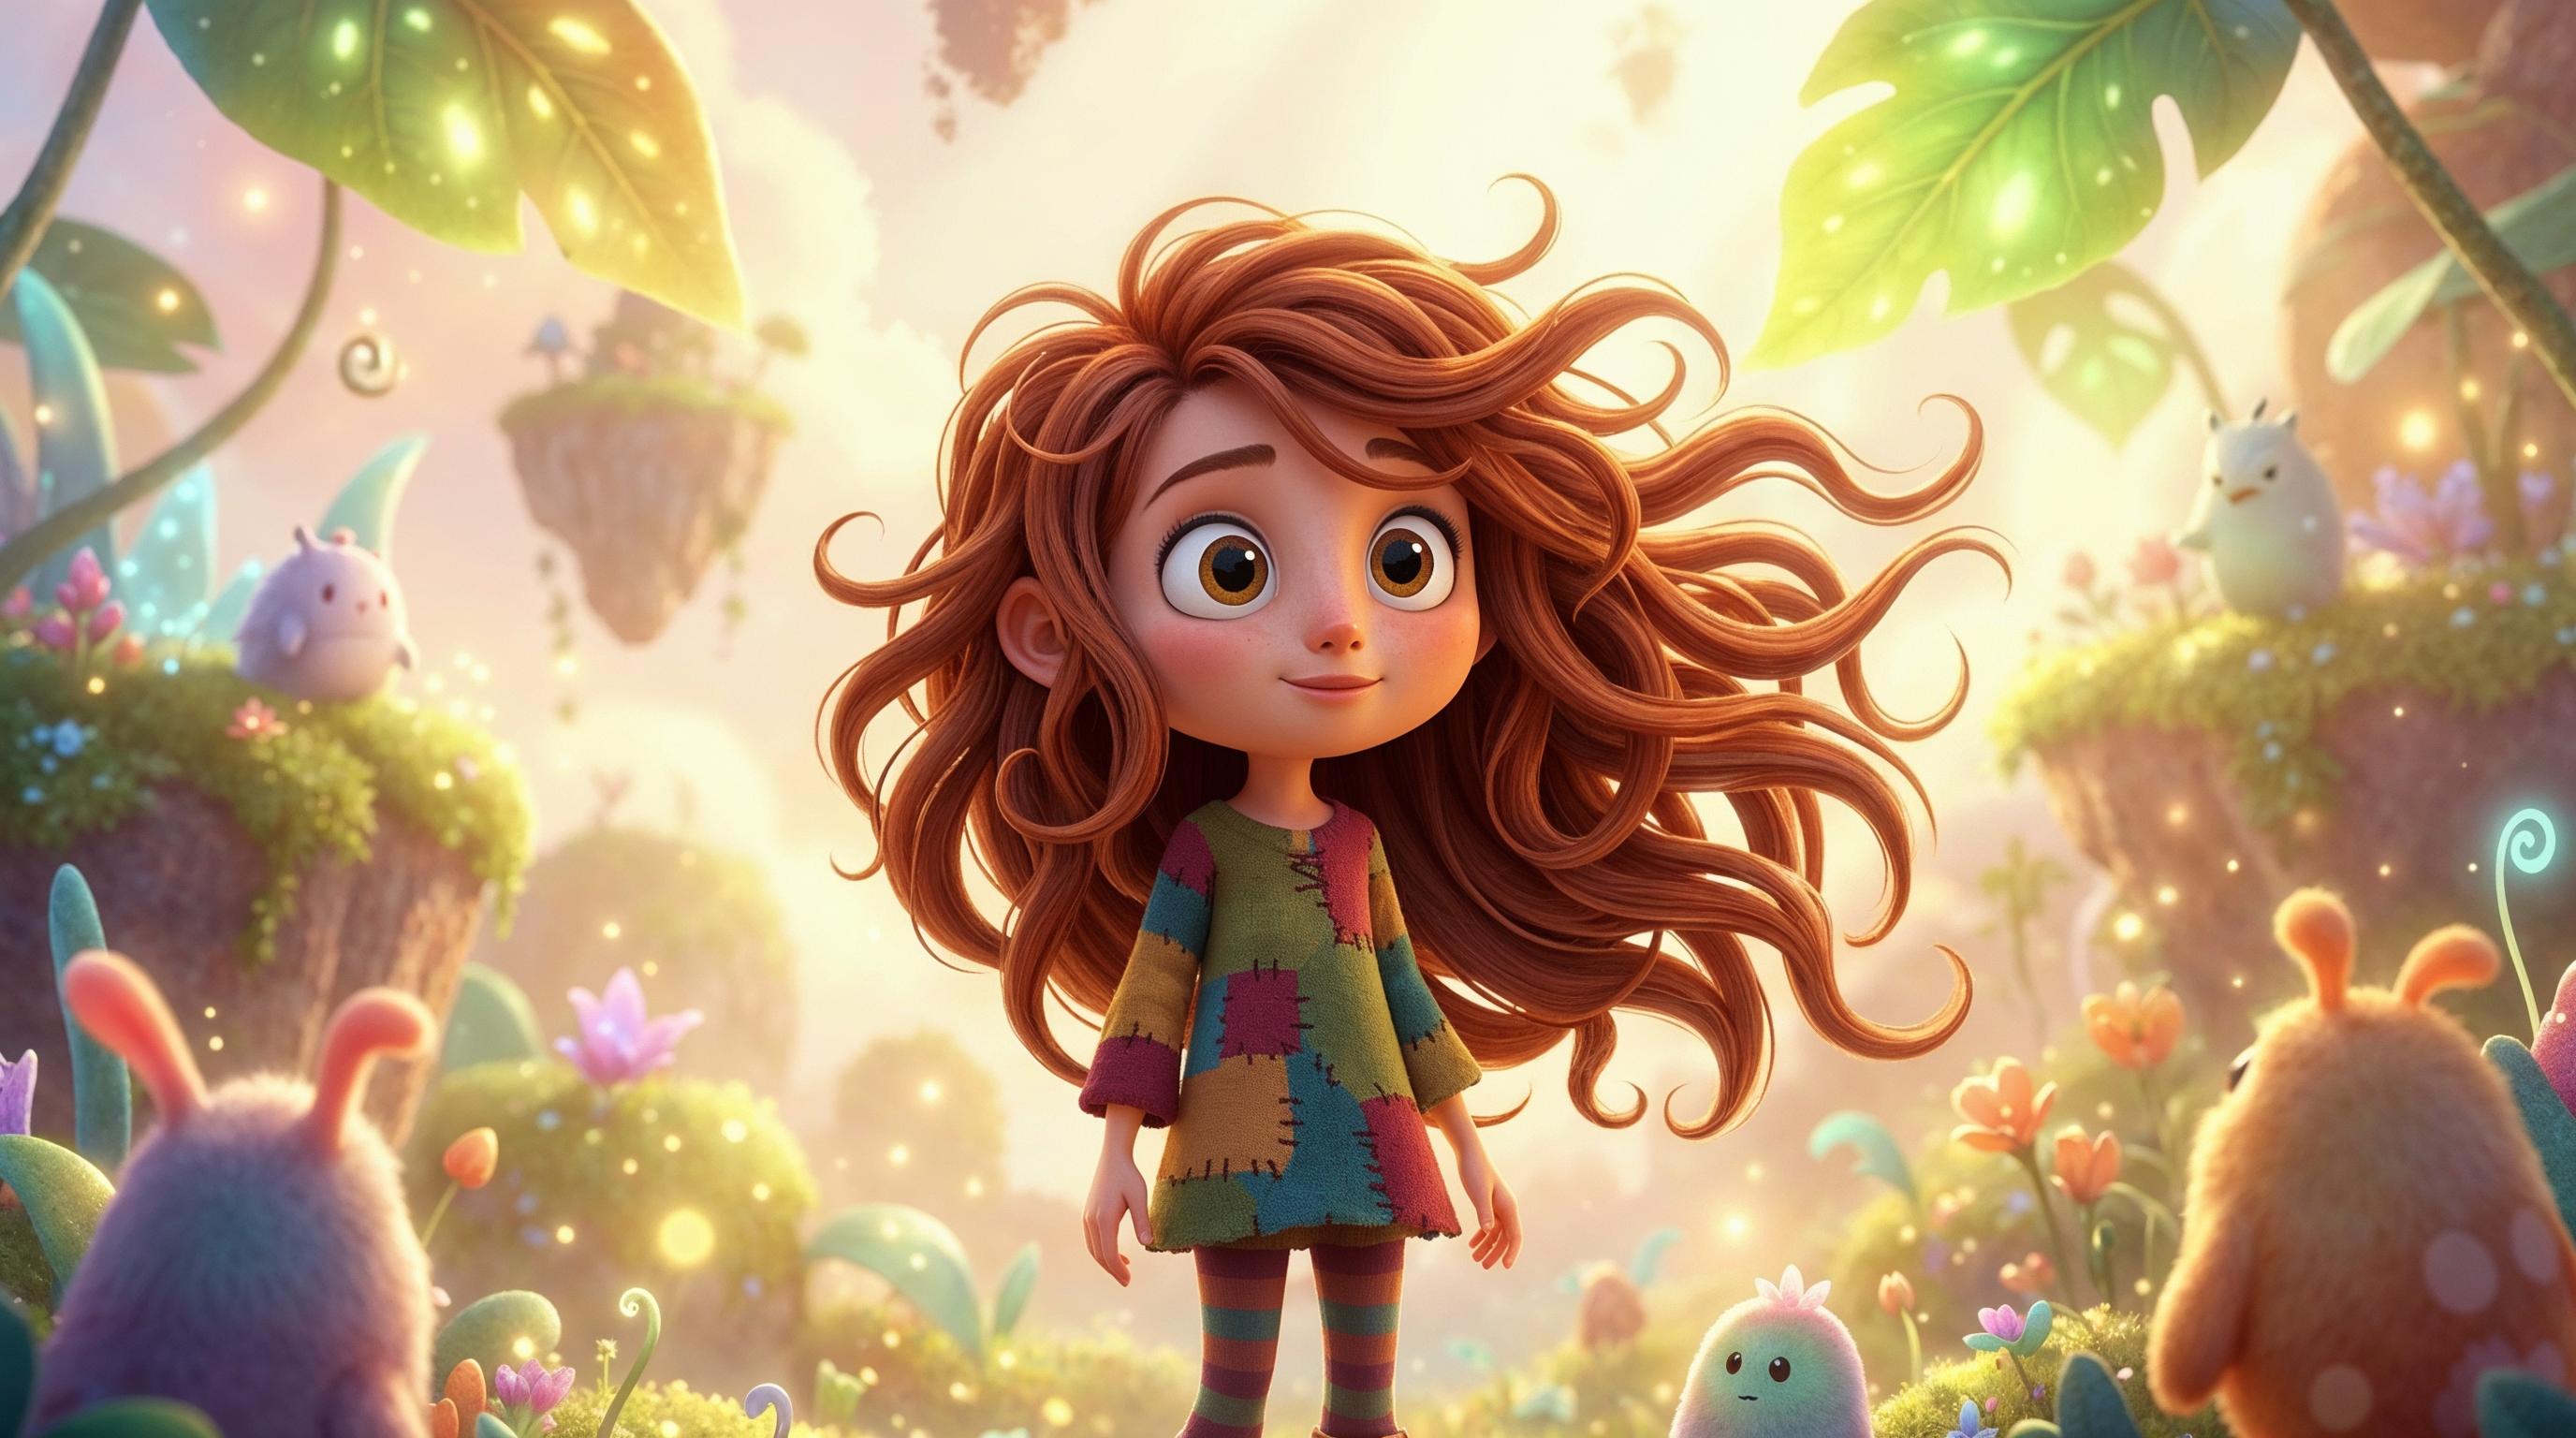
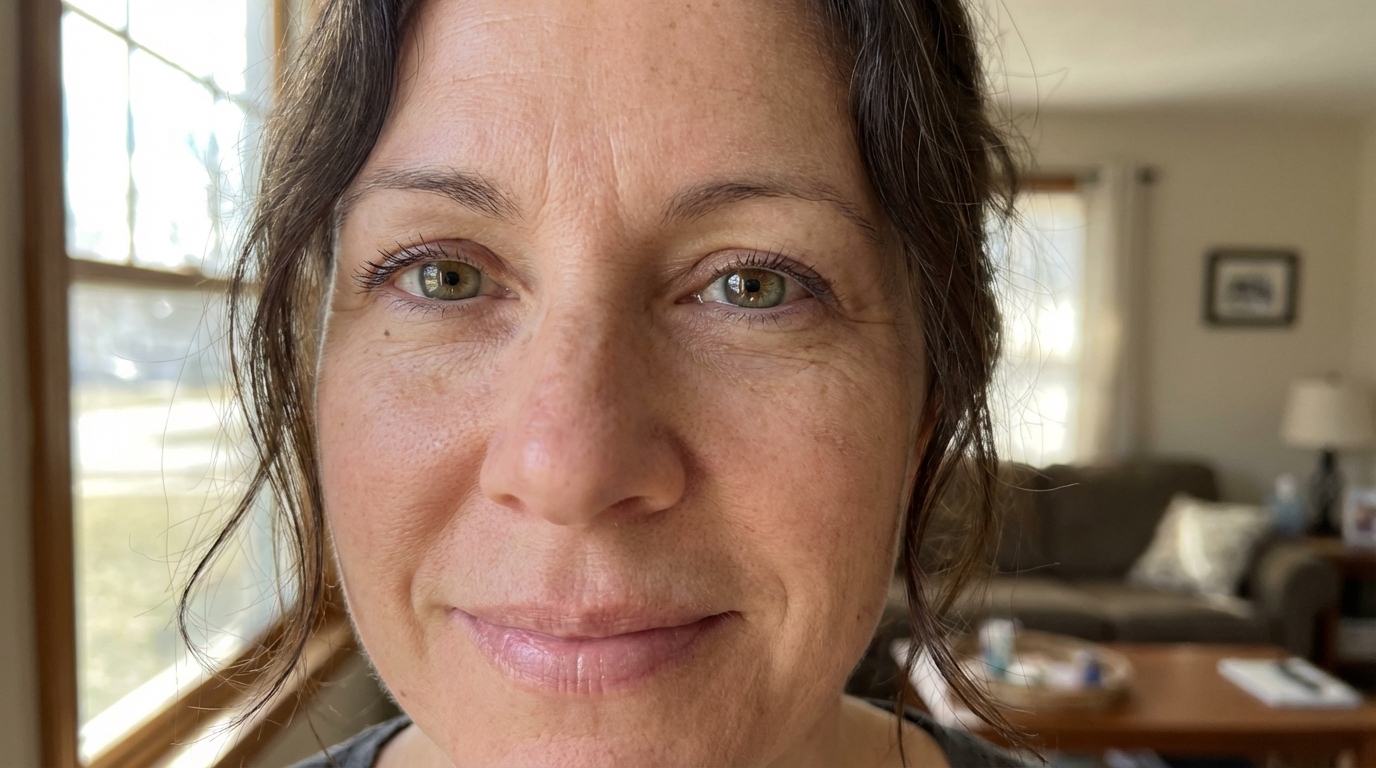
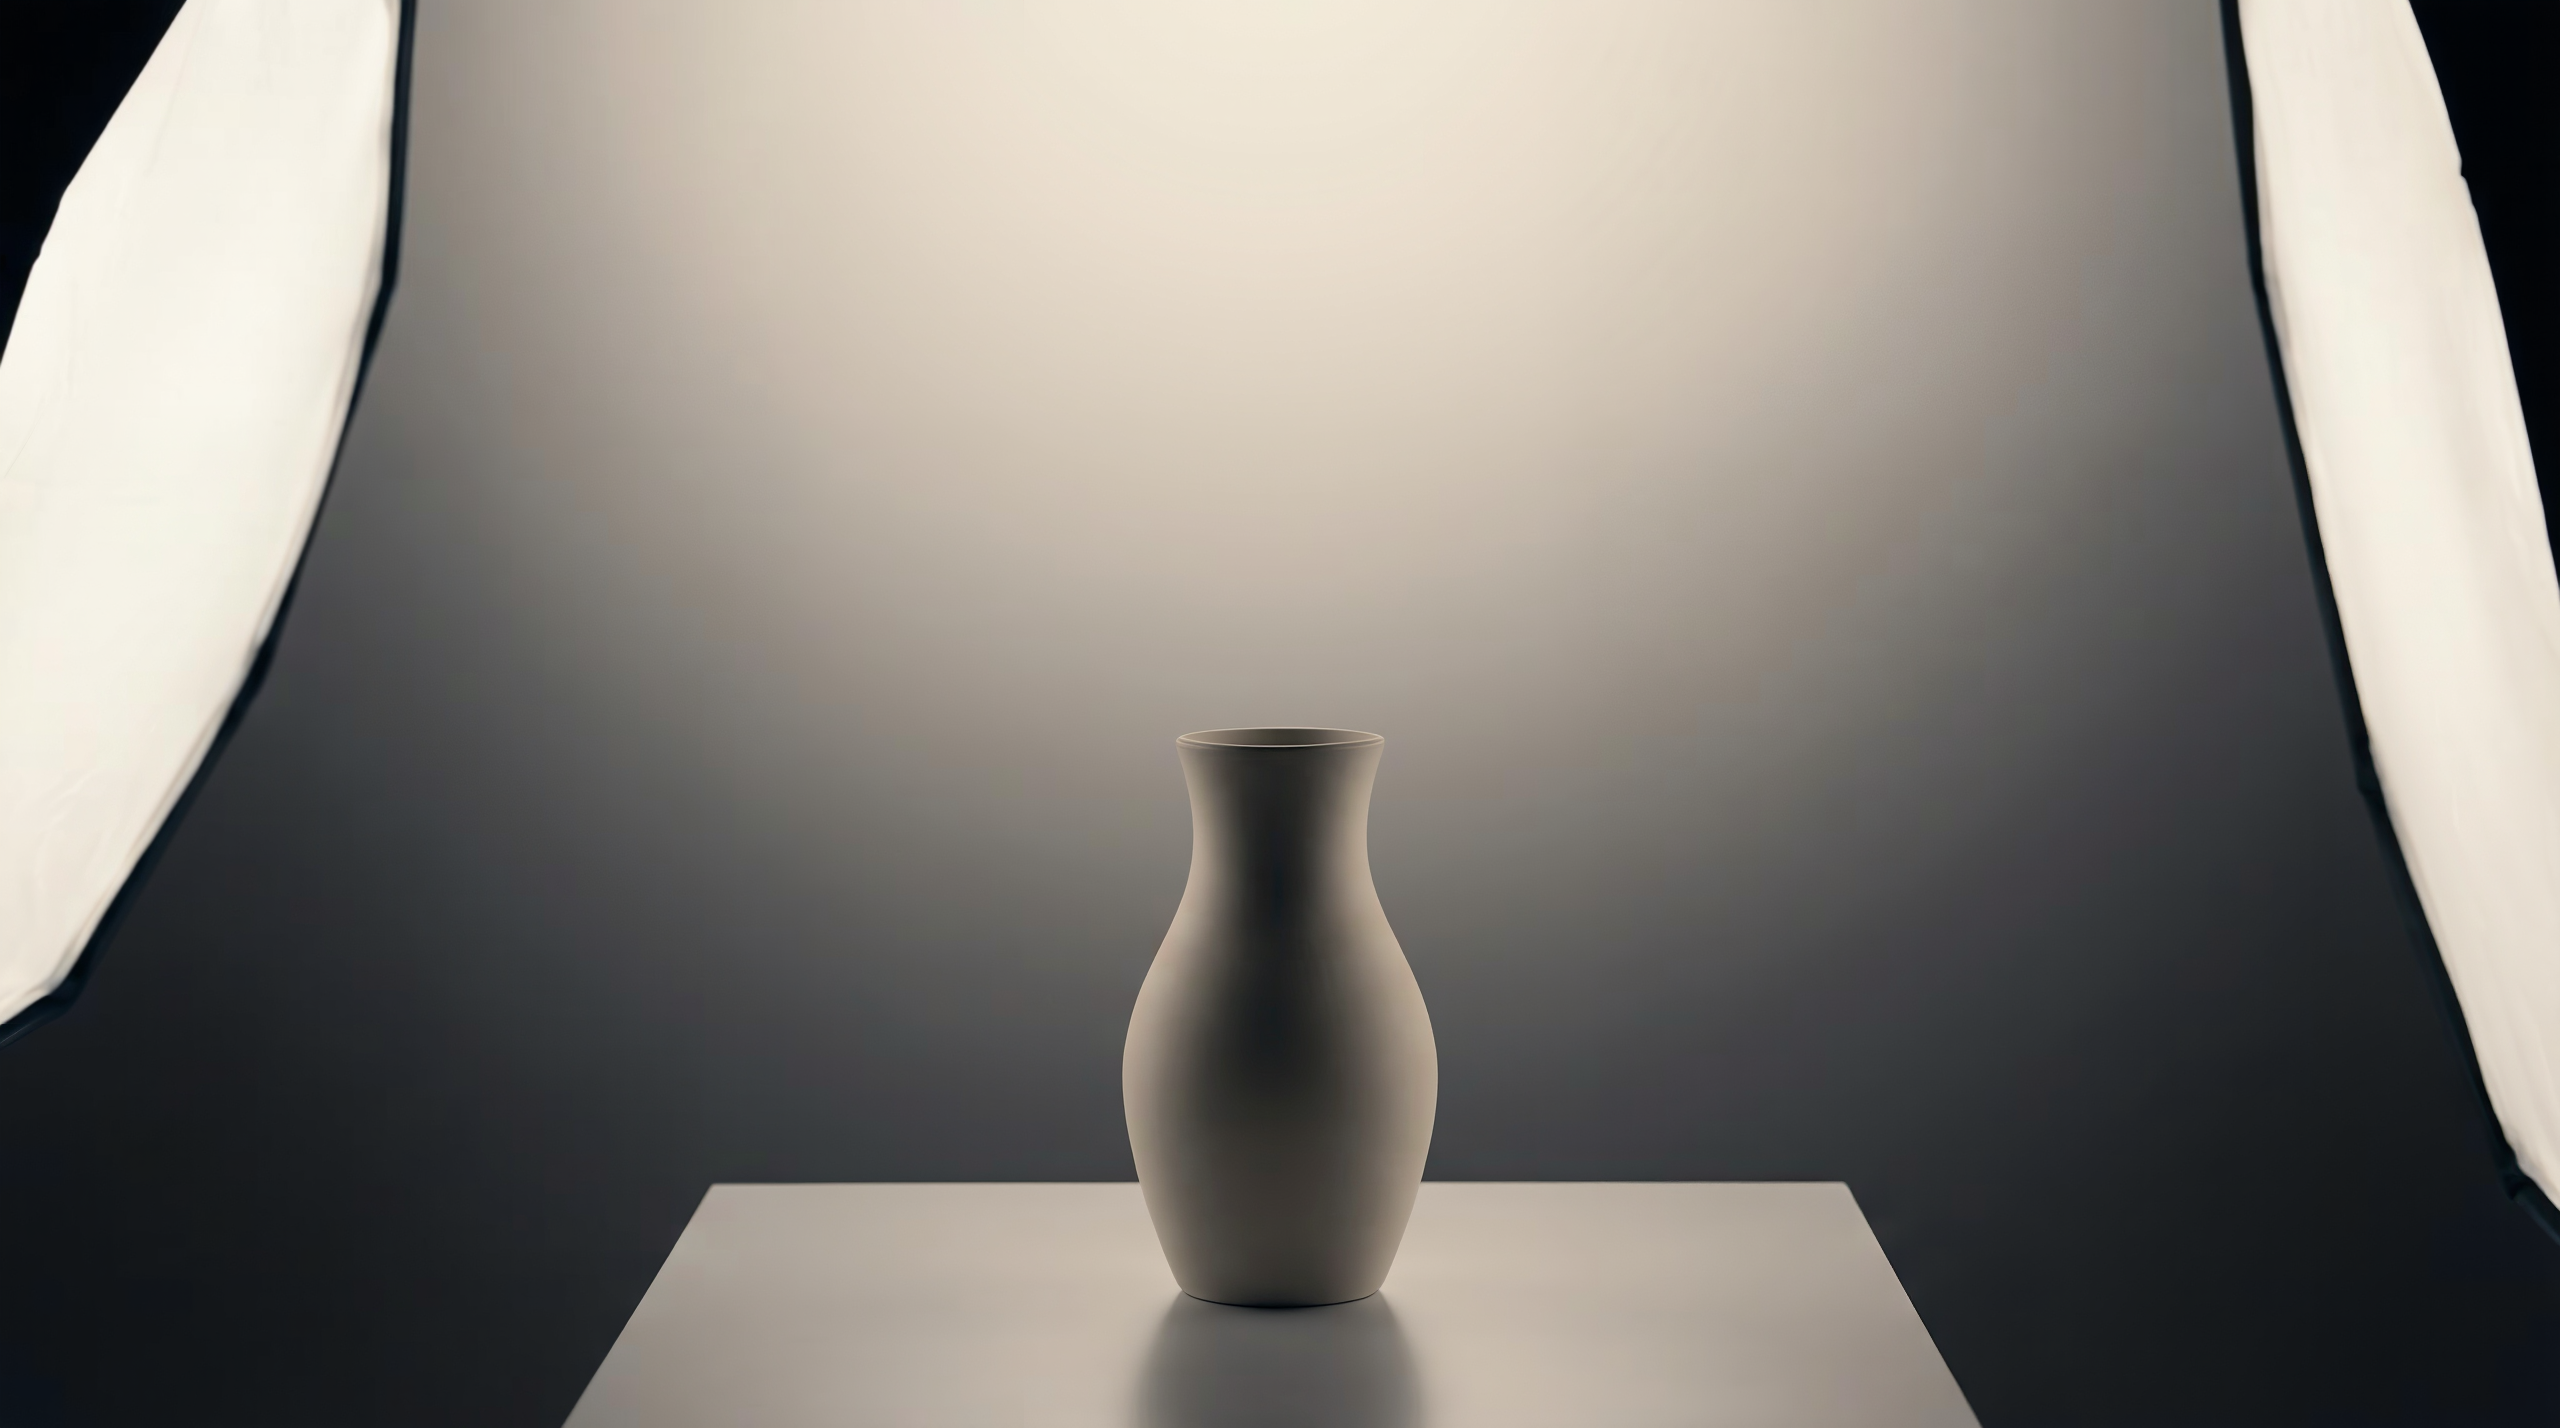
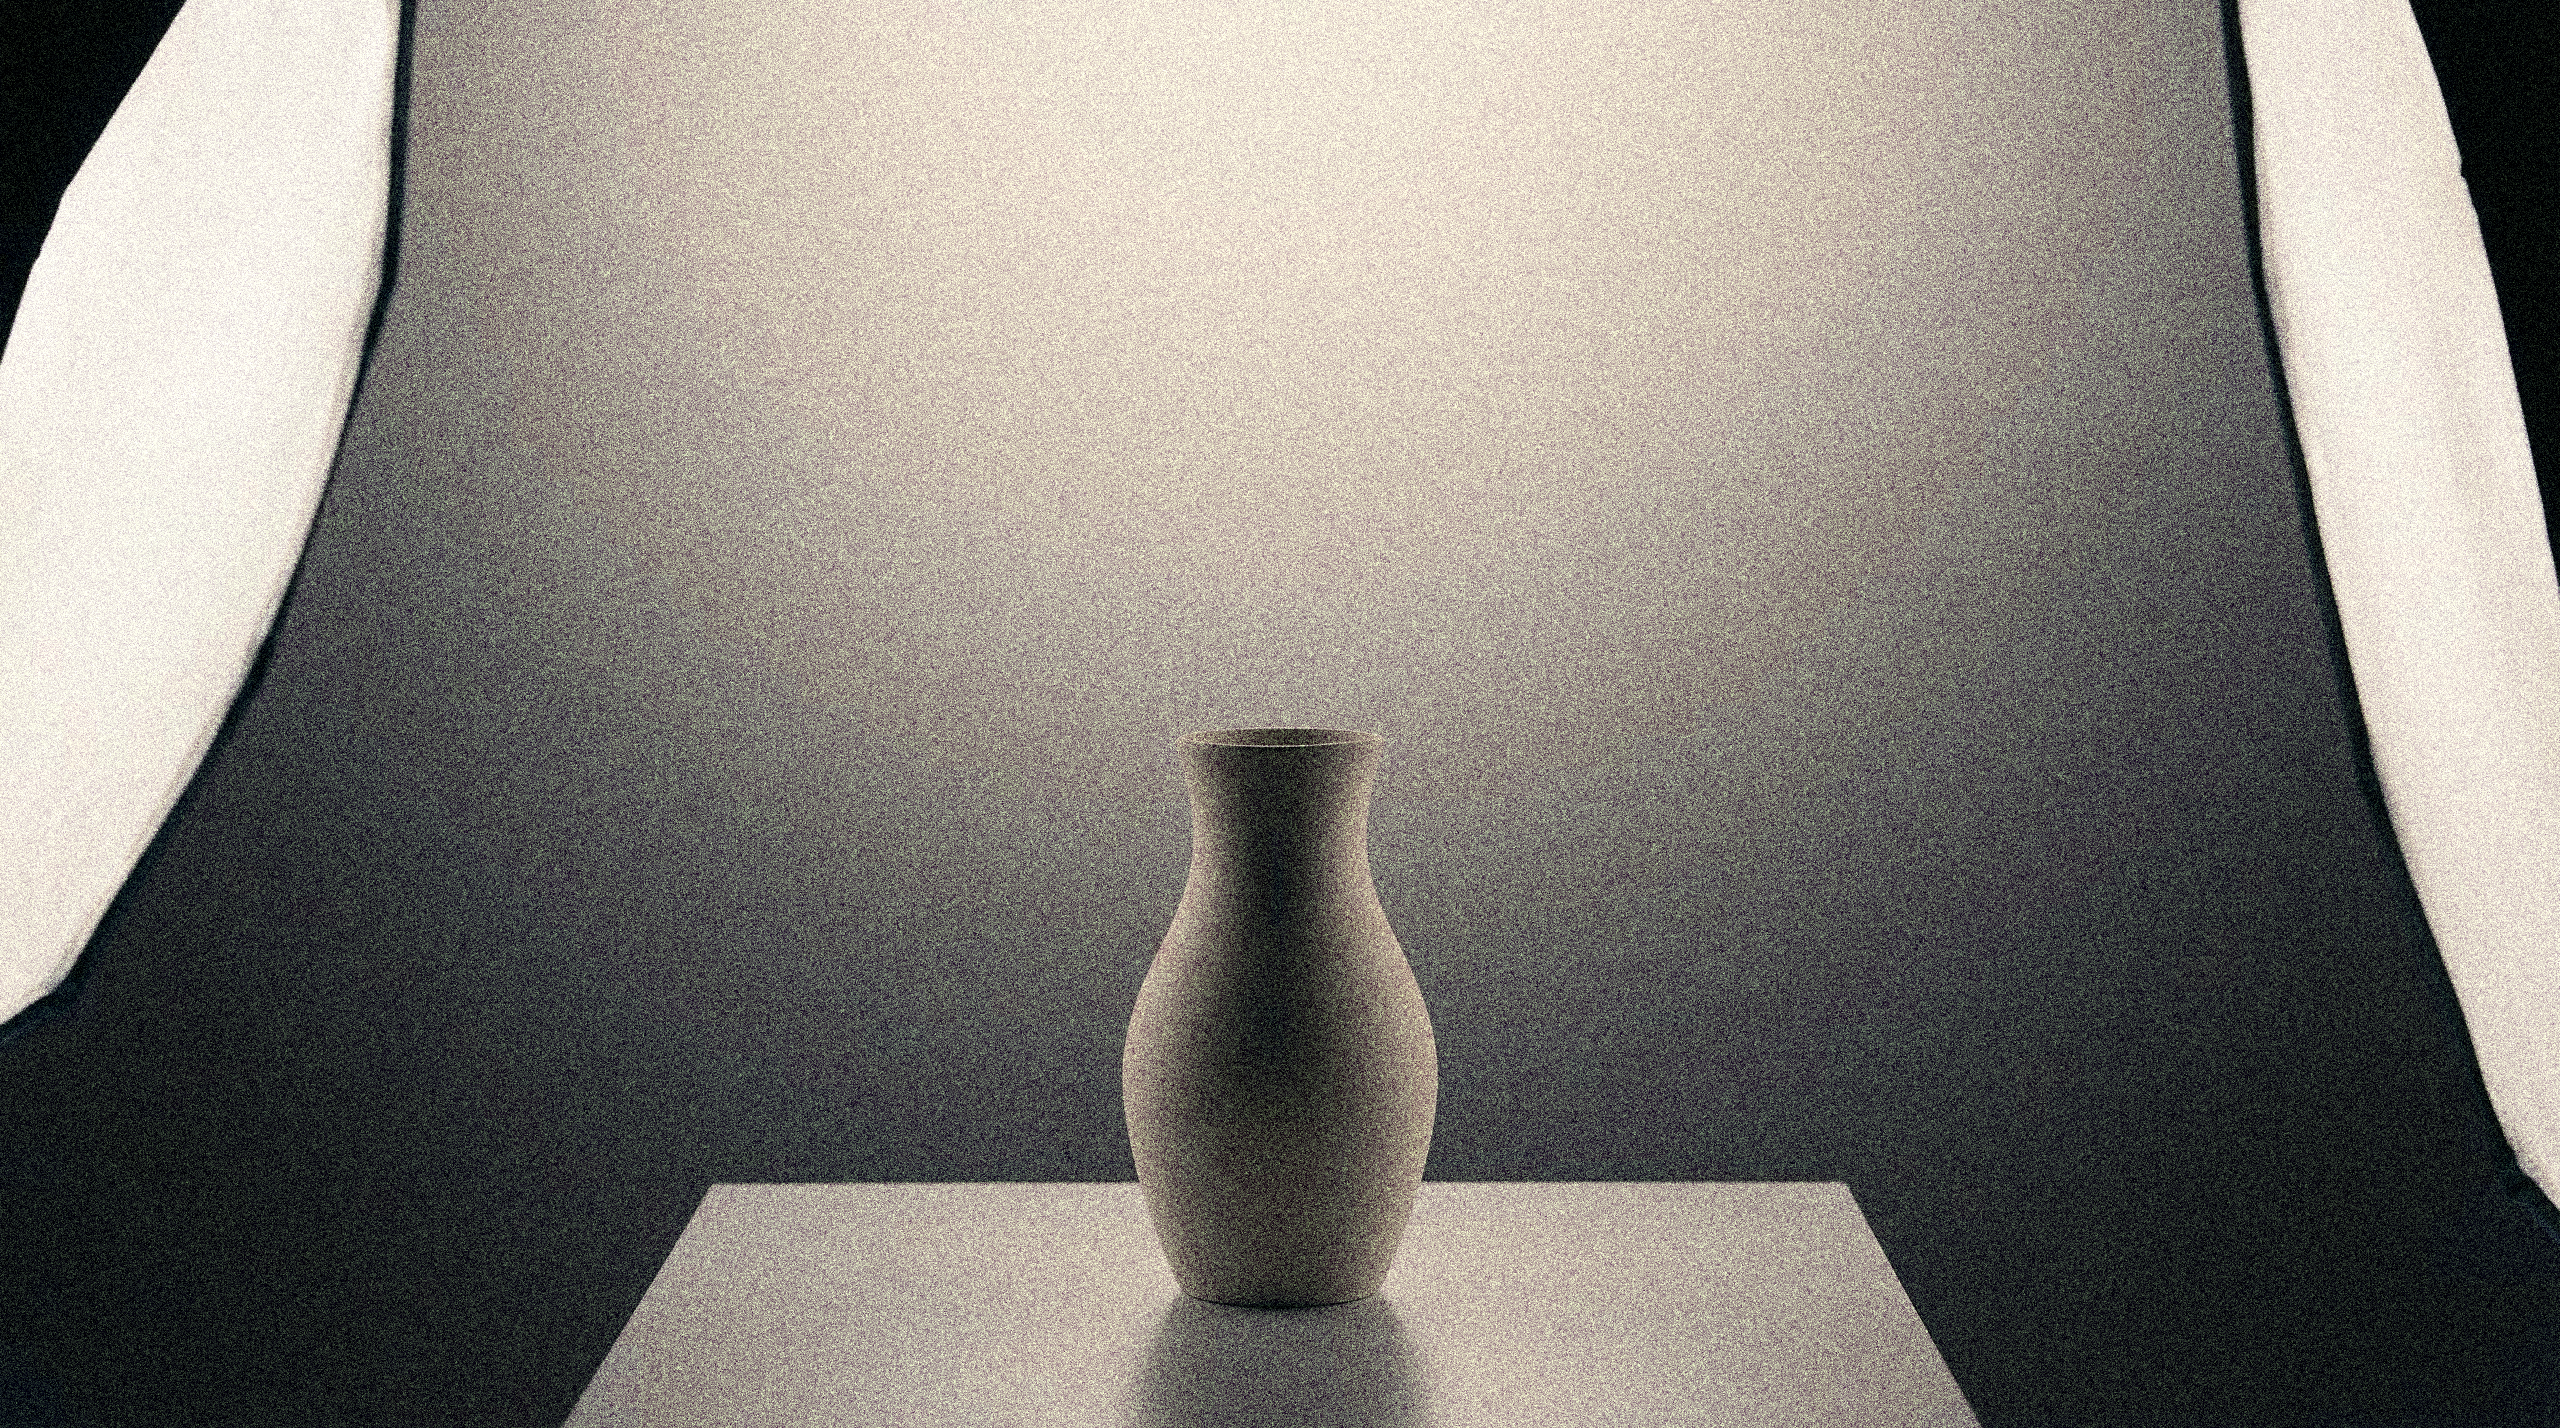
Original image:
Result:
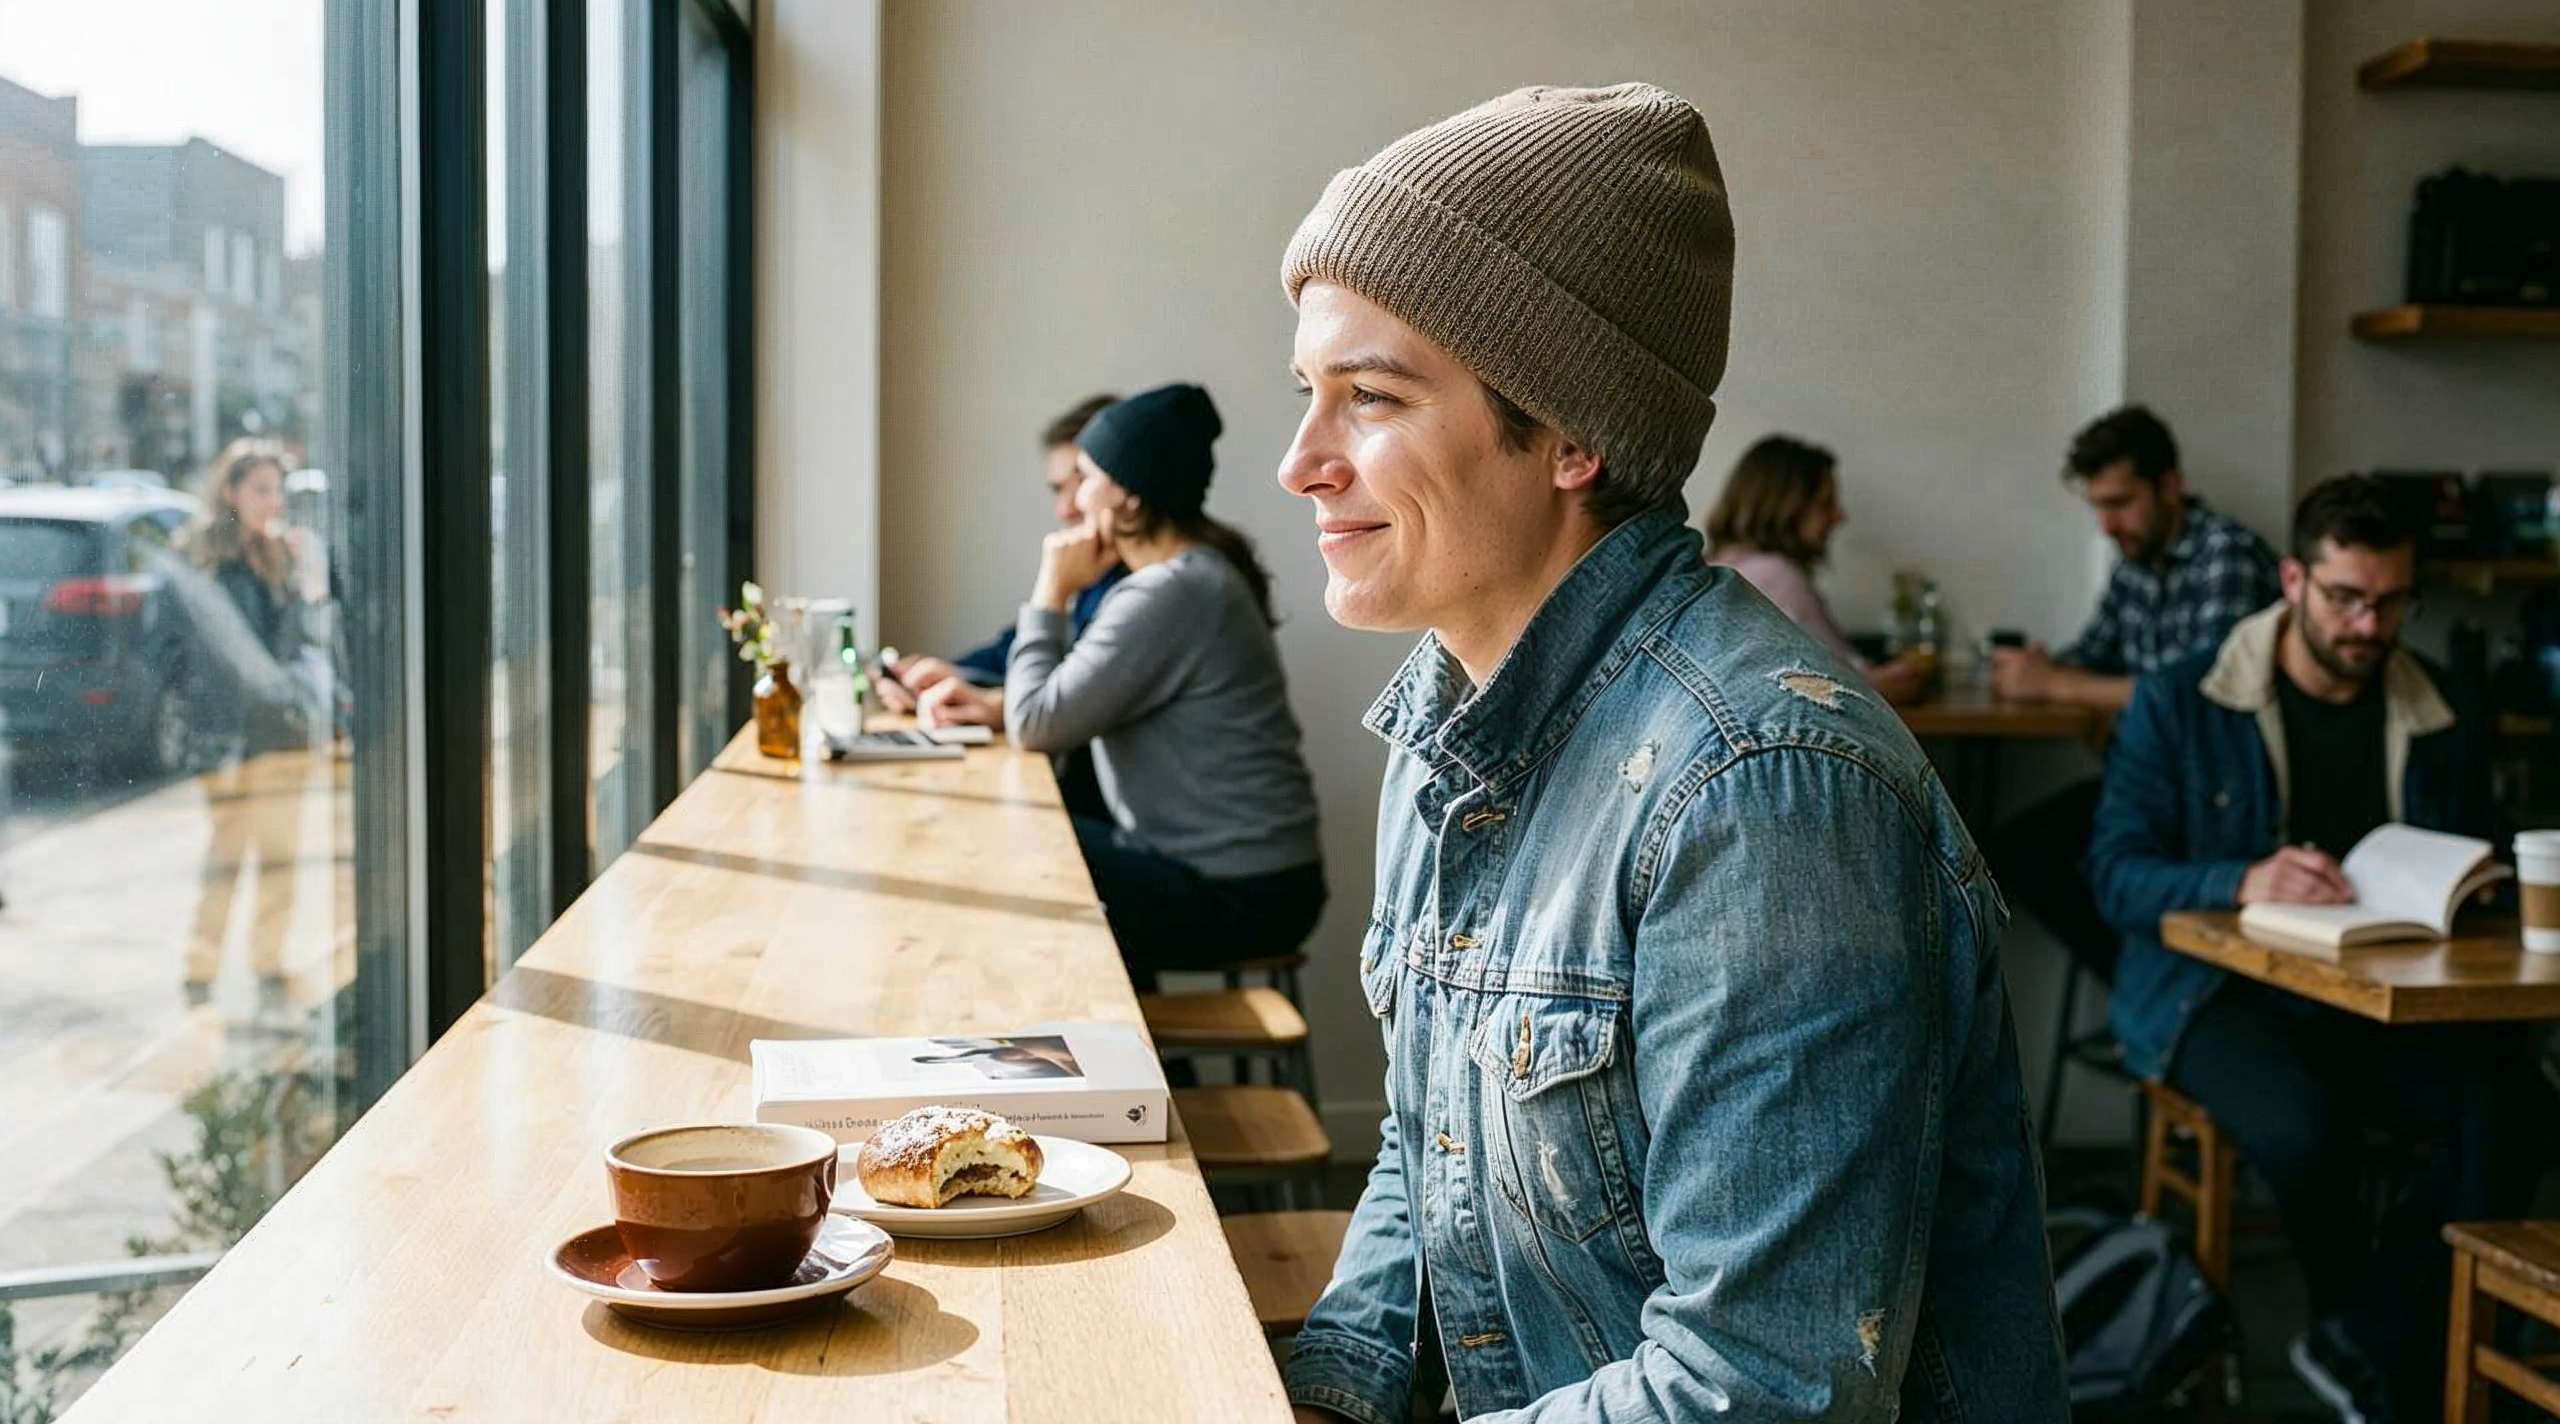
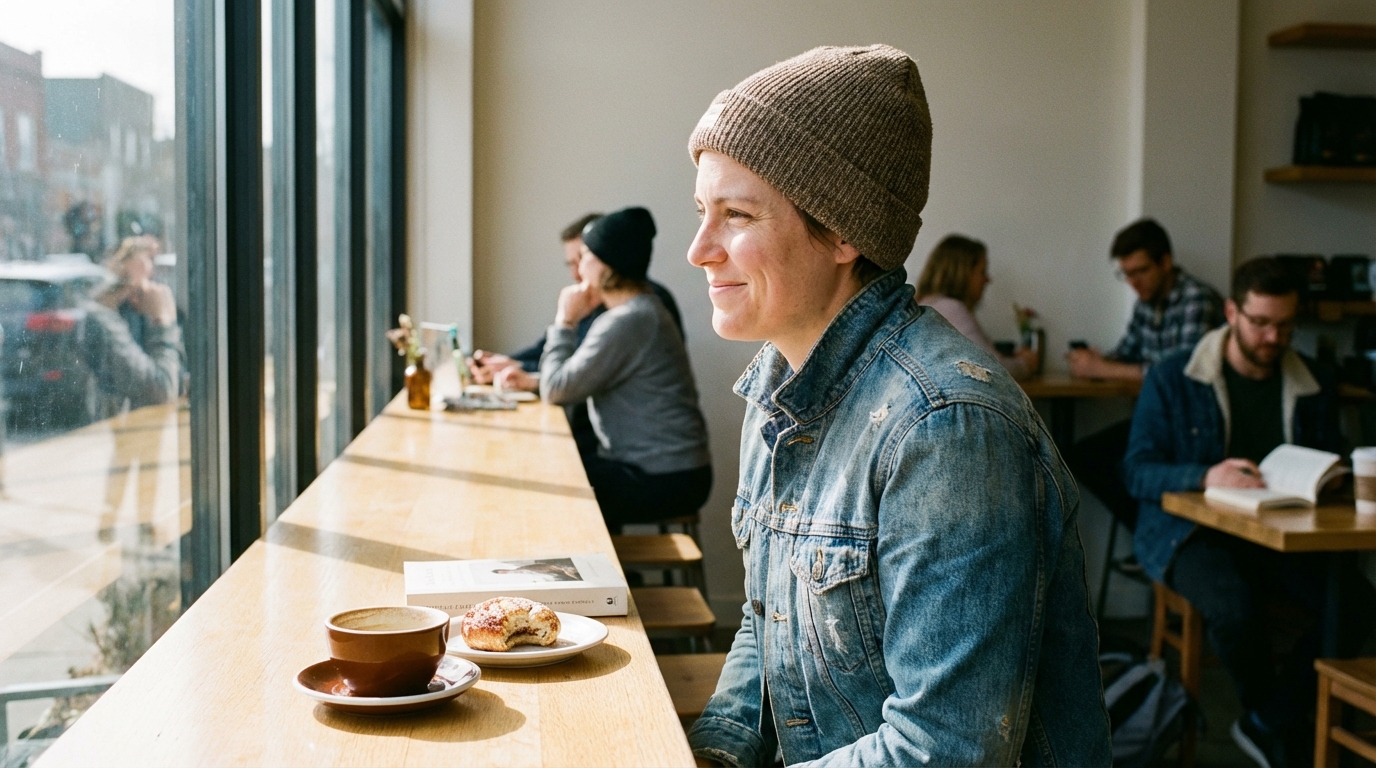
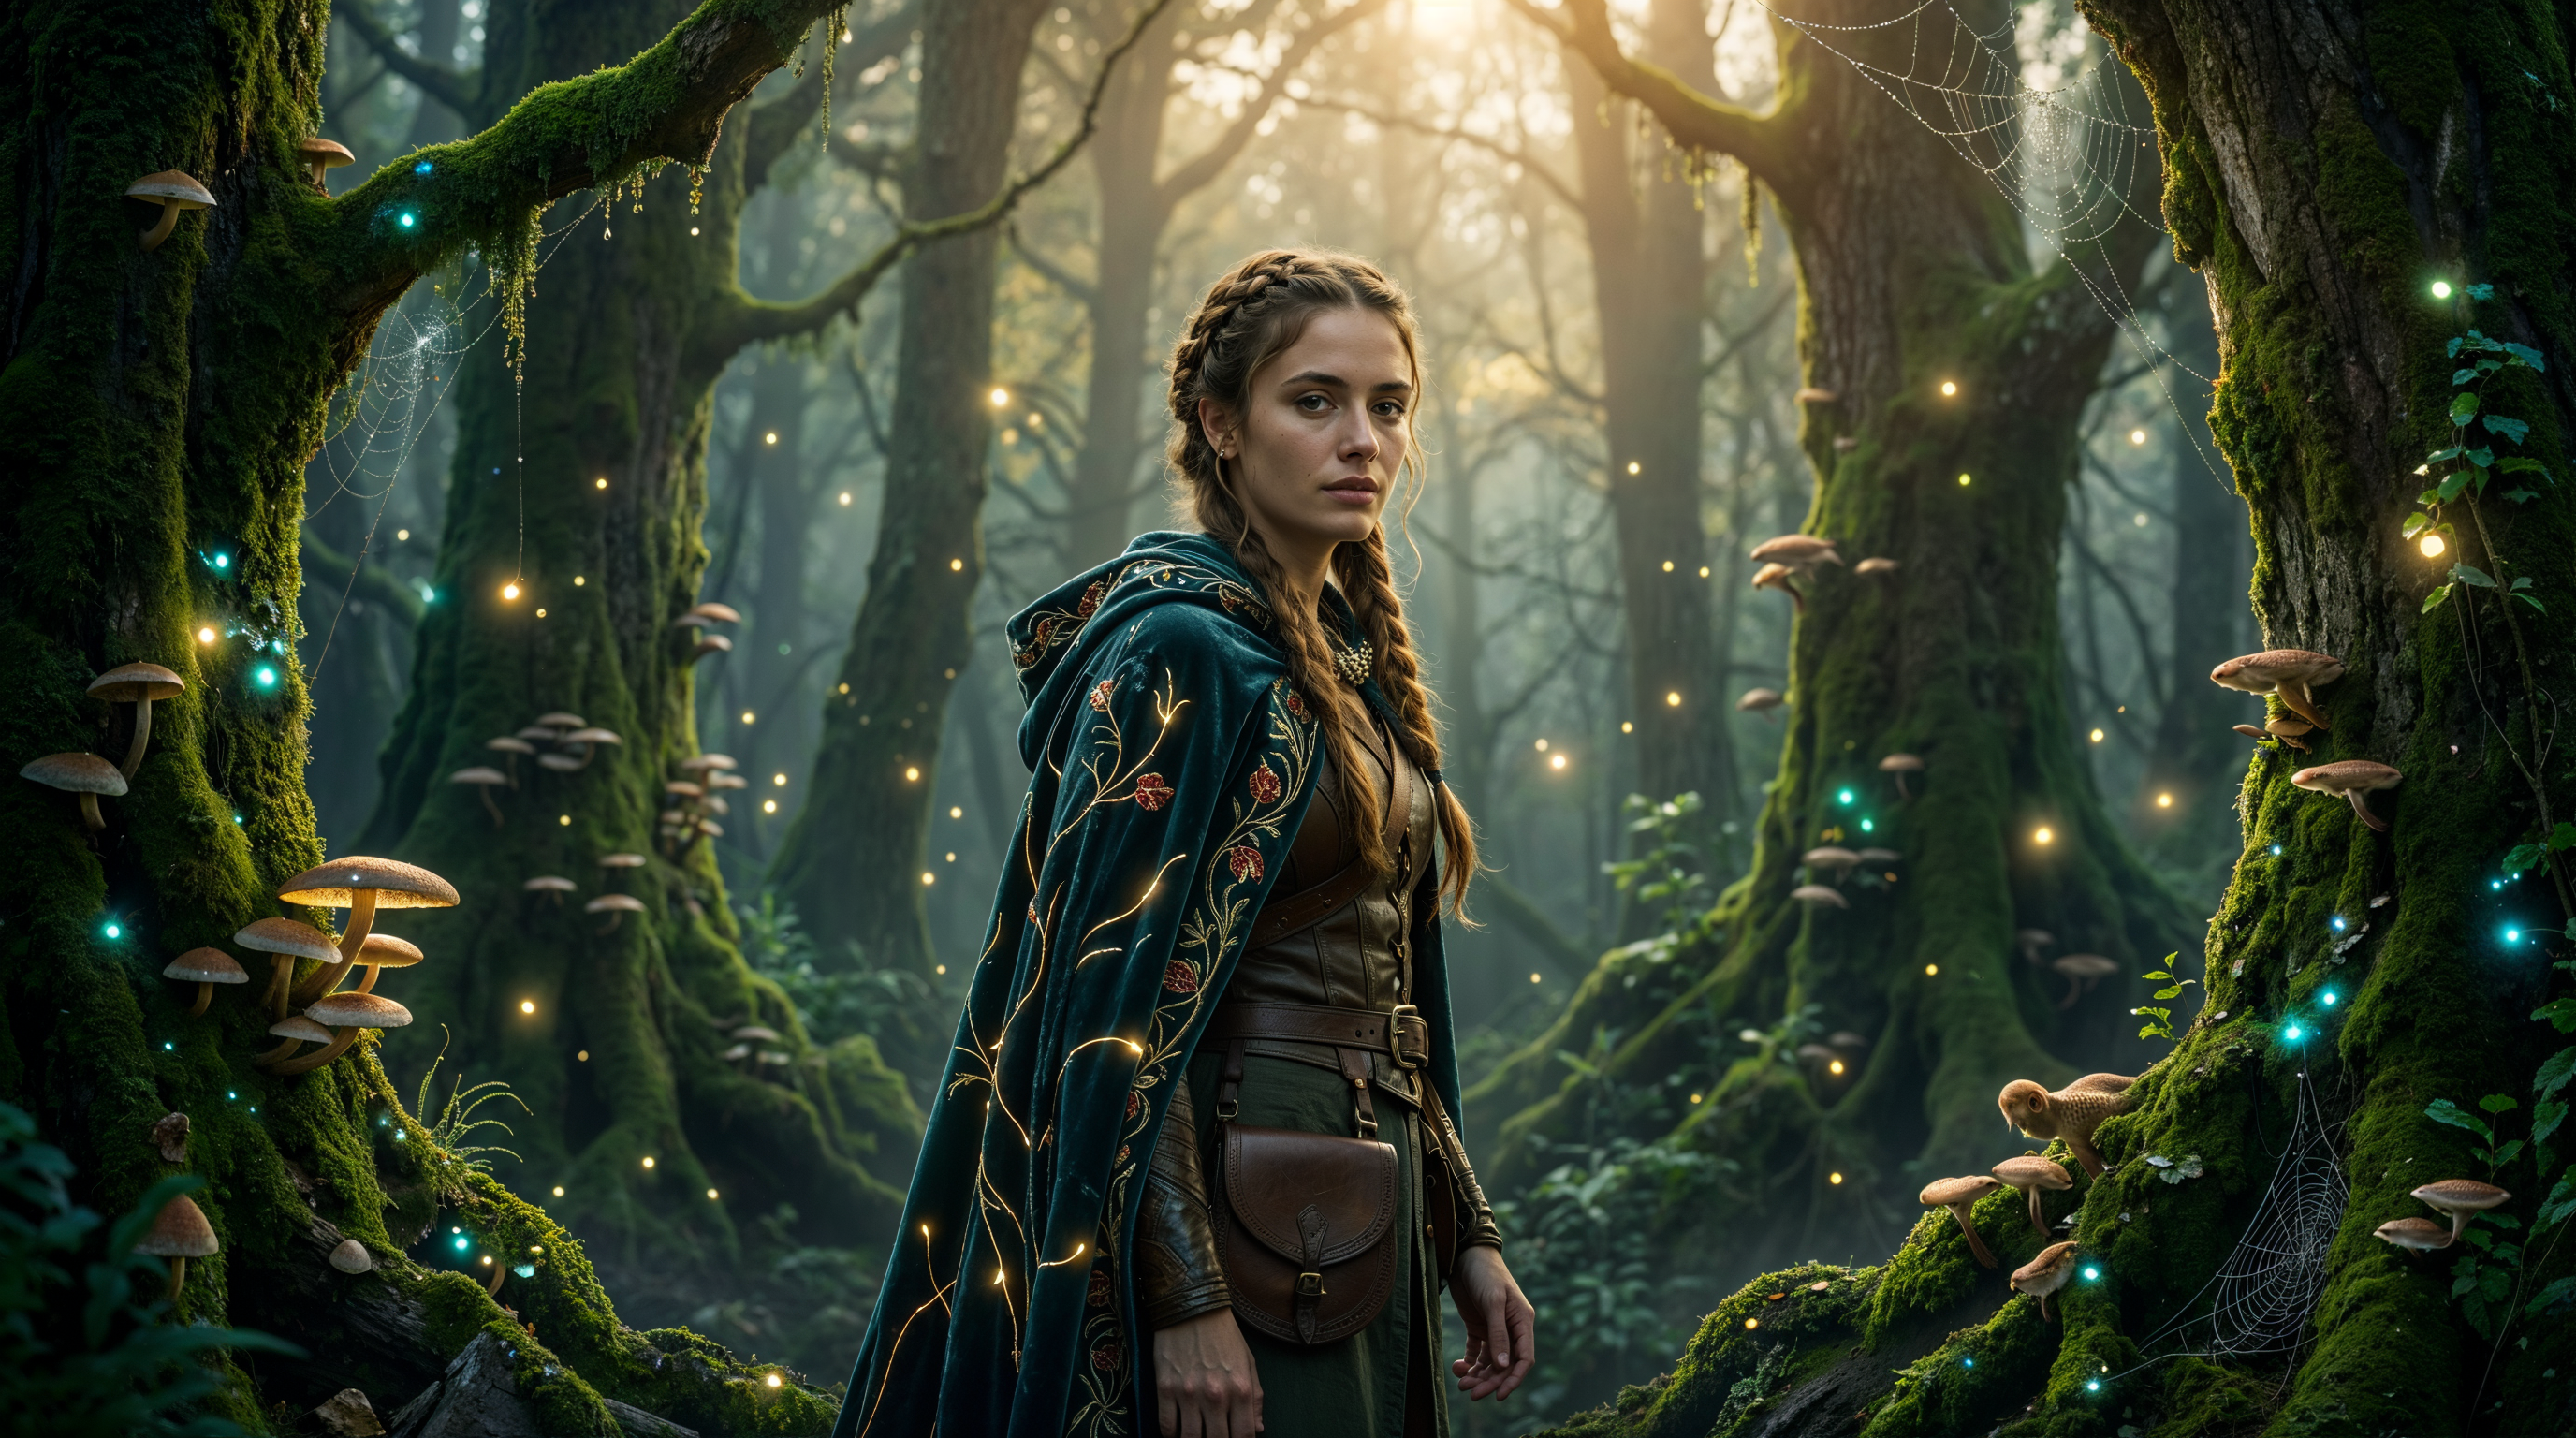
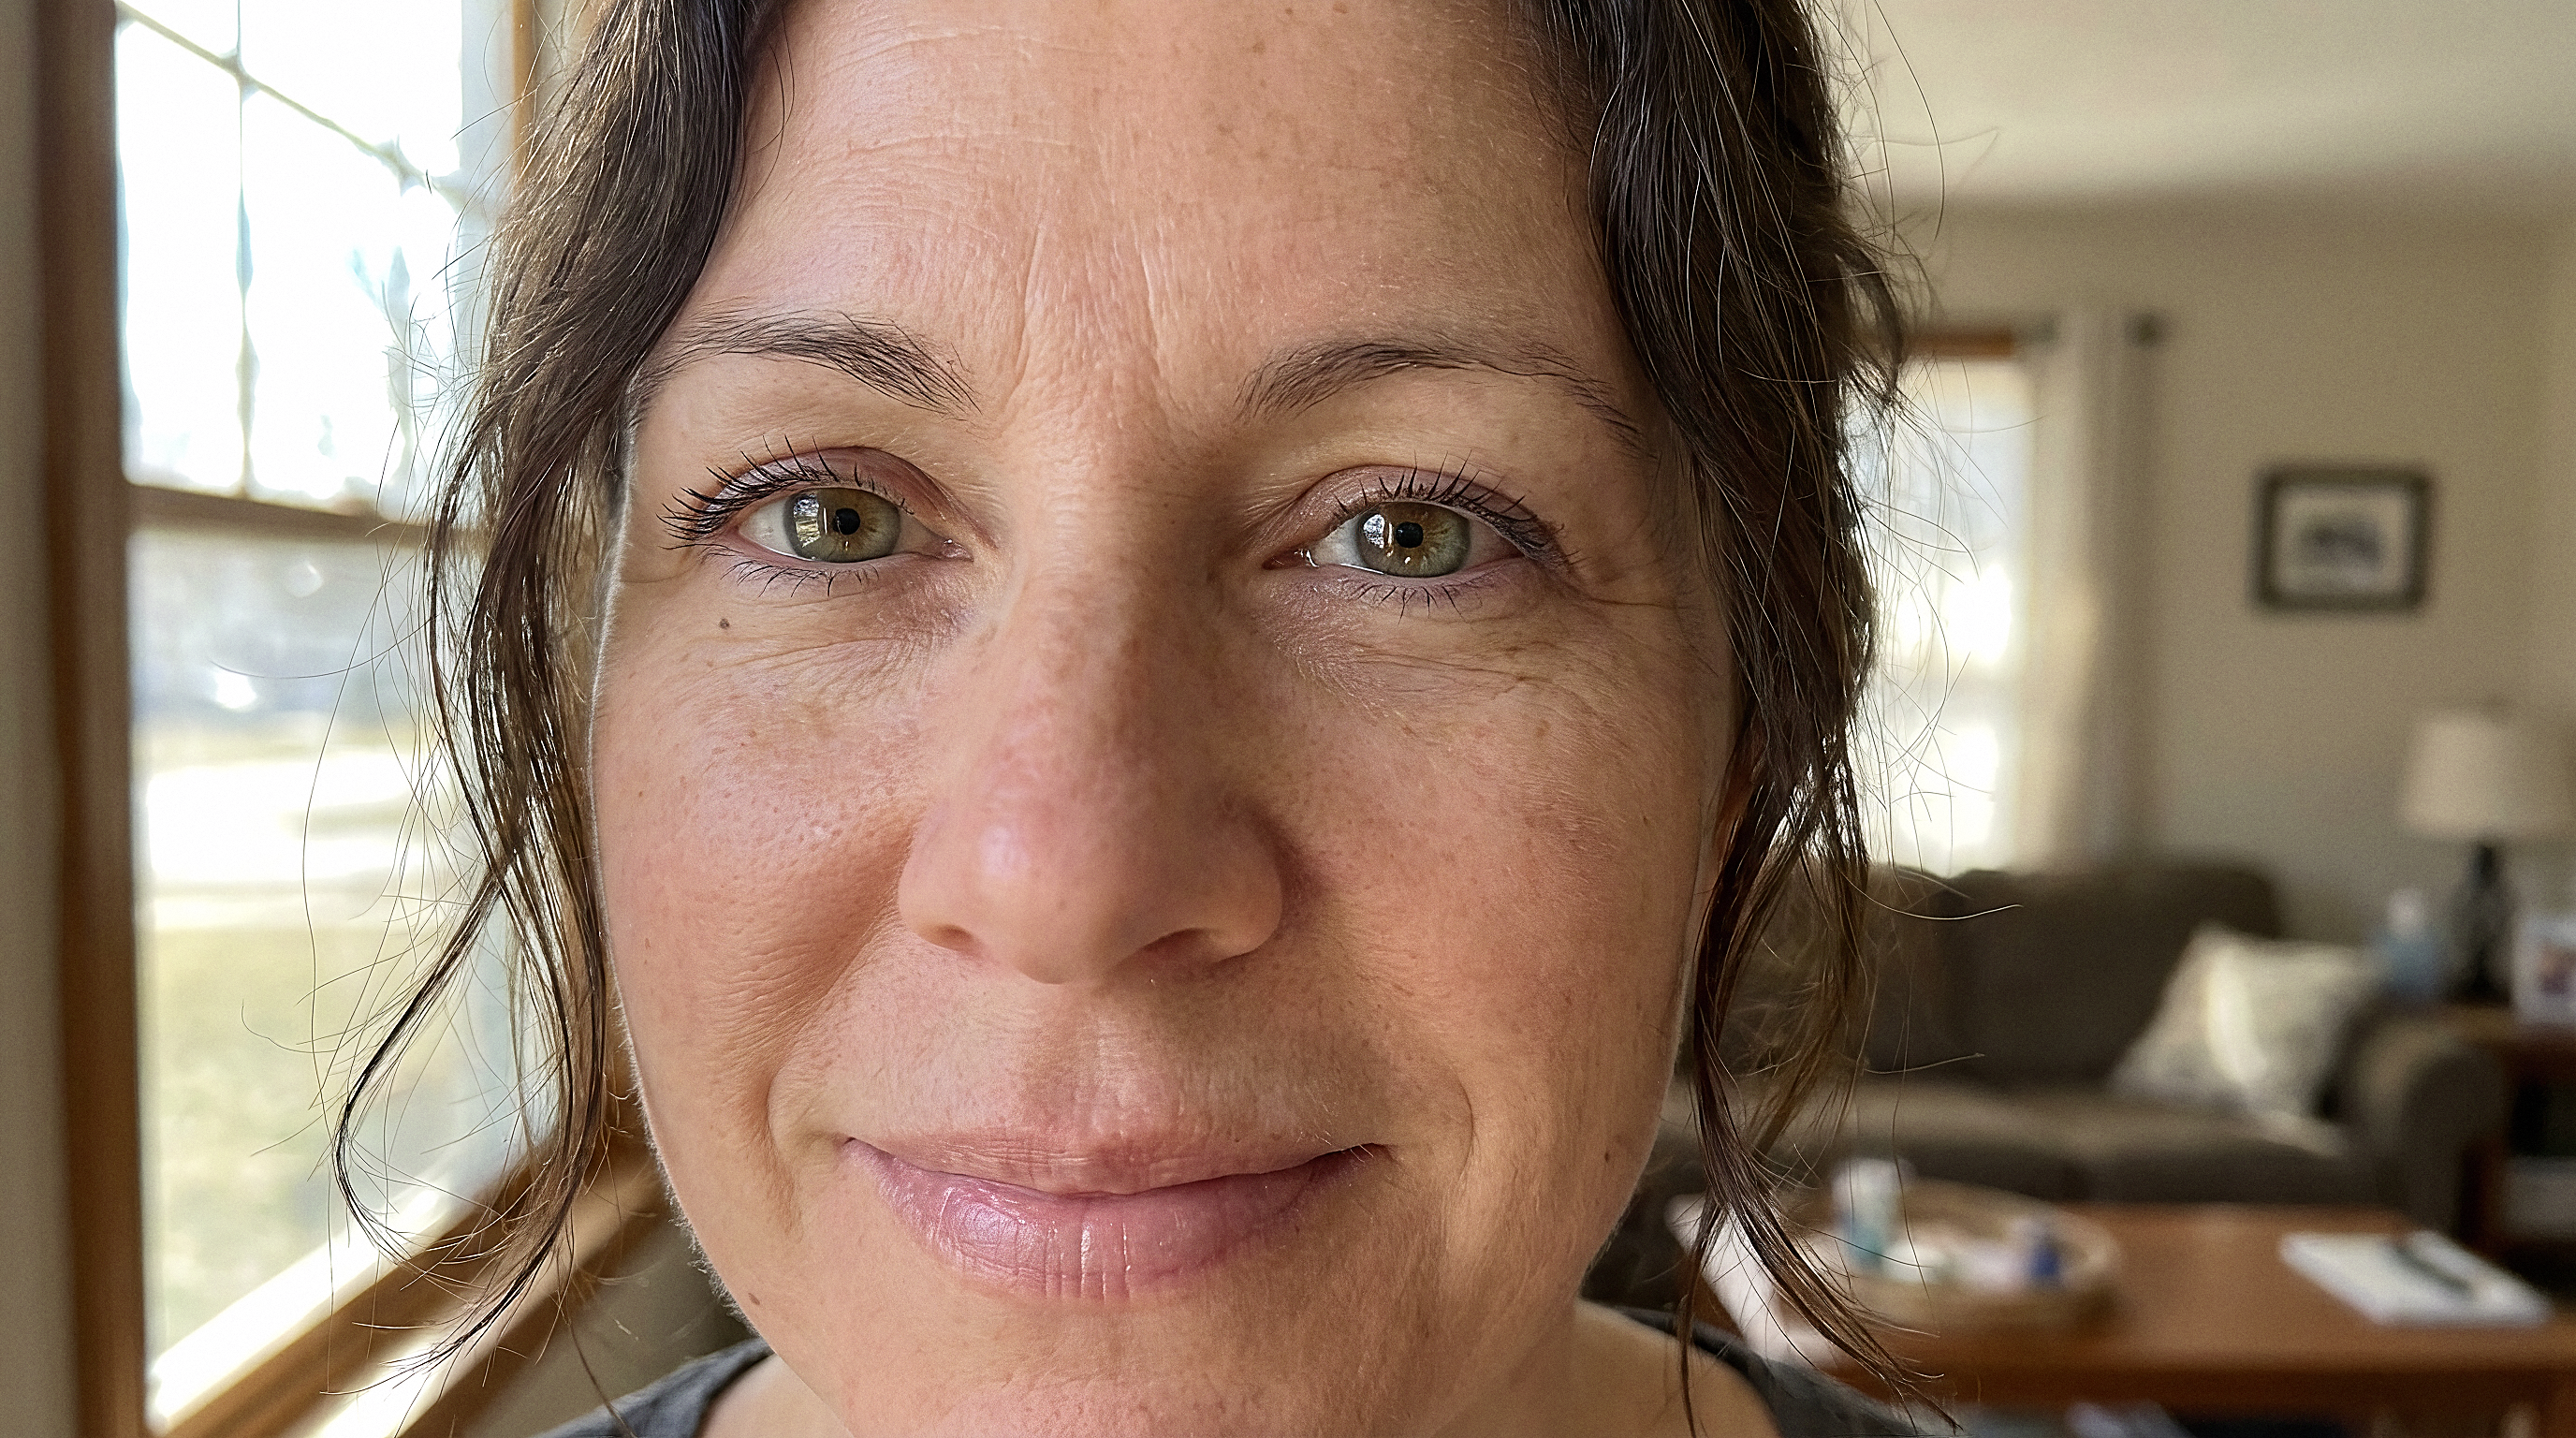
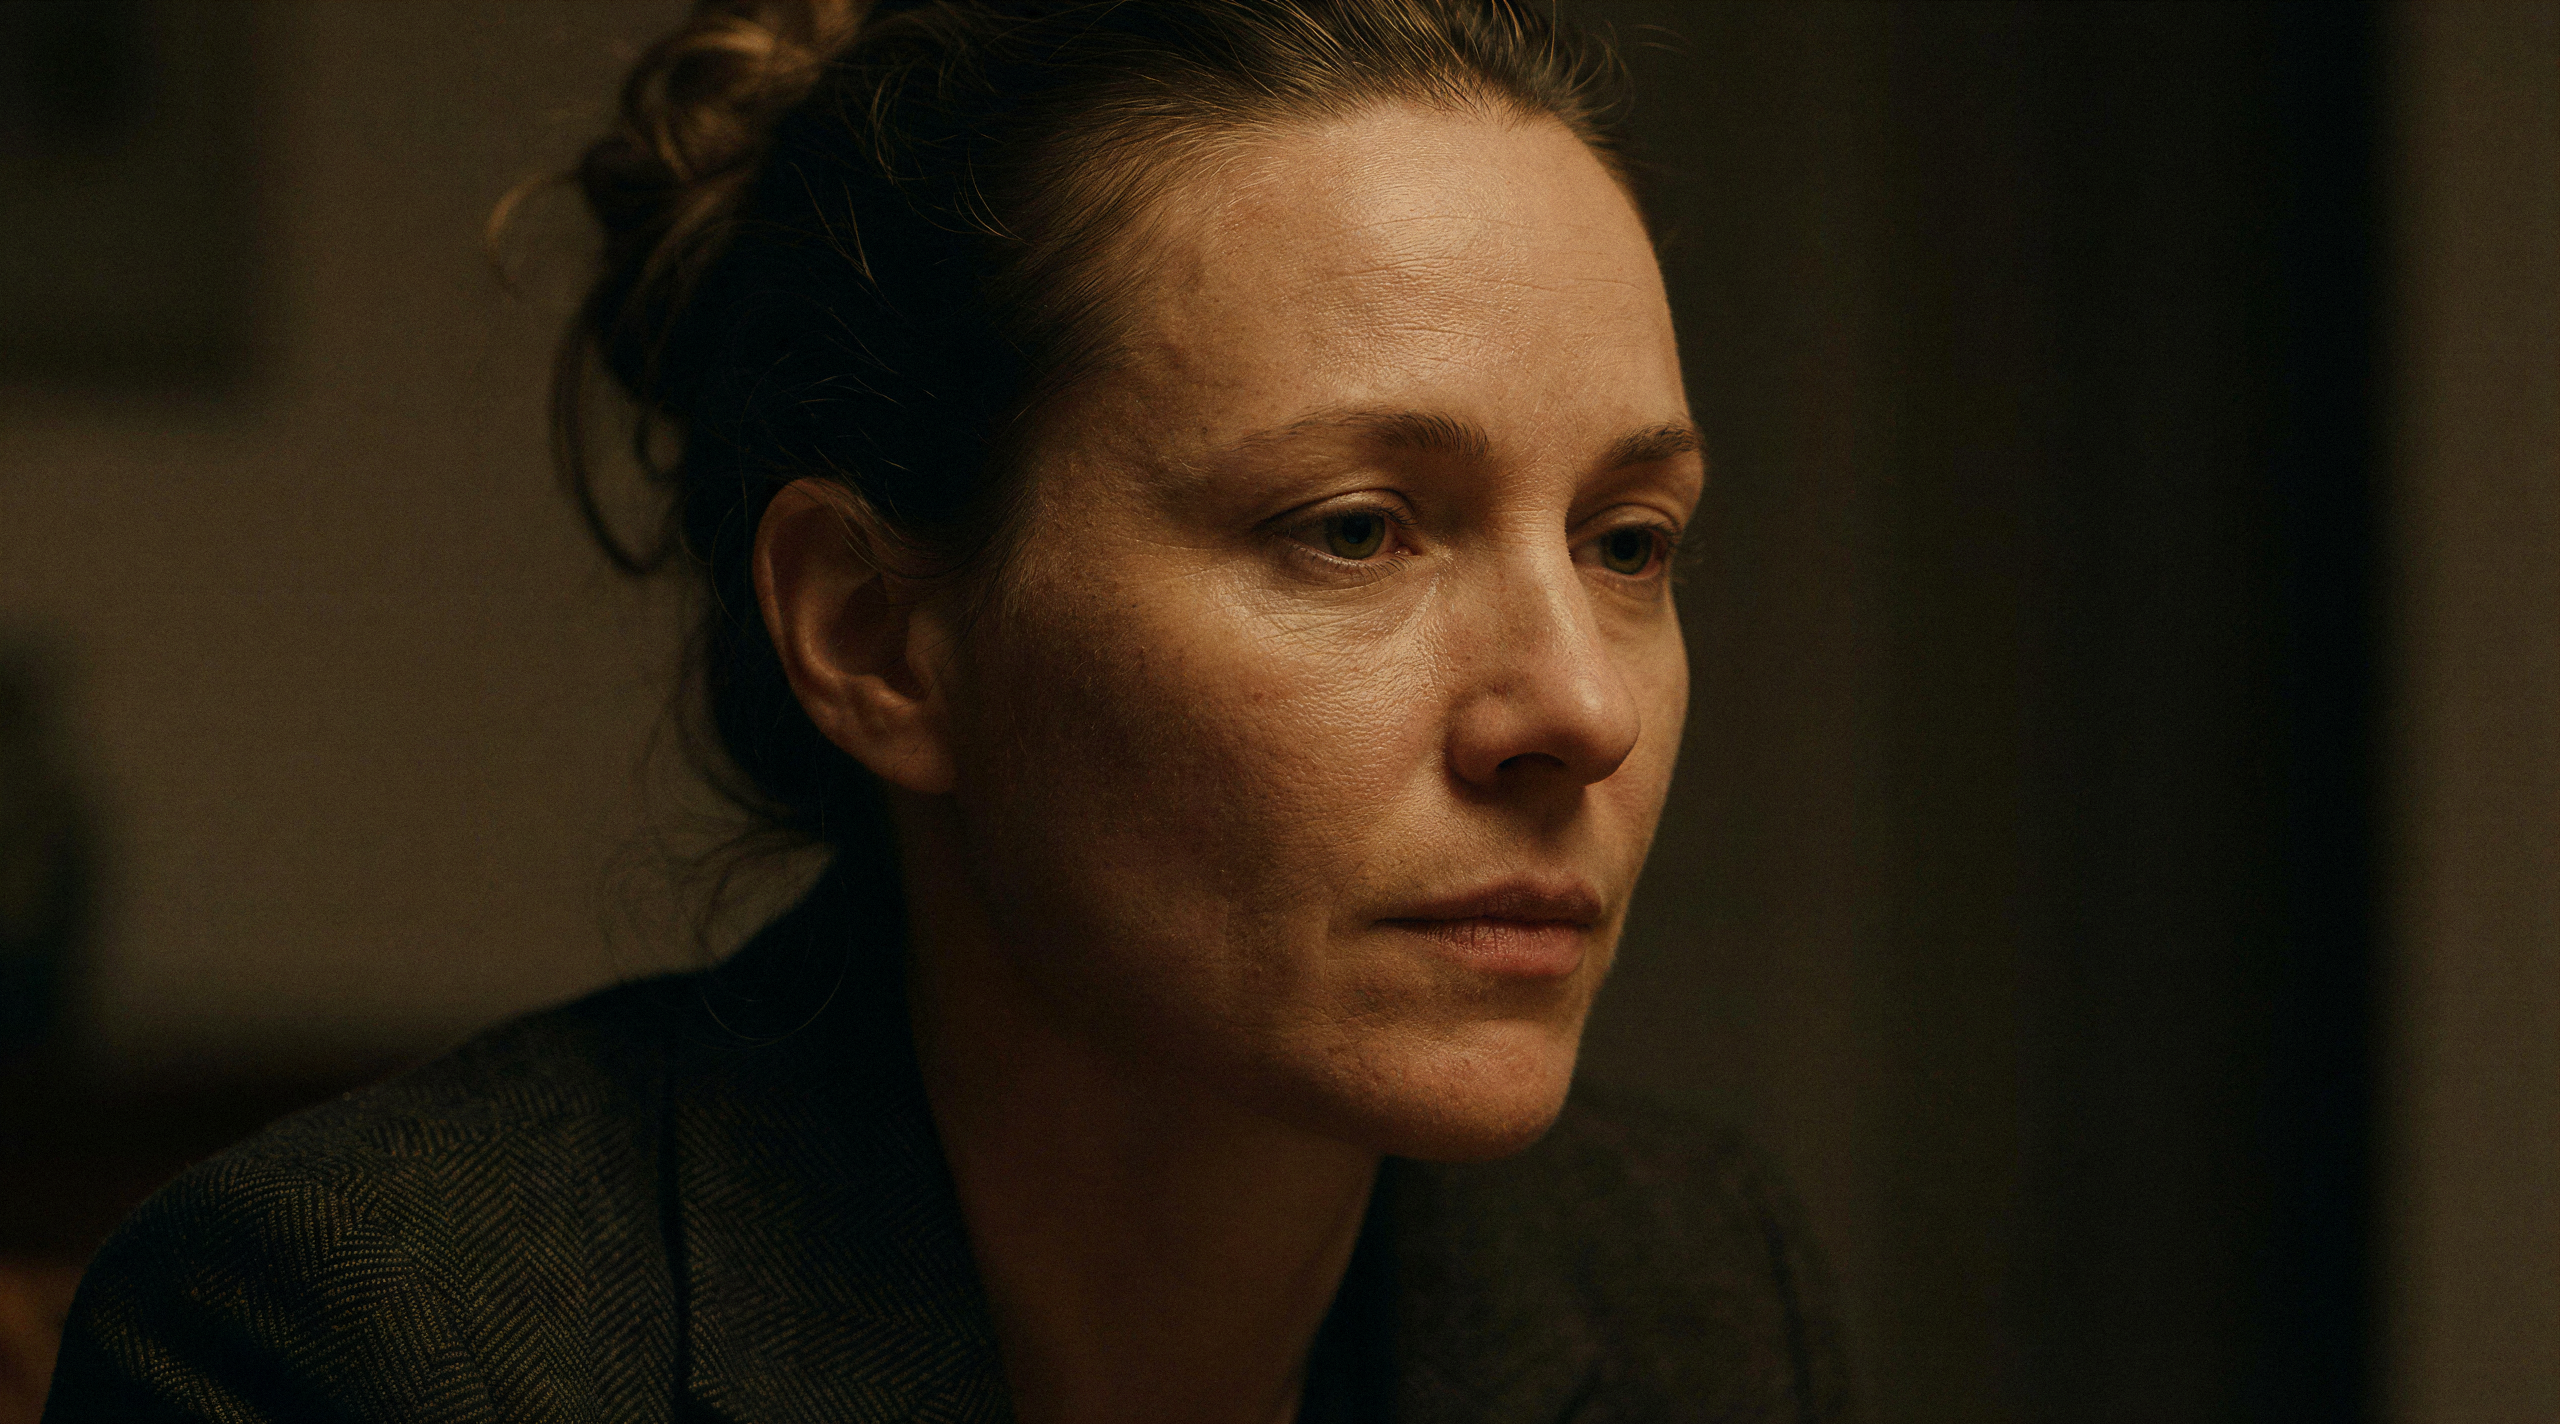
Soft Portraits - optimized for portrait processing with smooth skin rendering and softened details.
Example:
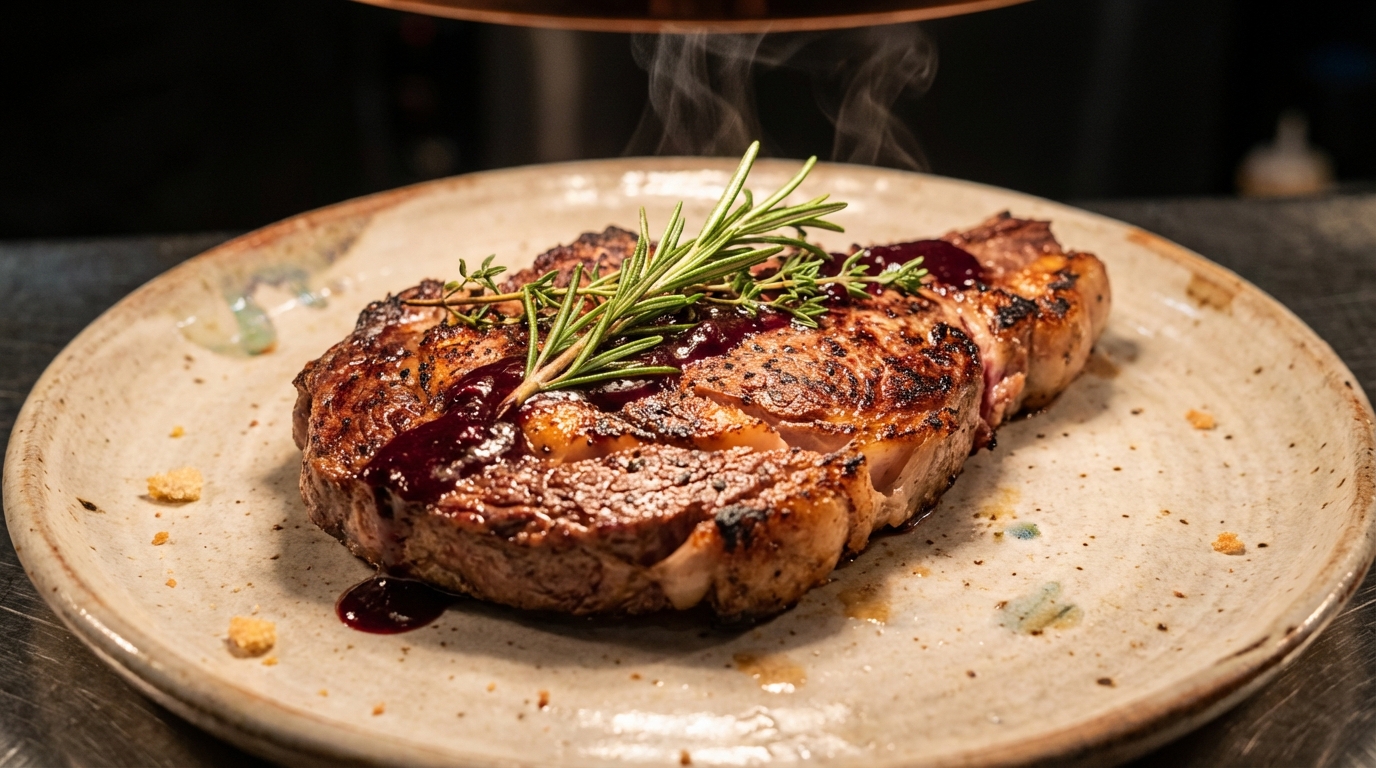
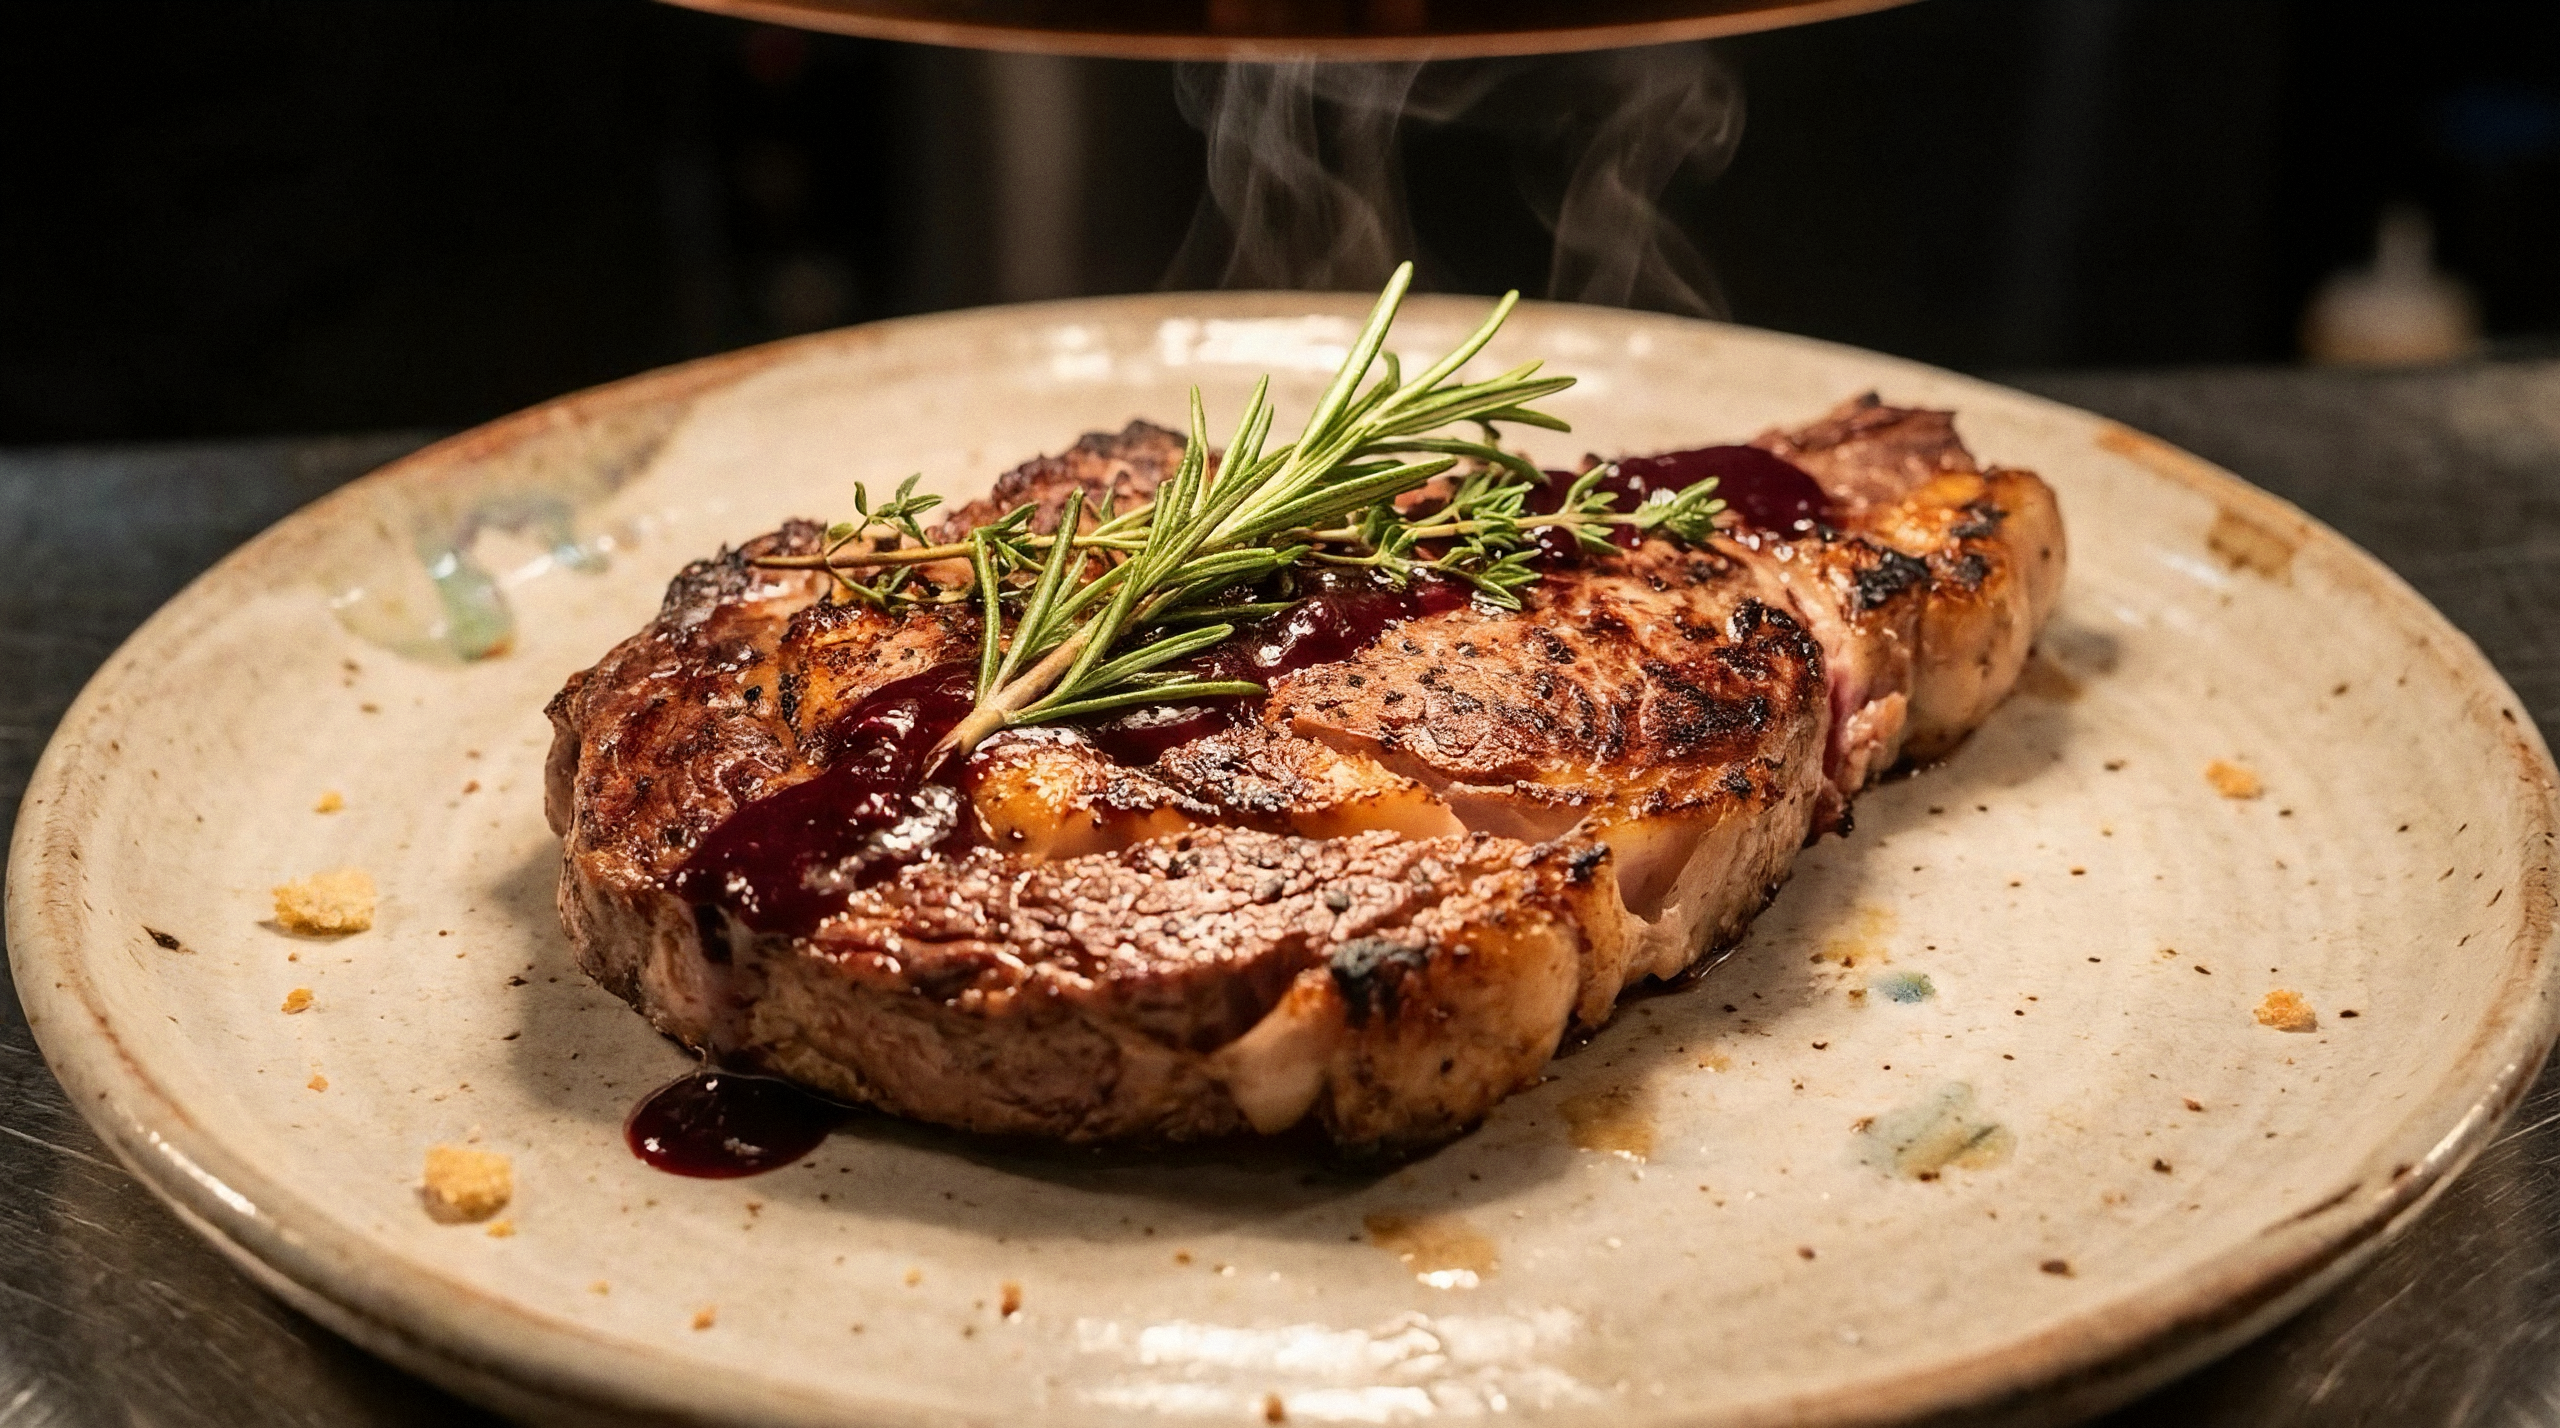
Original image:
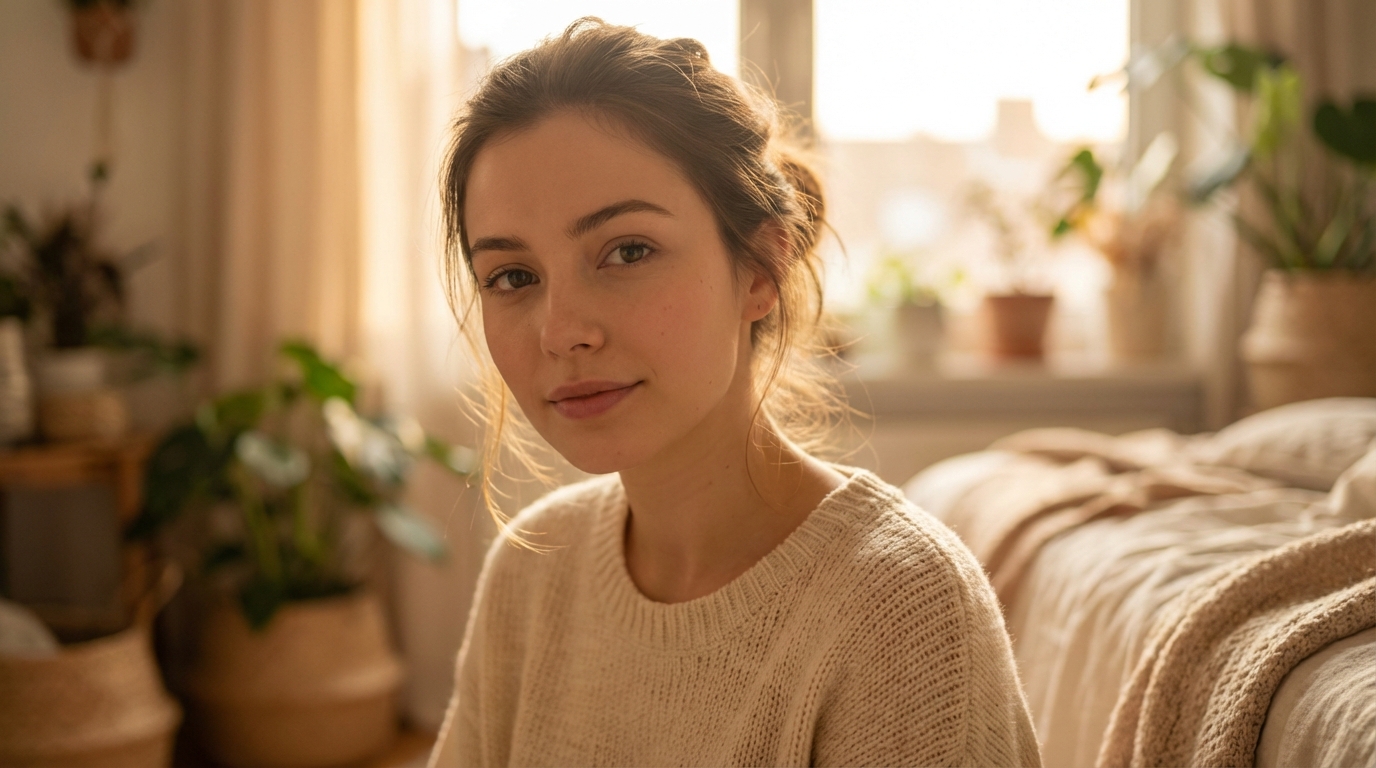
Result:

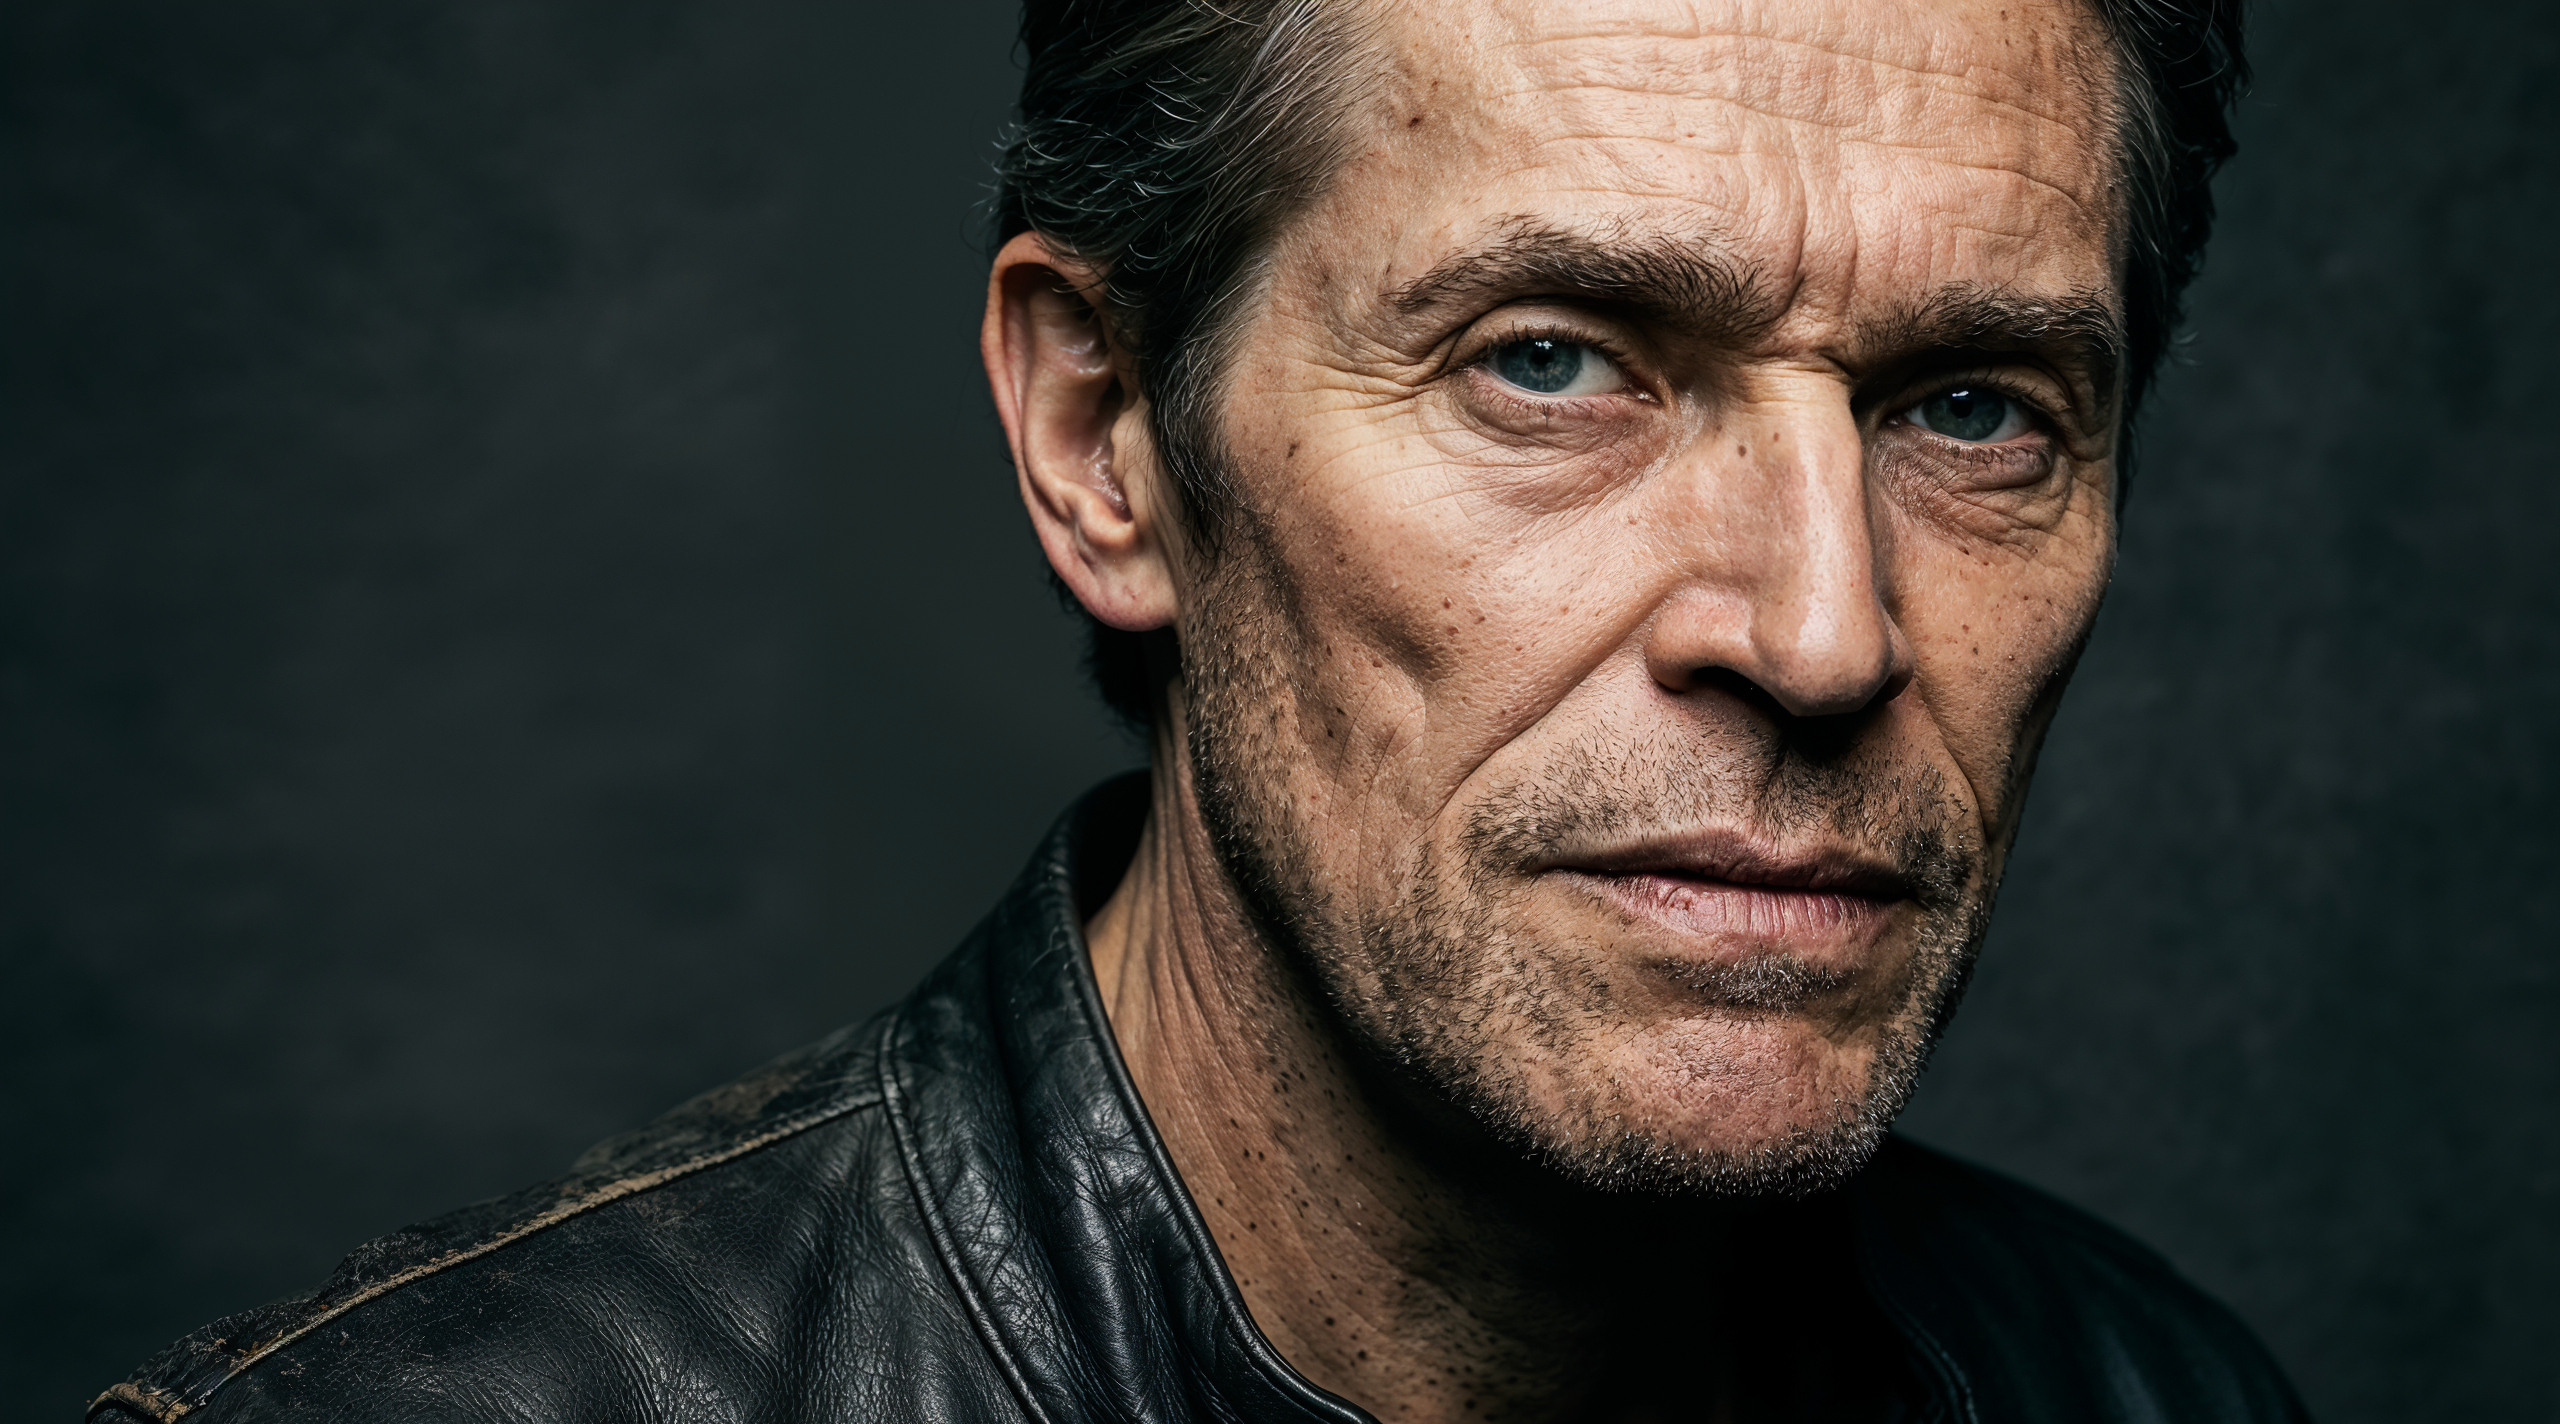
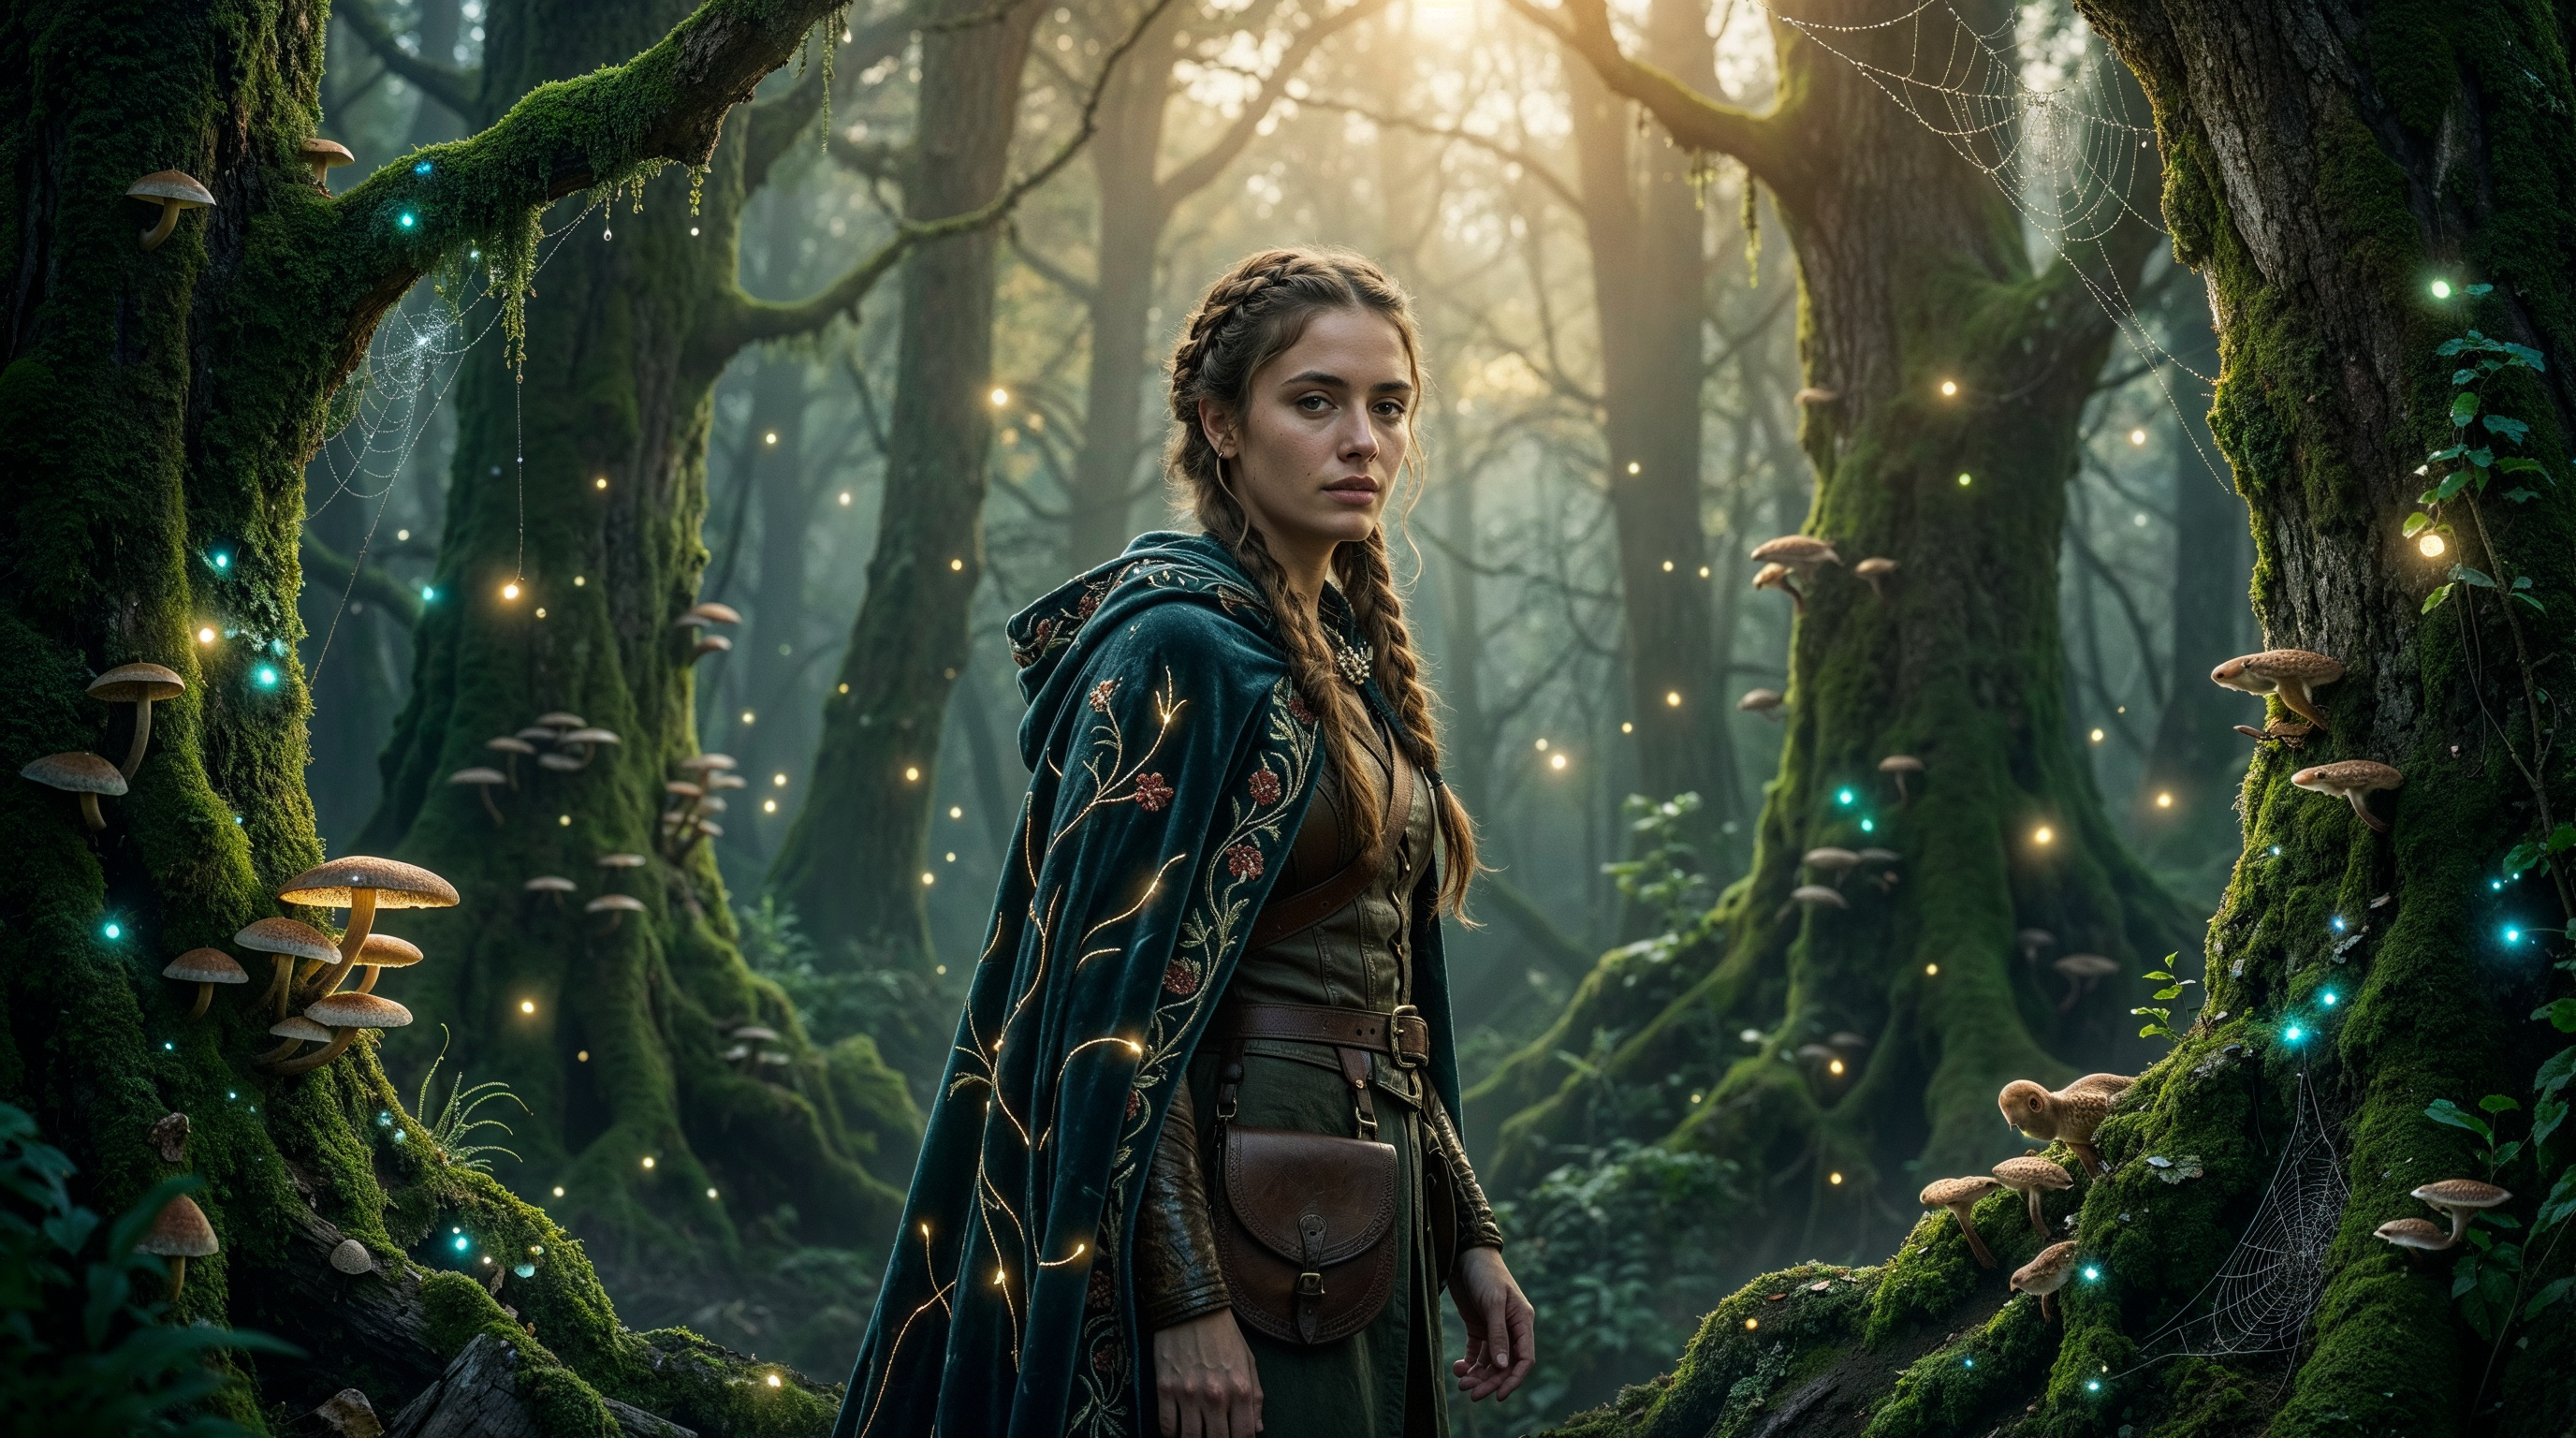
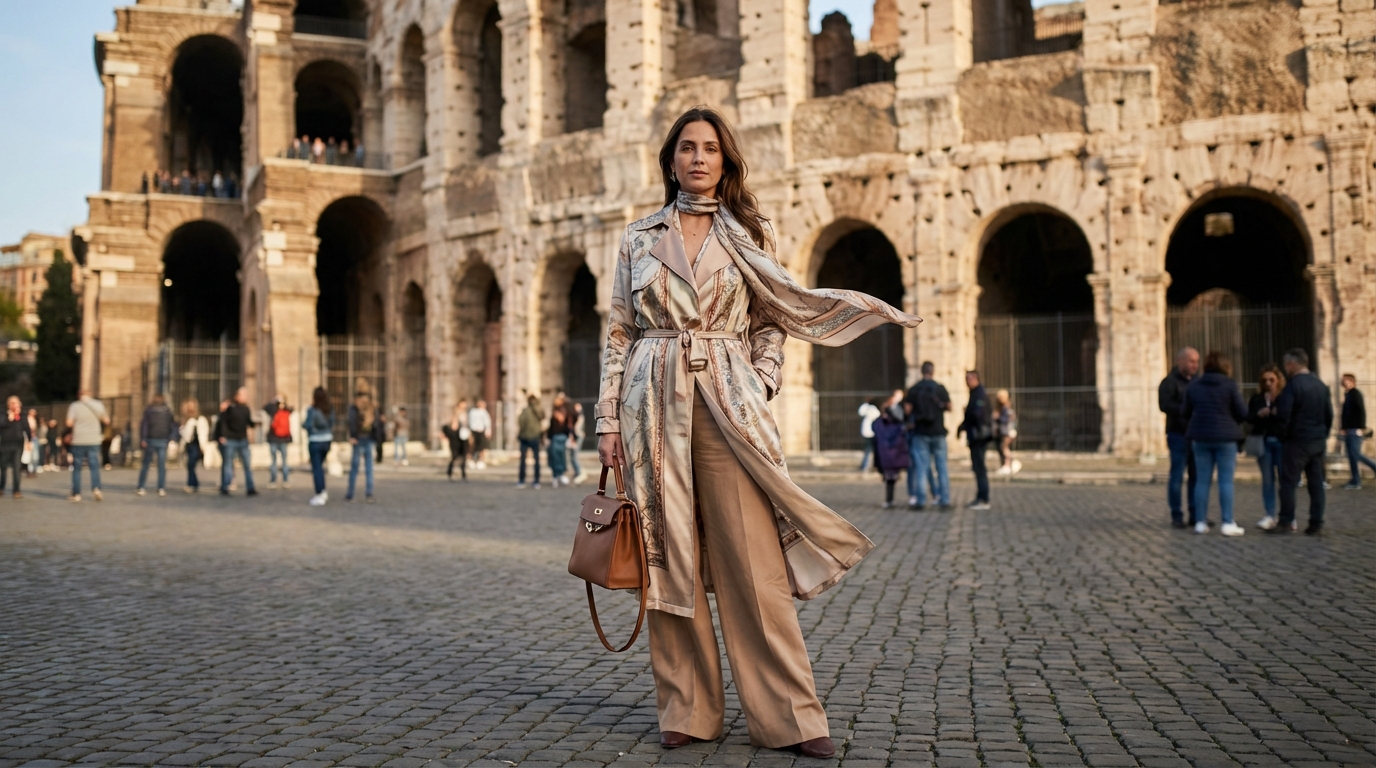
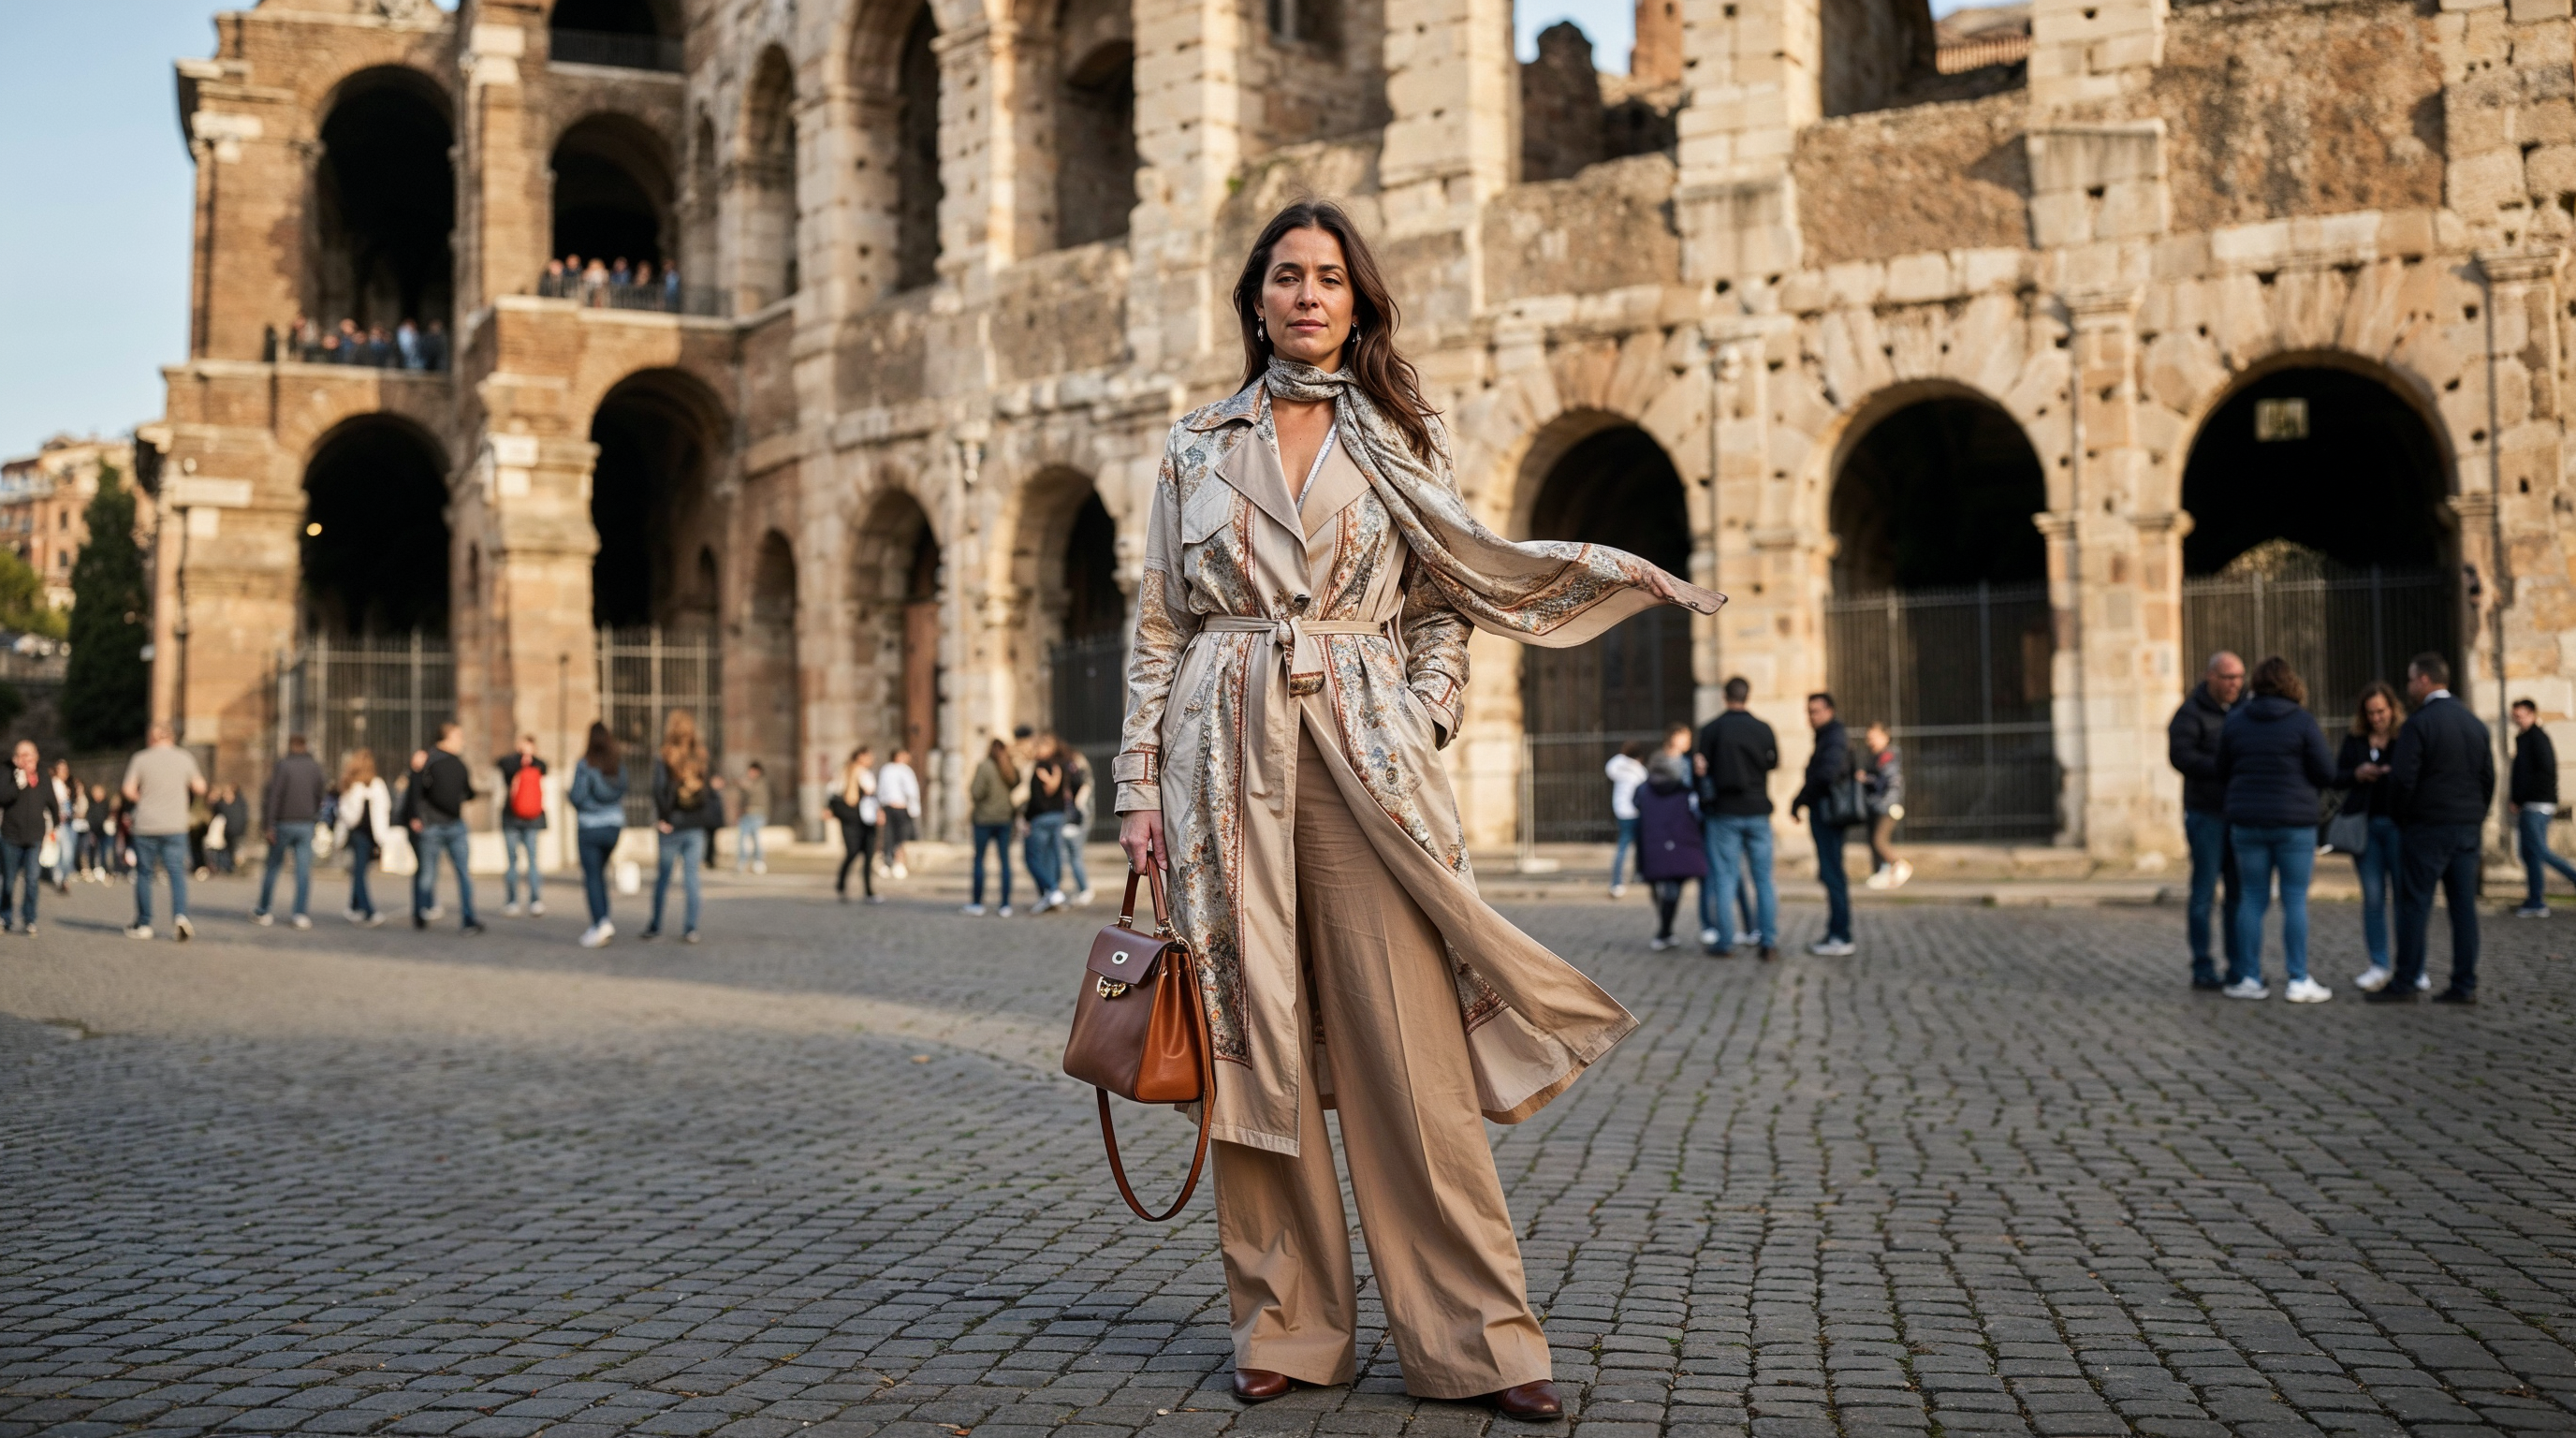
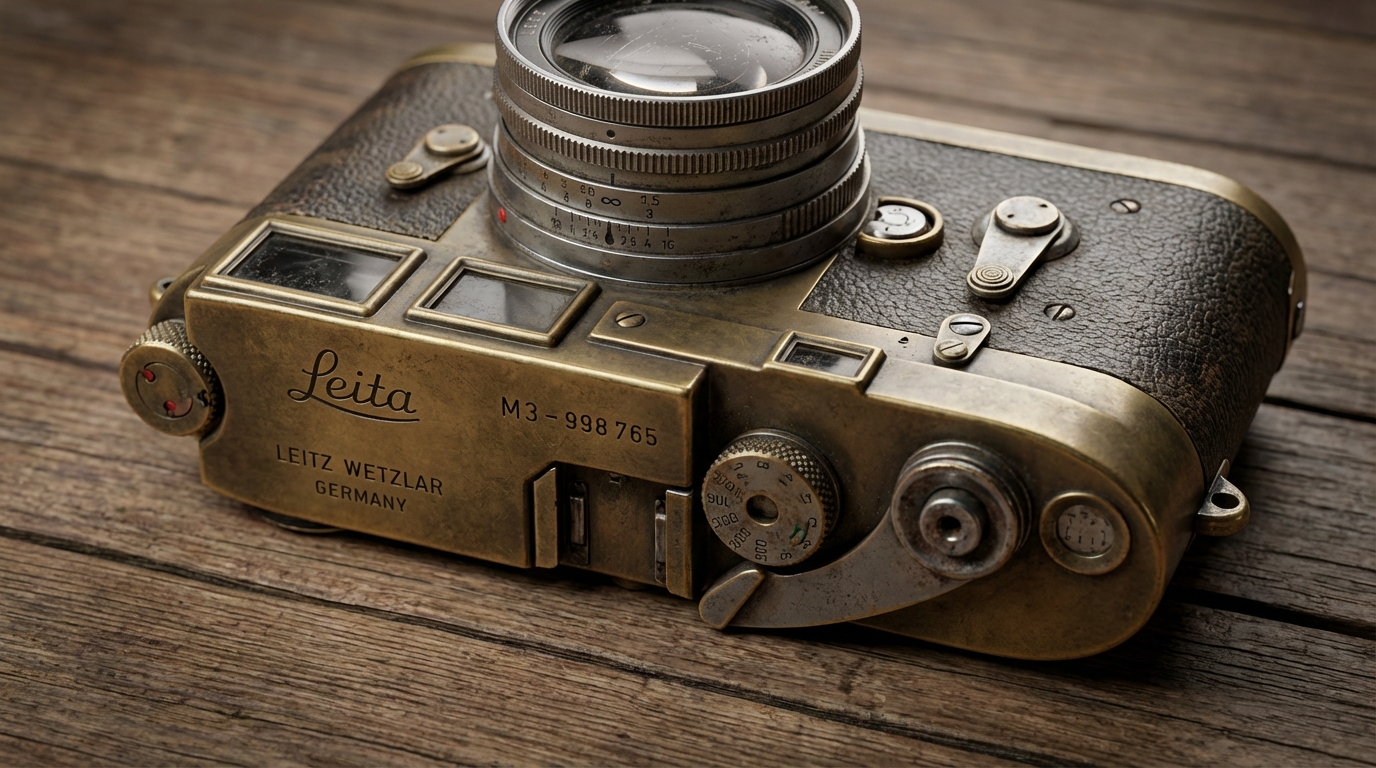
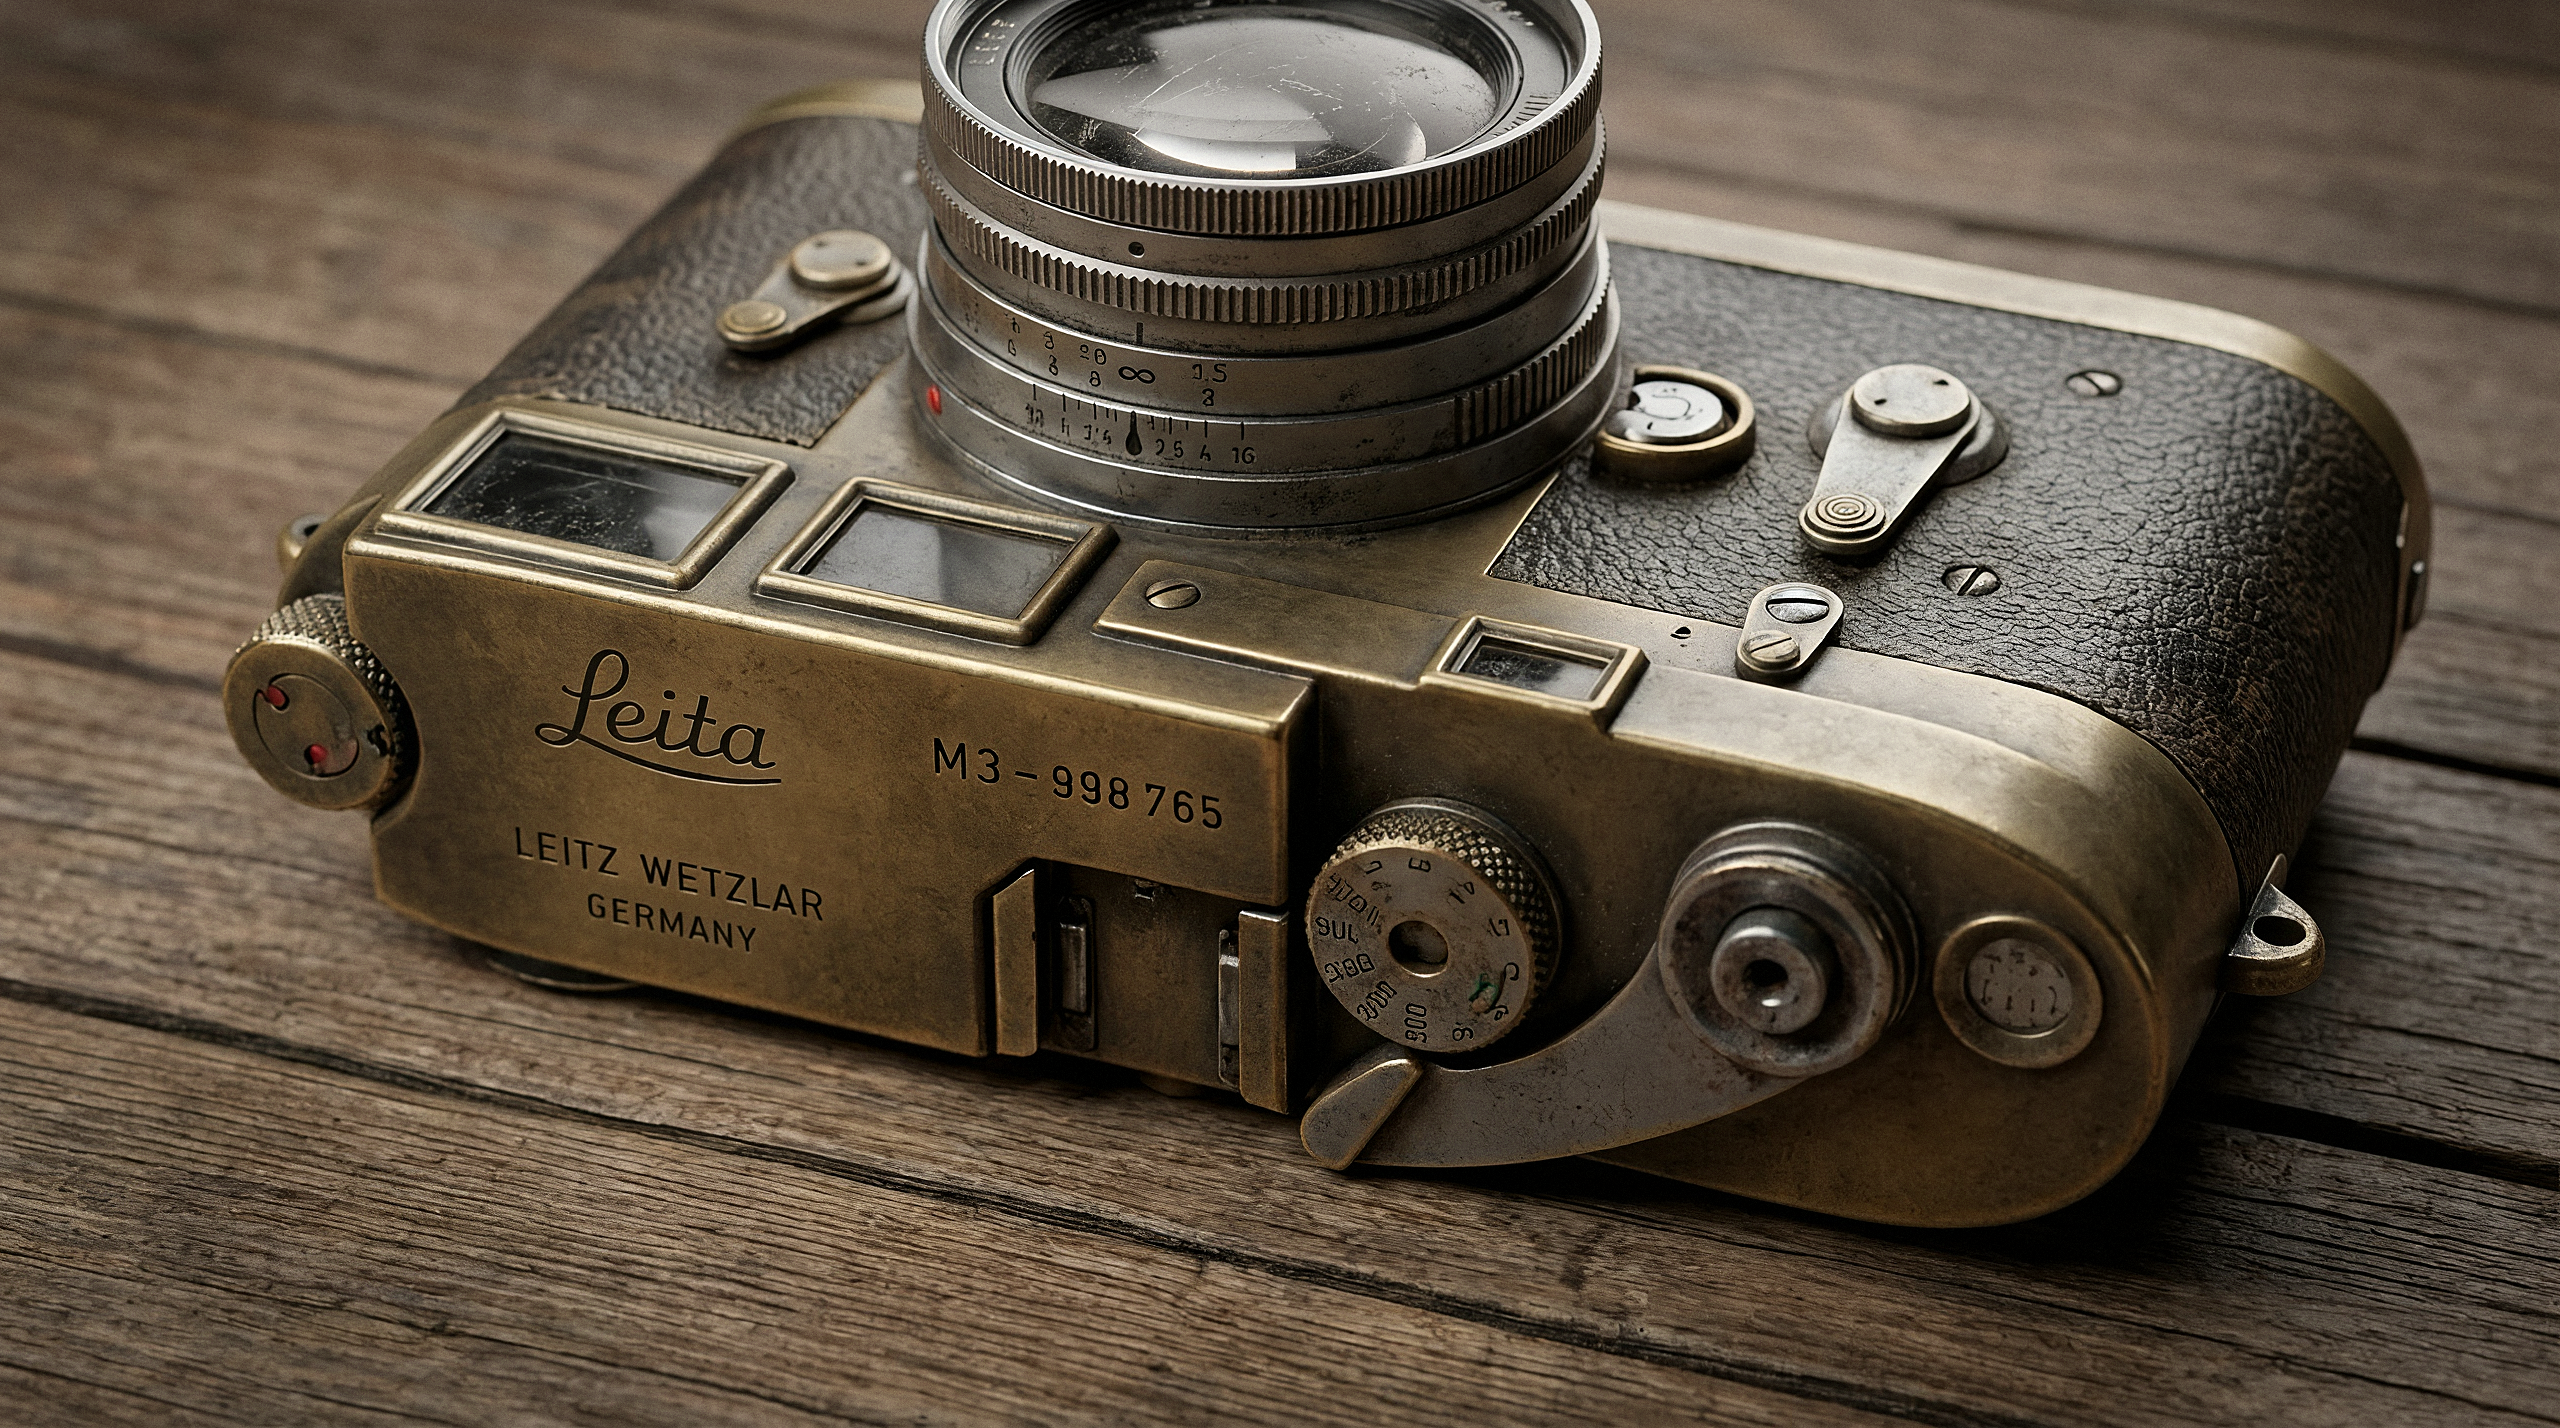
Sharp Portraits - enhances sharpness and detail in portraits, making facial features more defined and expressive.
Example:
Original image:

Result:
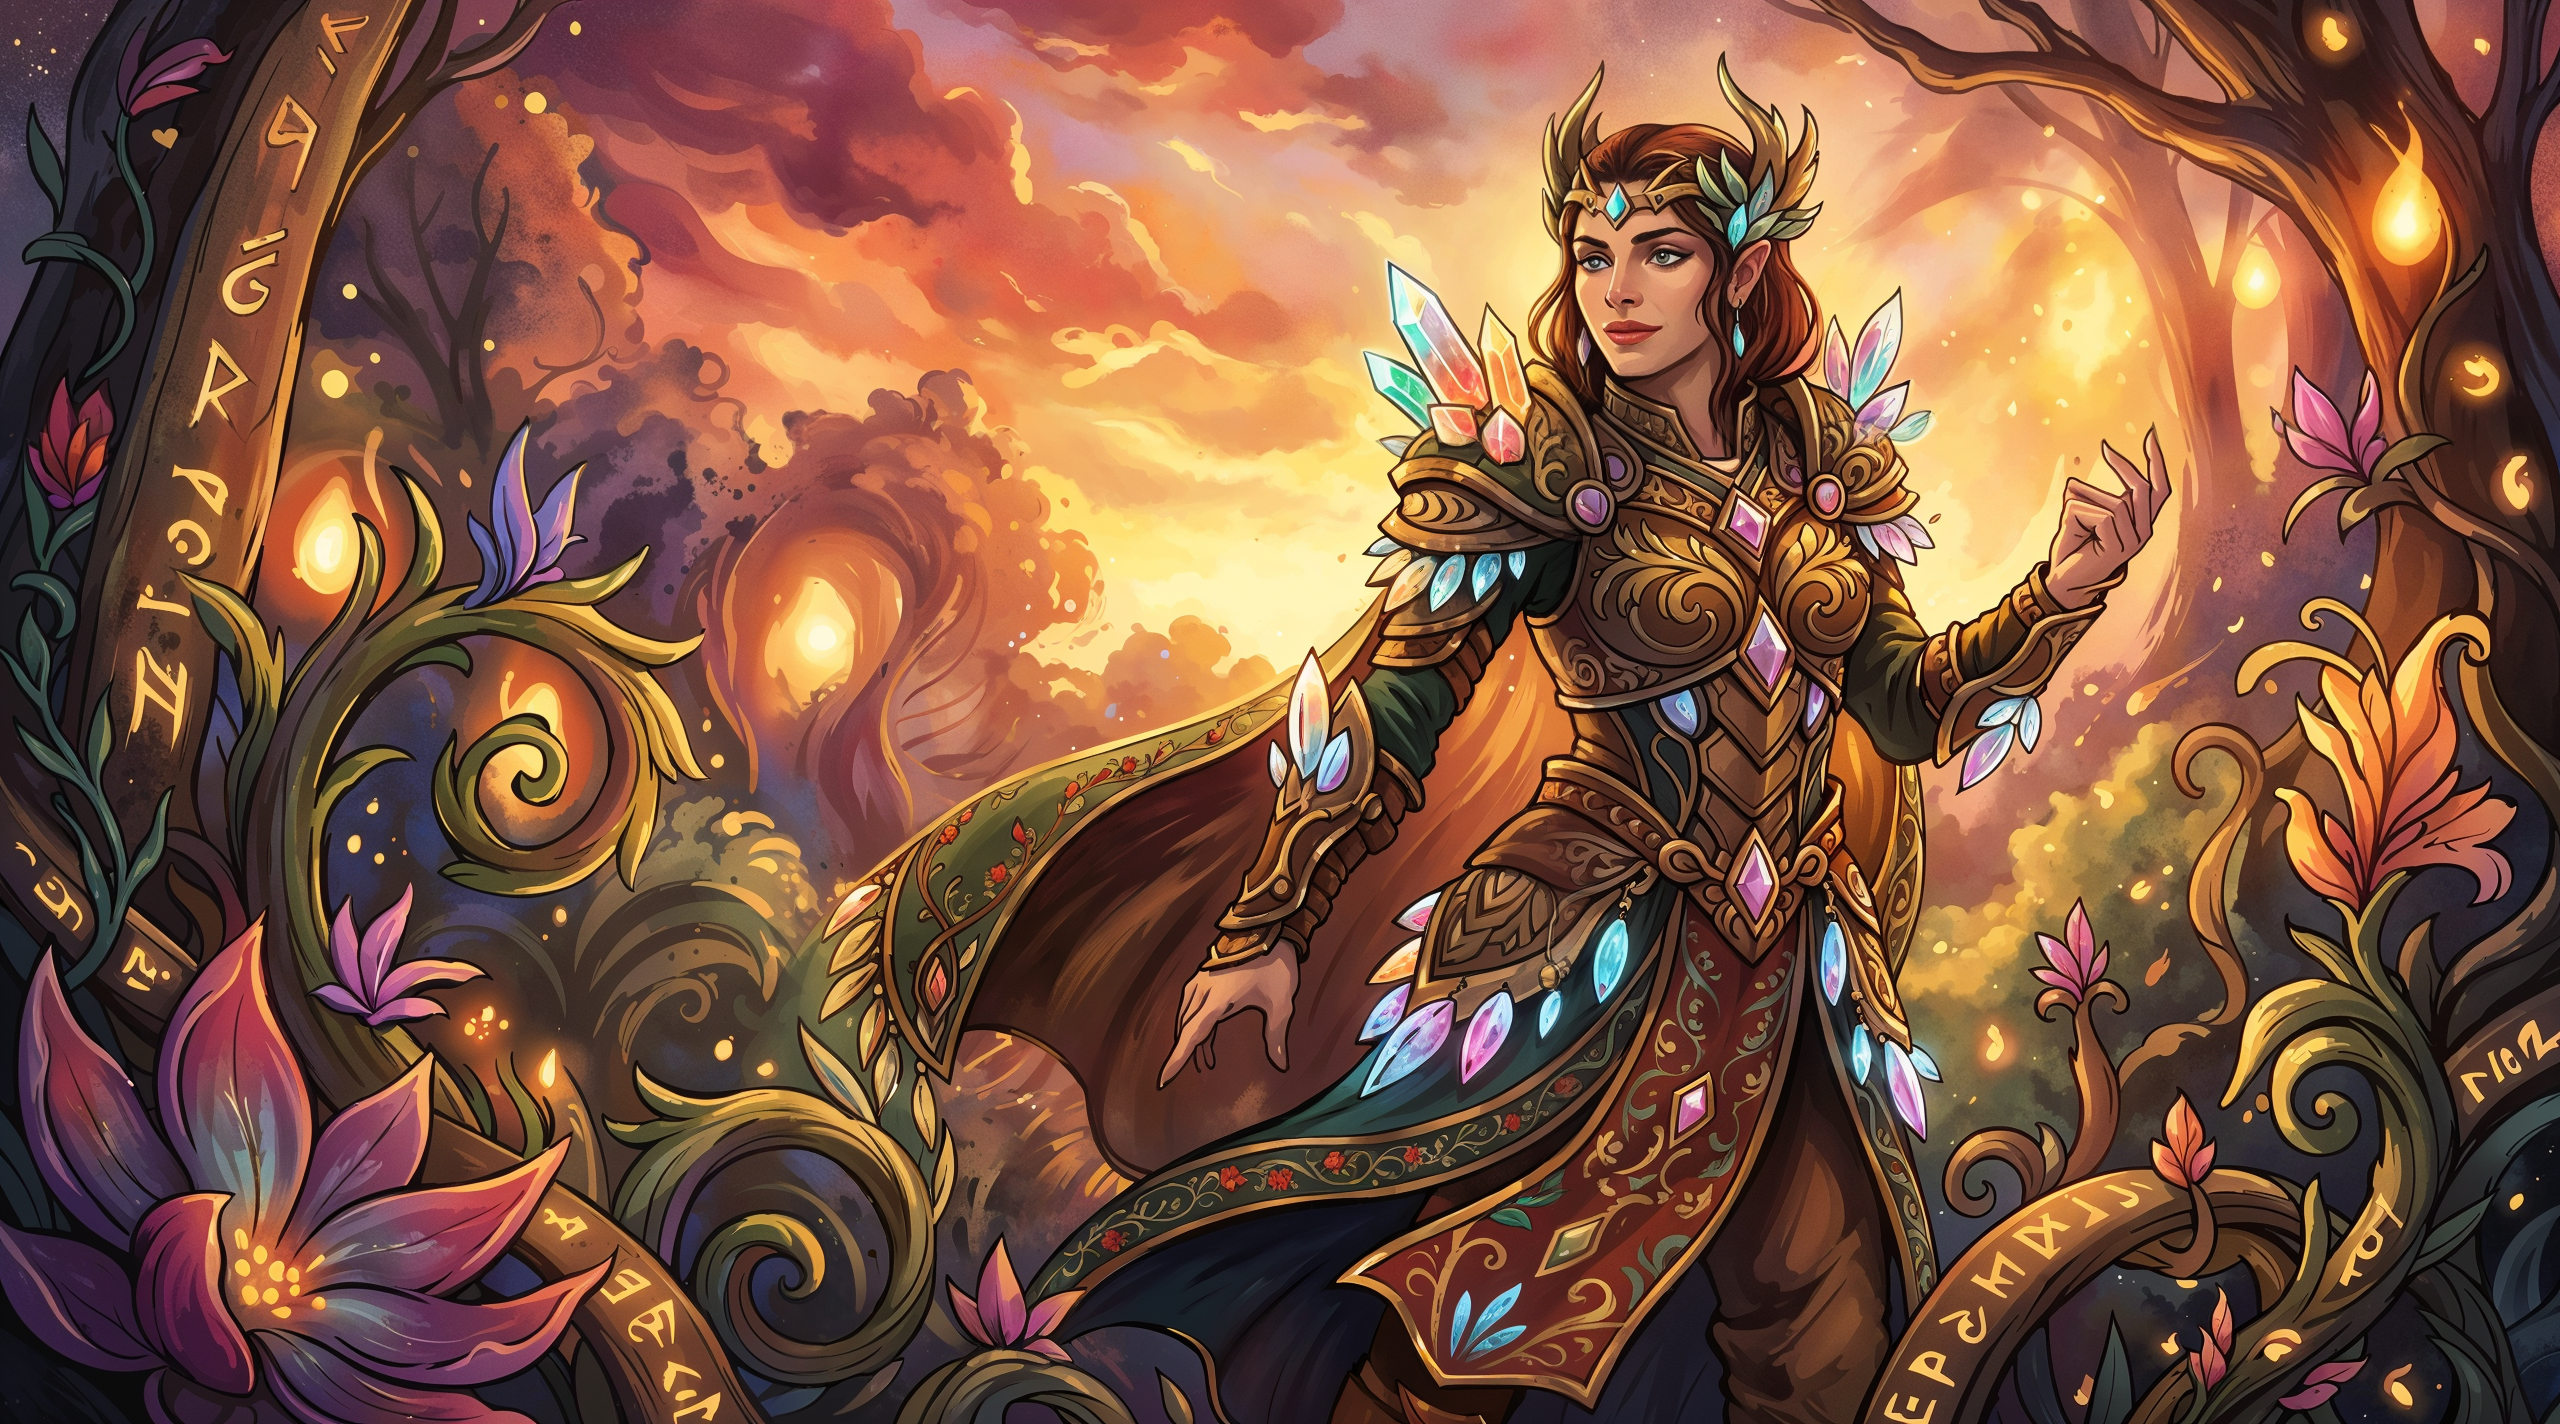
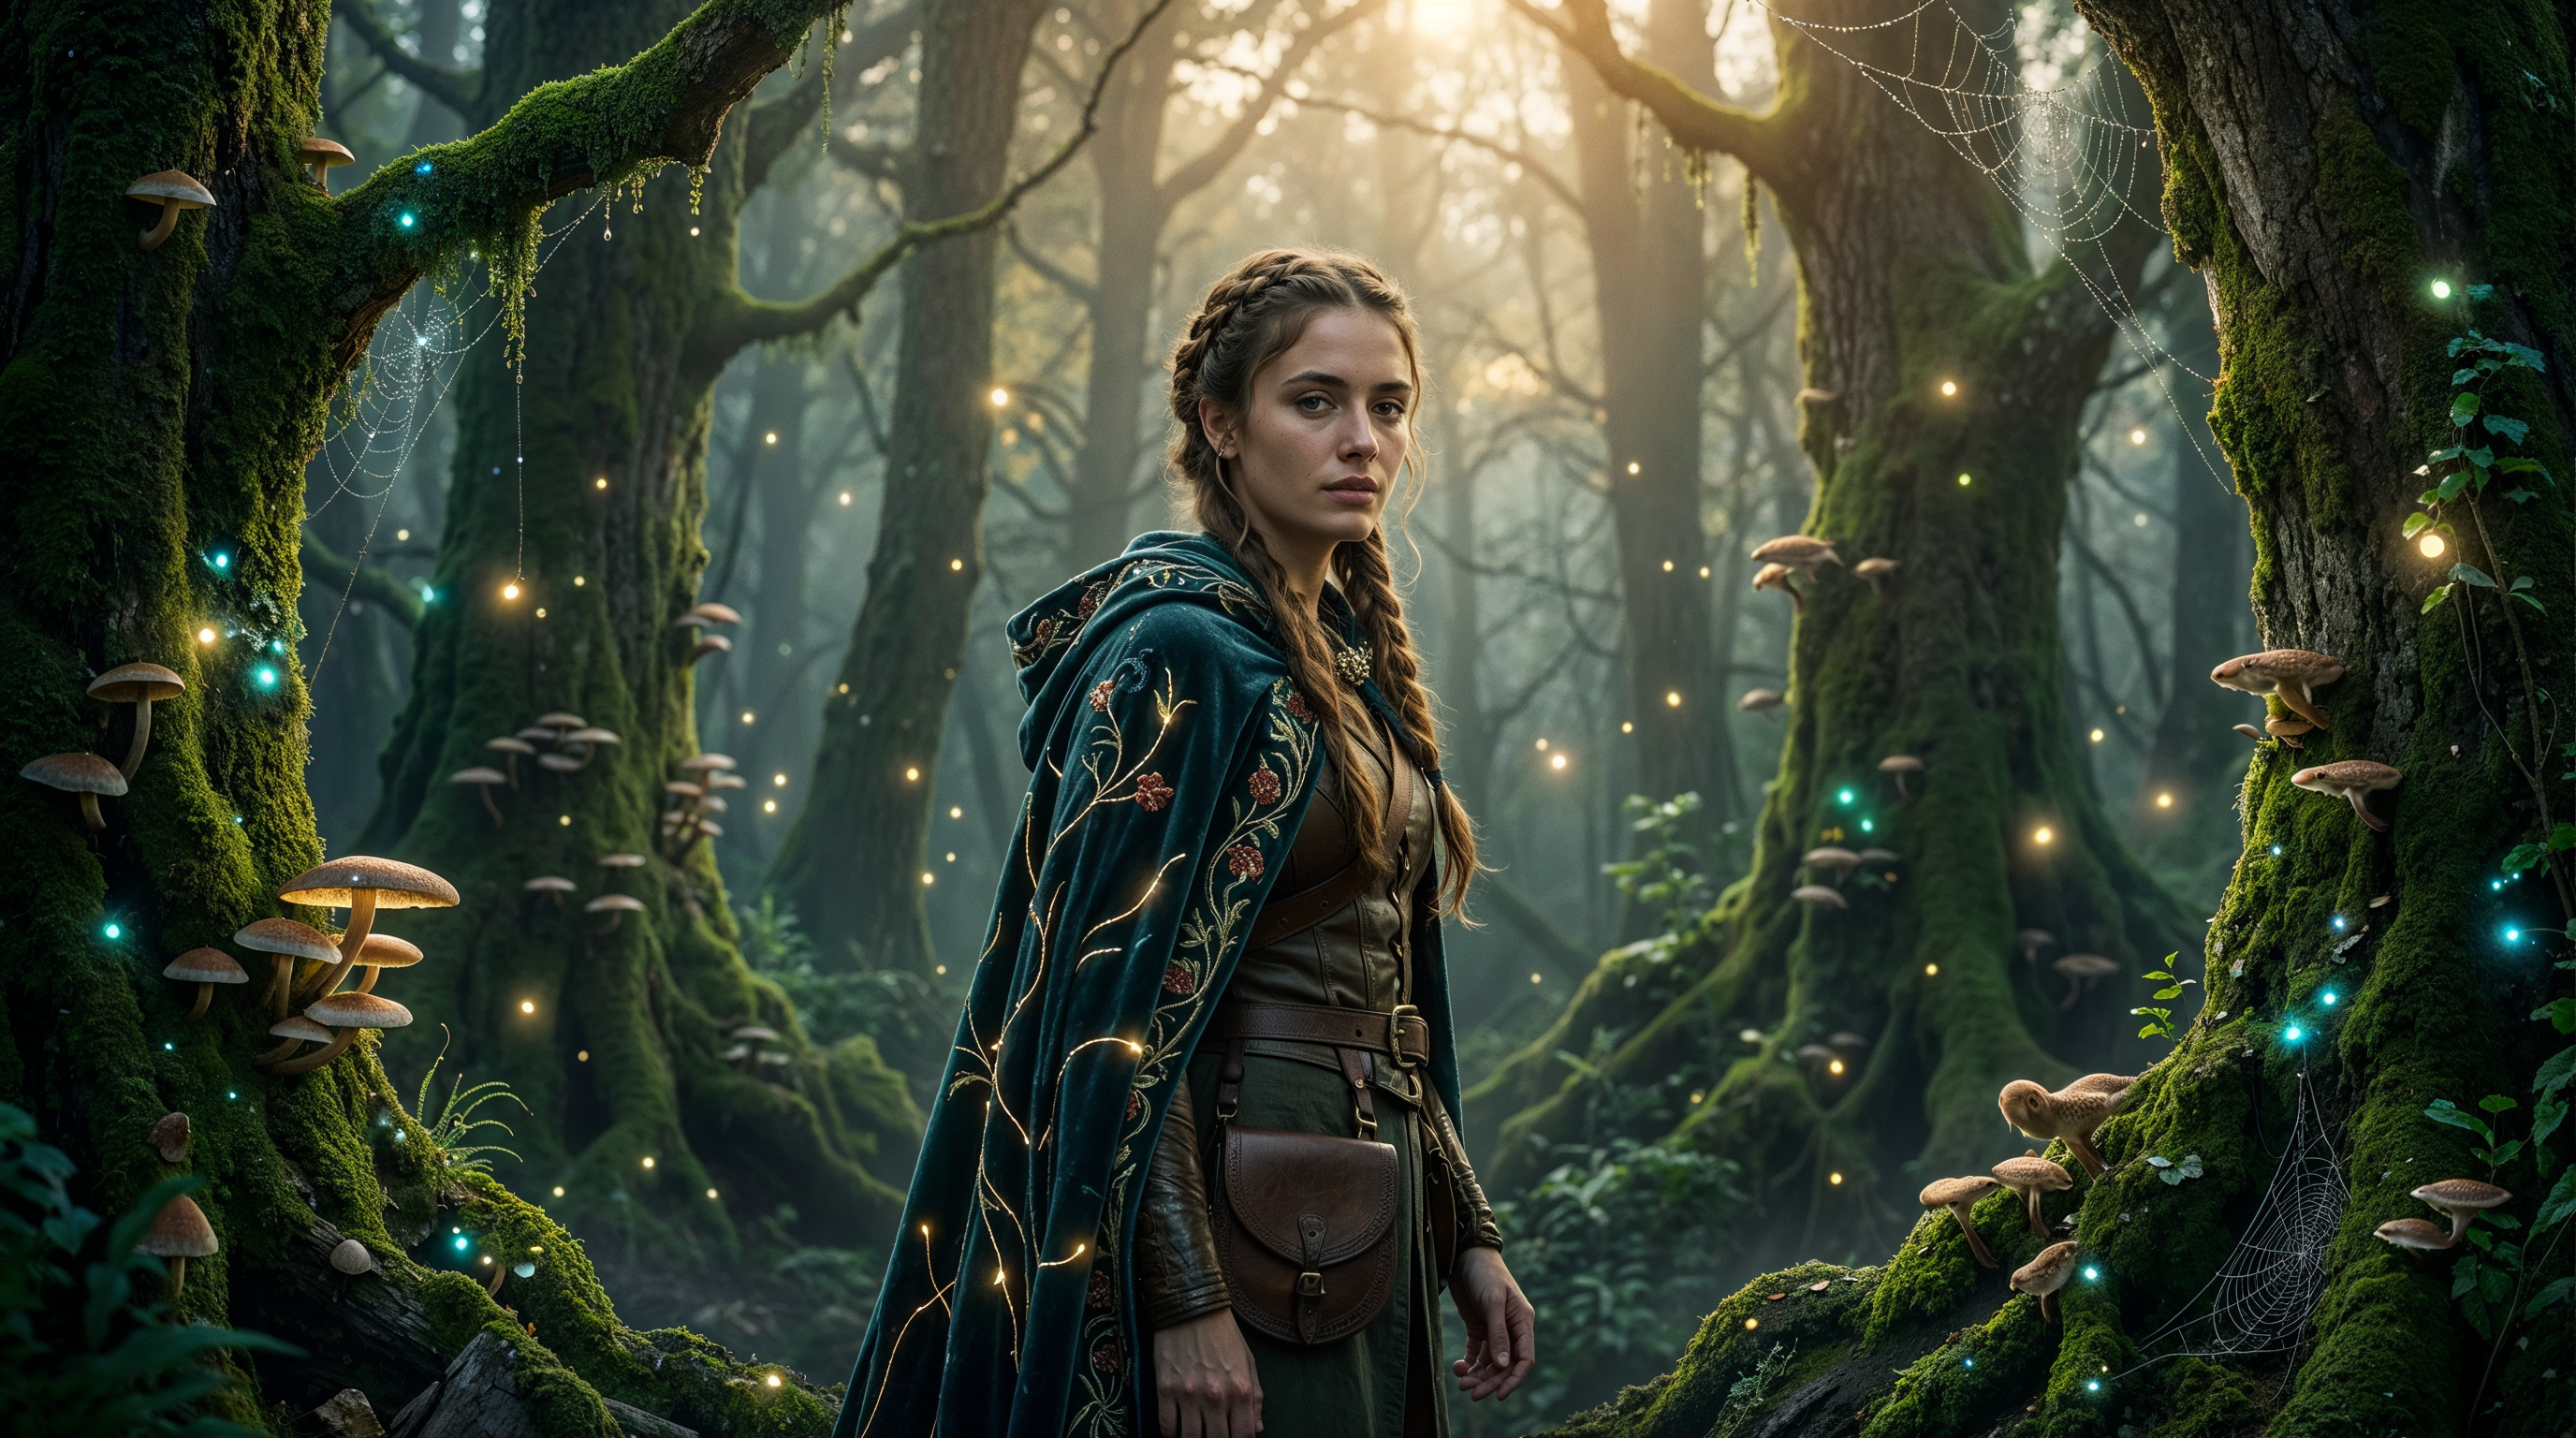
Art & Illustrations - suitable for artistic images, preserving the style while enhancing expressiveness.
Example:
Original image:
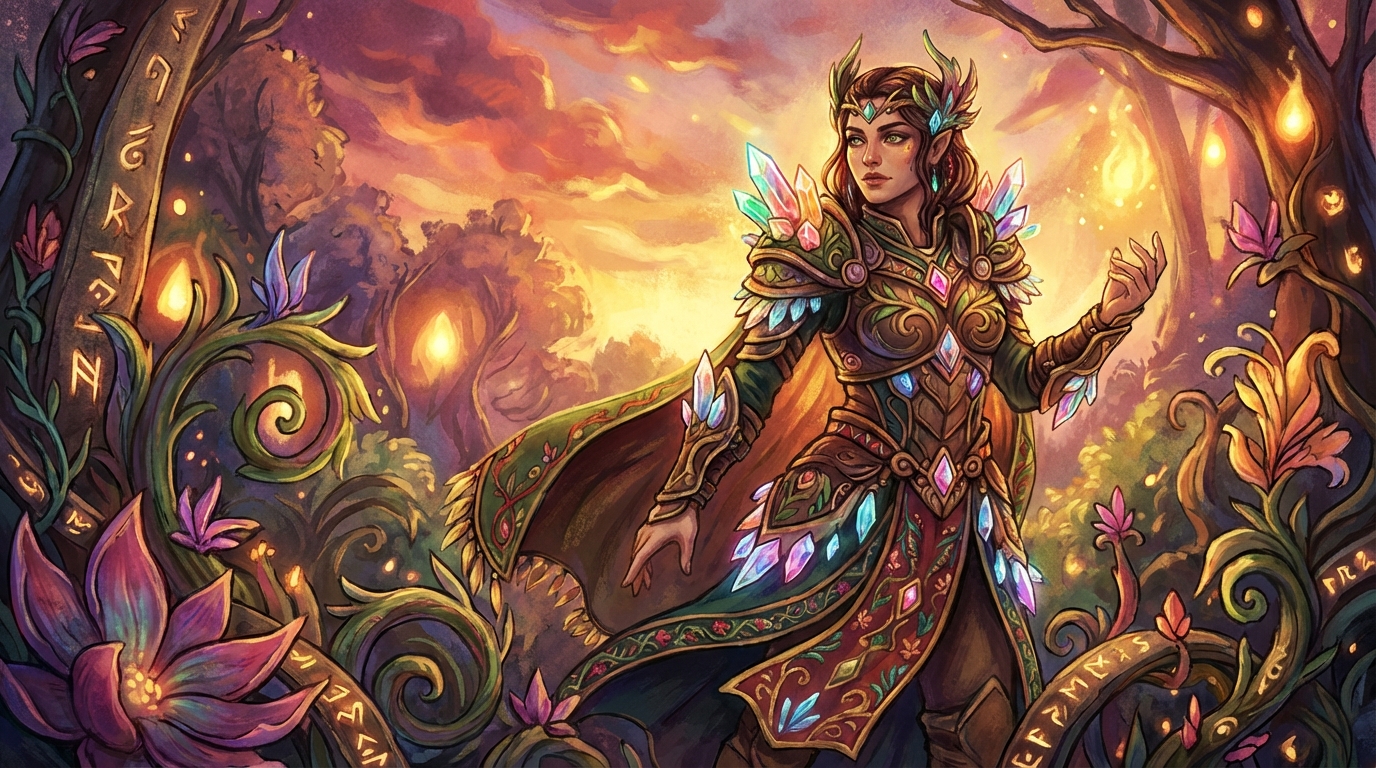
Result:
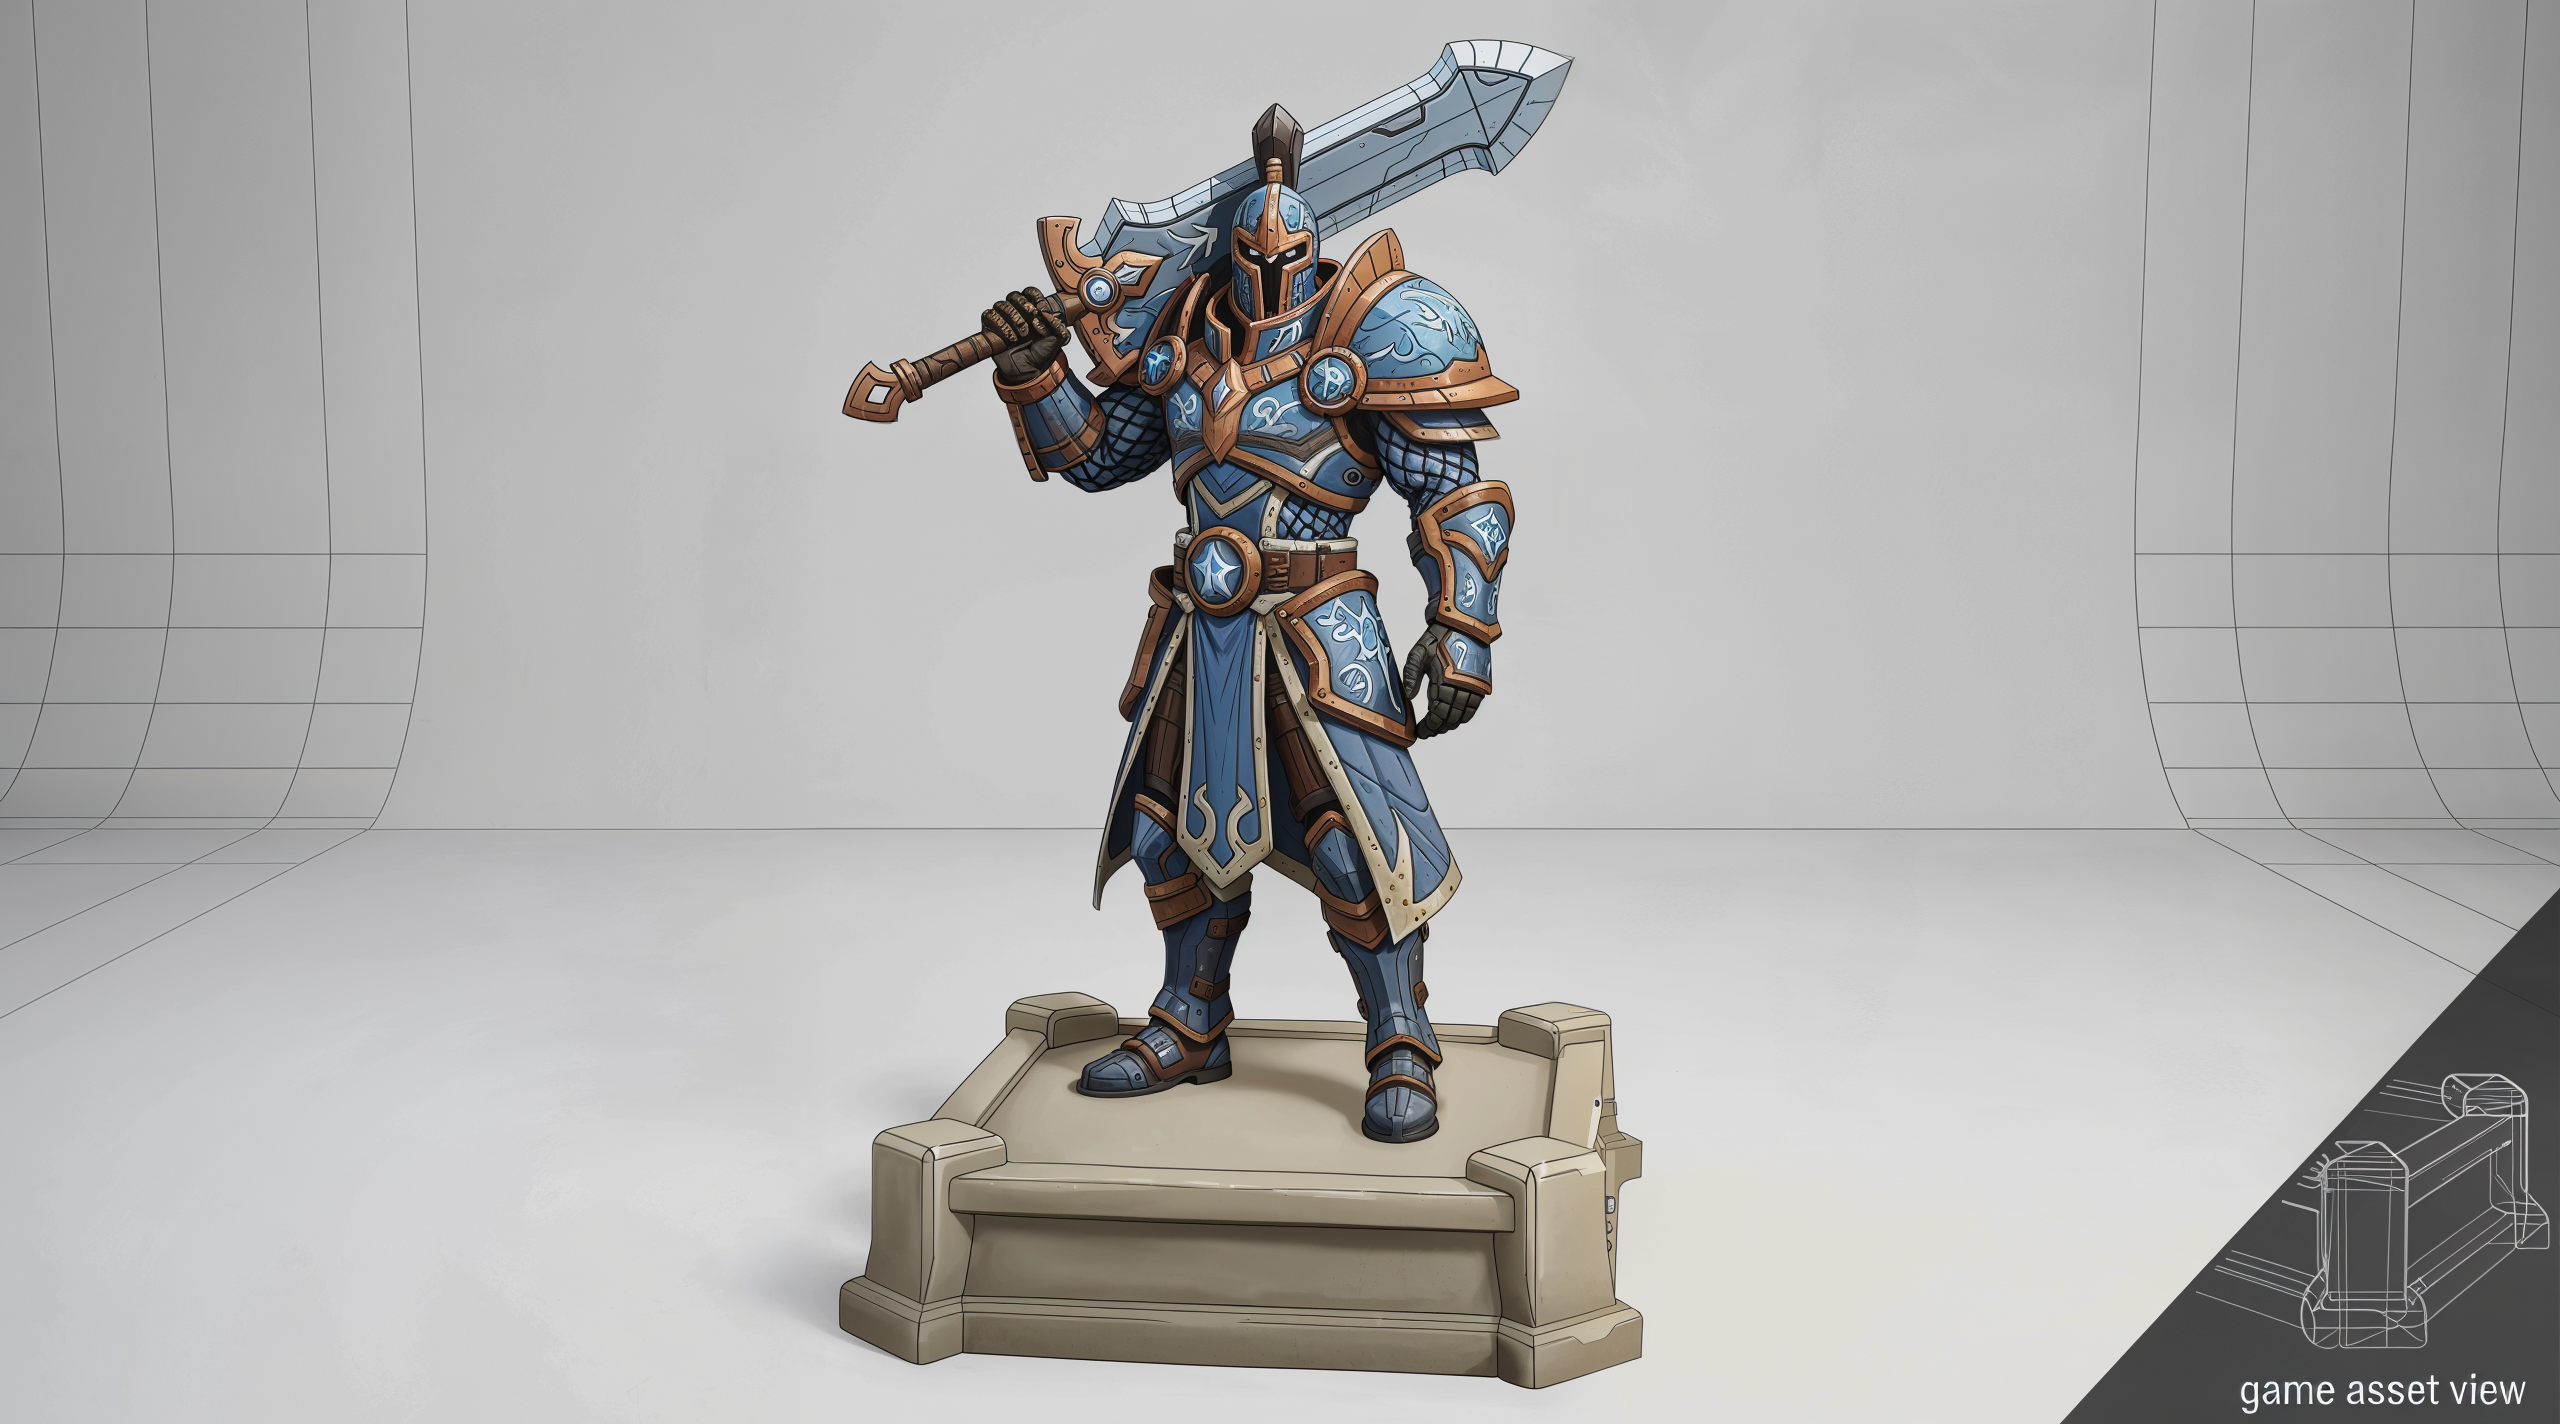
Game assets - optimized for processing in-game objects and interface elements.
Example:
Original image:
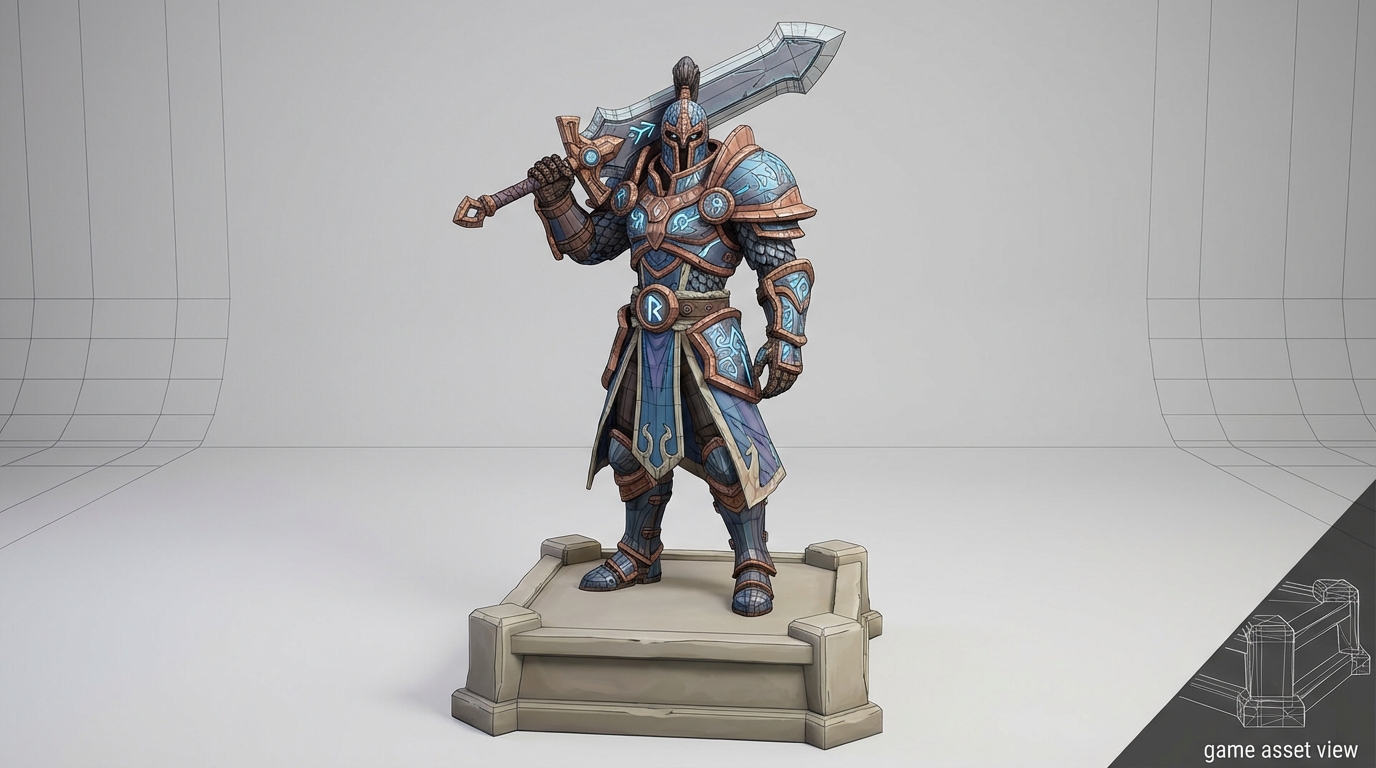
Result:
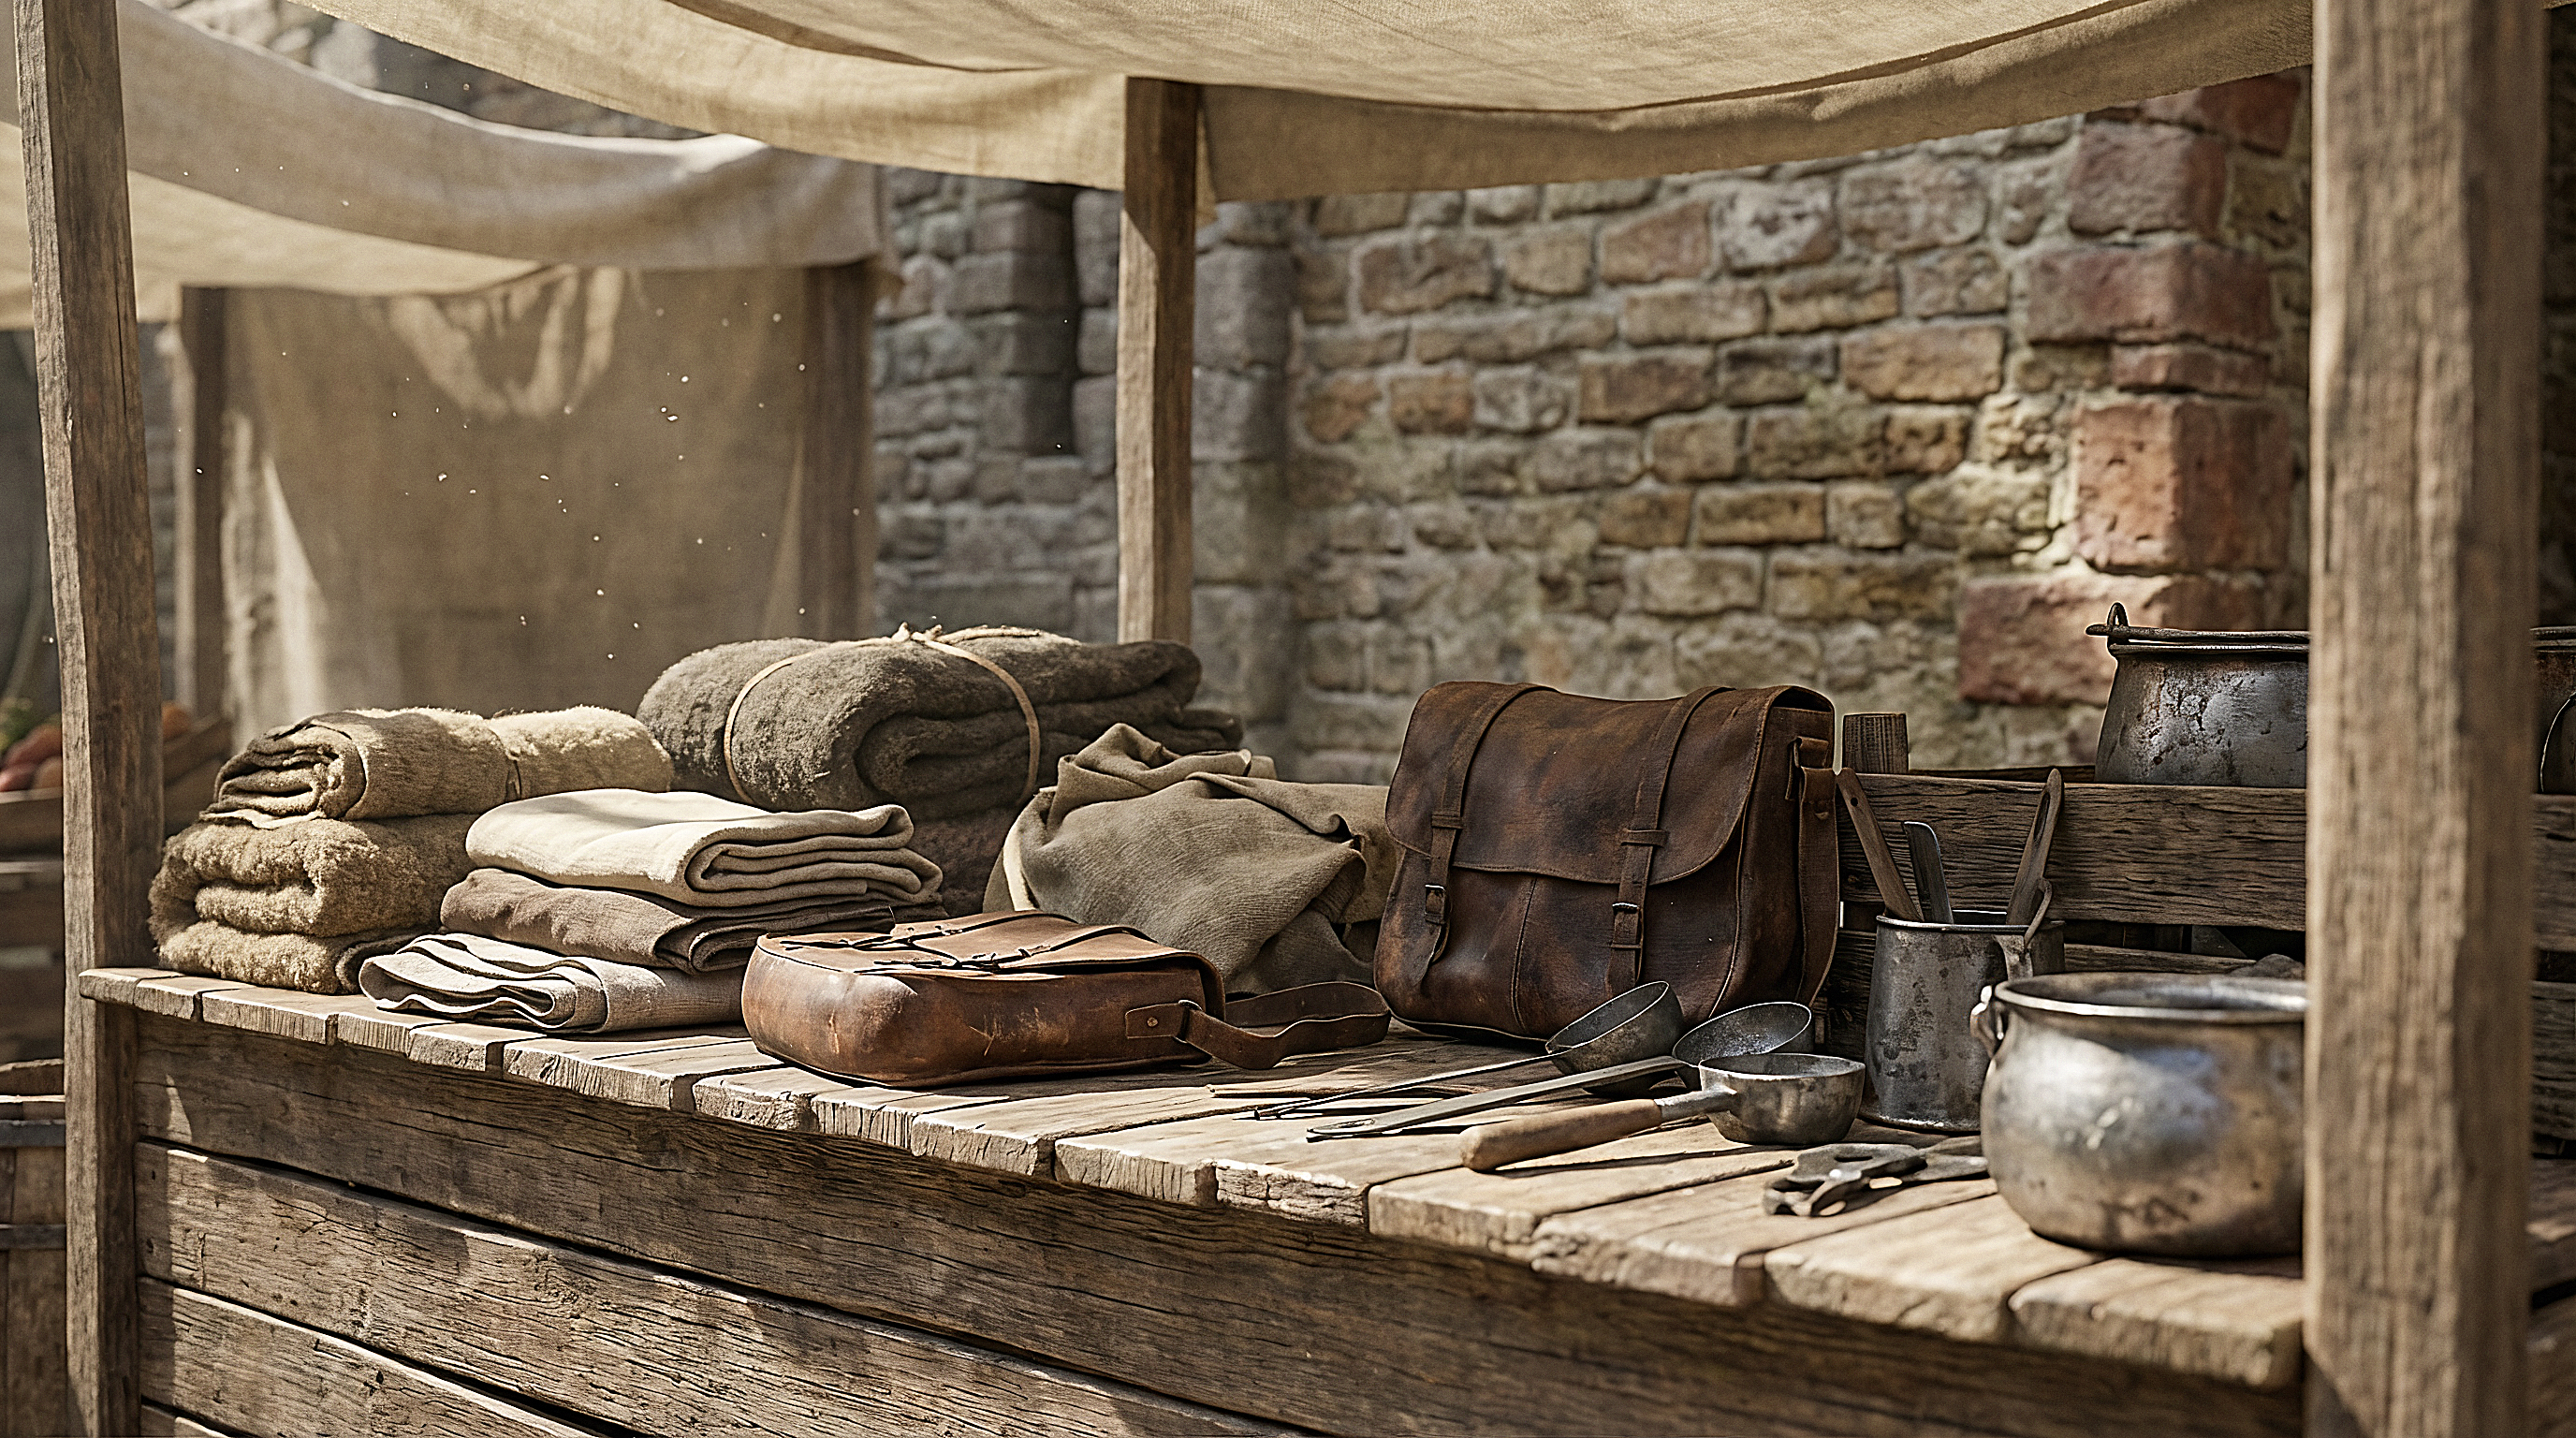
Nature & landscapes - enhances detail in natural scenes and landscapes.
Example:
Original image:
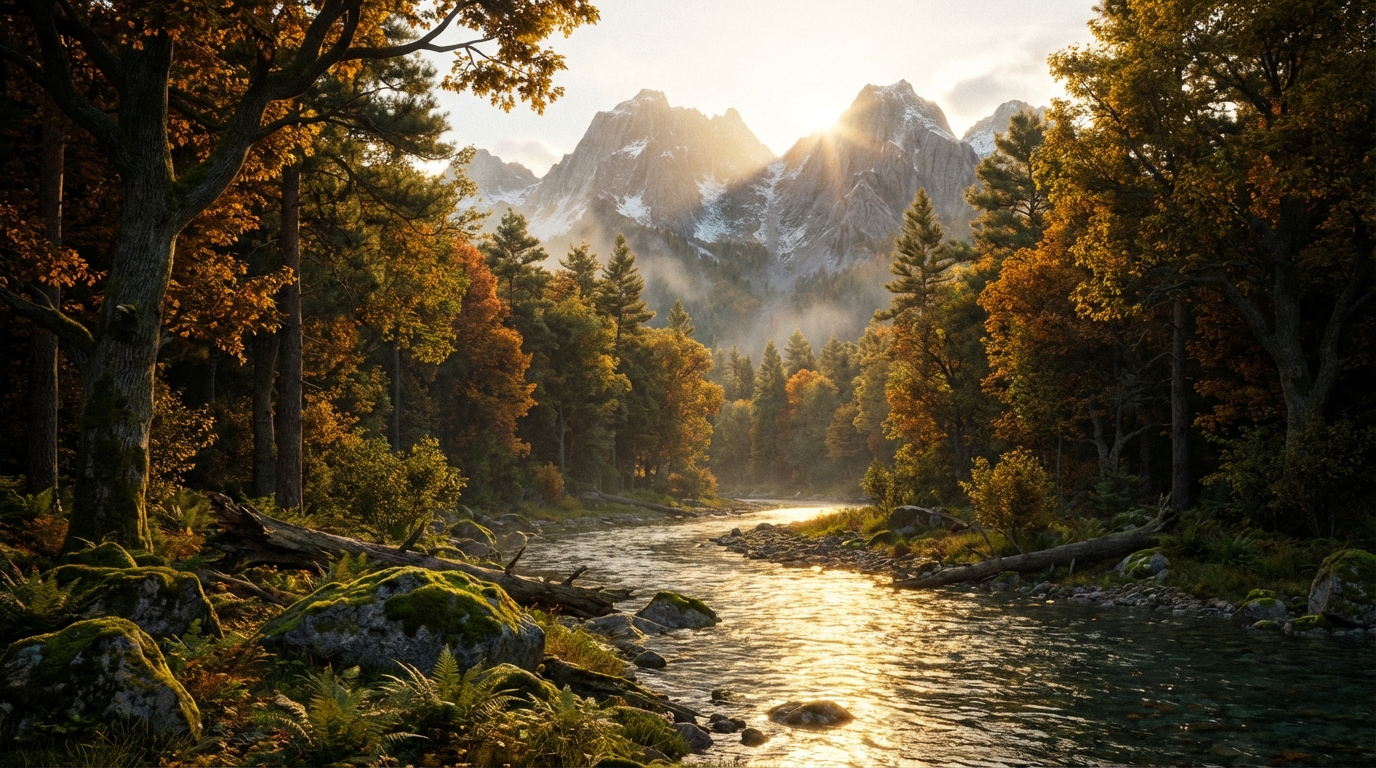
Result:

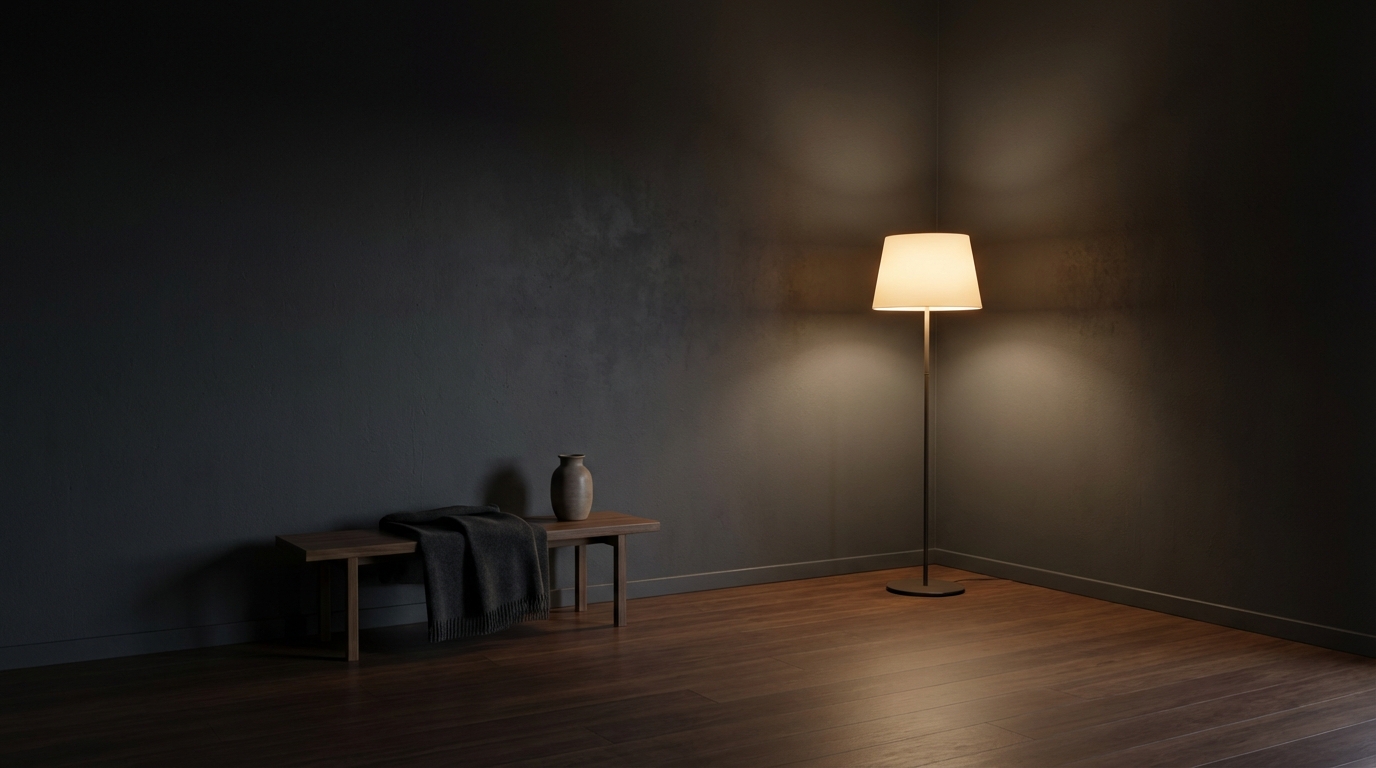
Film & photography - focused on realistic processing while preserving a cinematic look.
Example:
Original image:
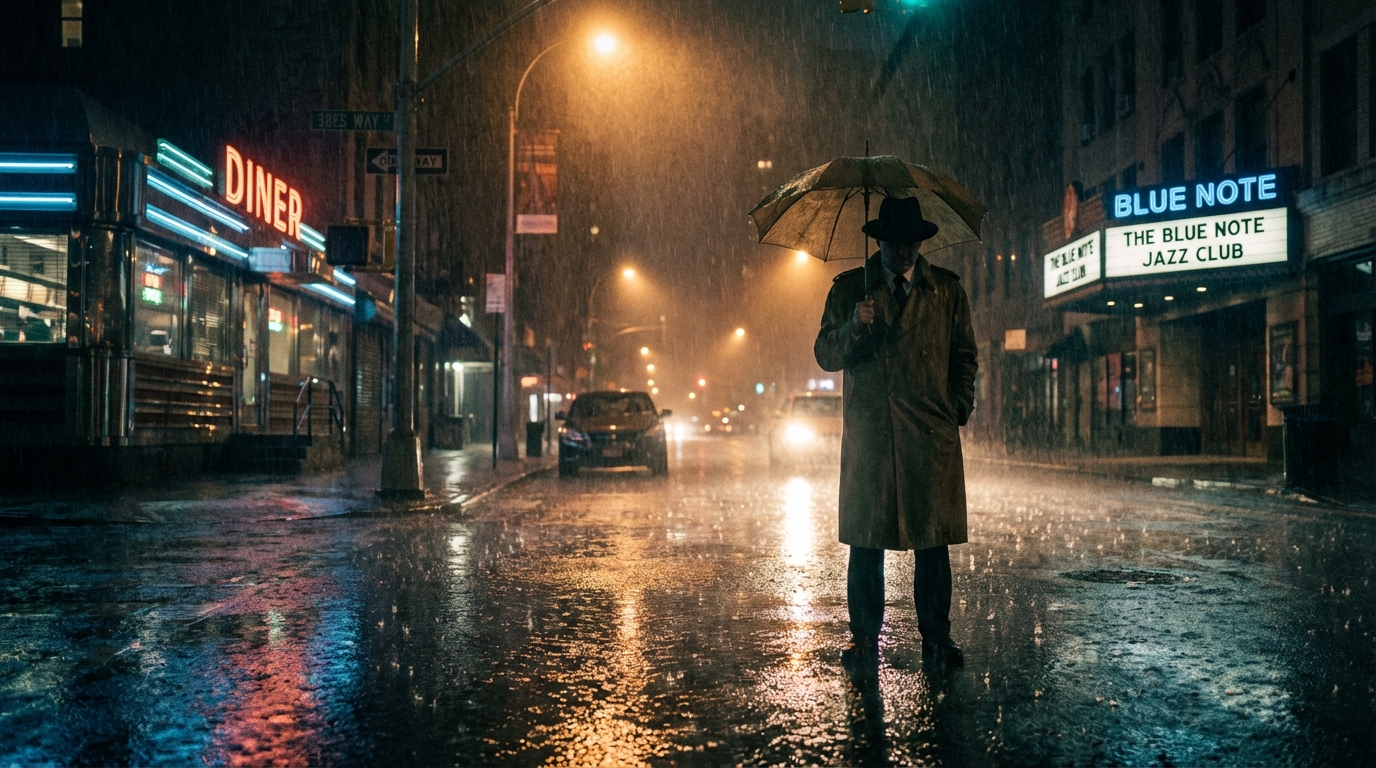
Result:

3D renders - suitable for images created in 3D, with a focus on textures and lighting.
Example:
Original image:
Result:
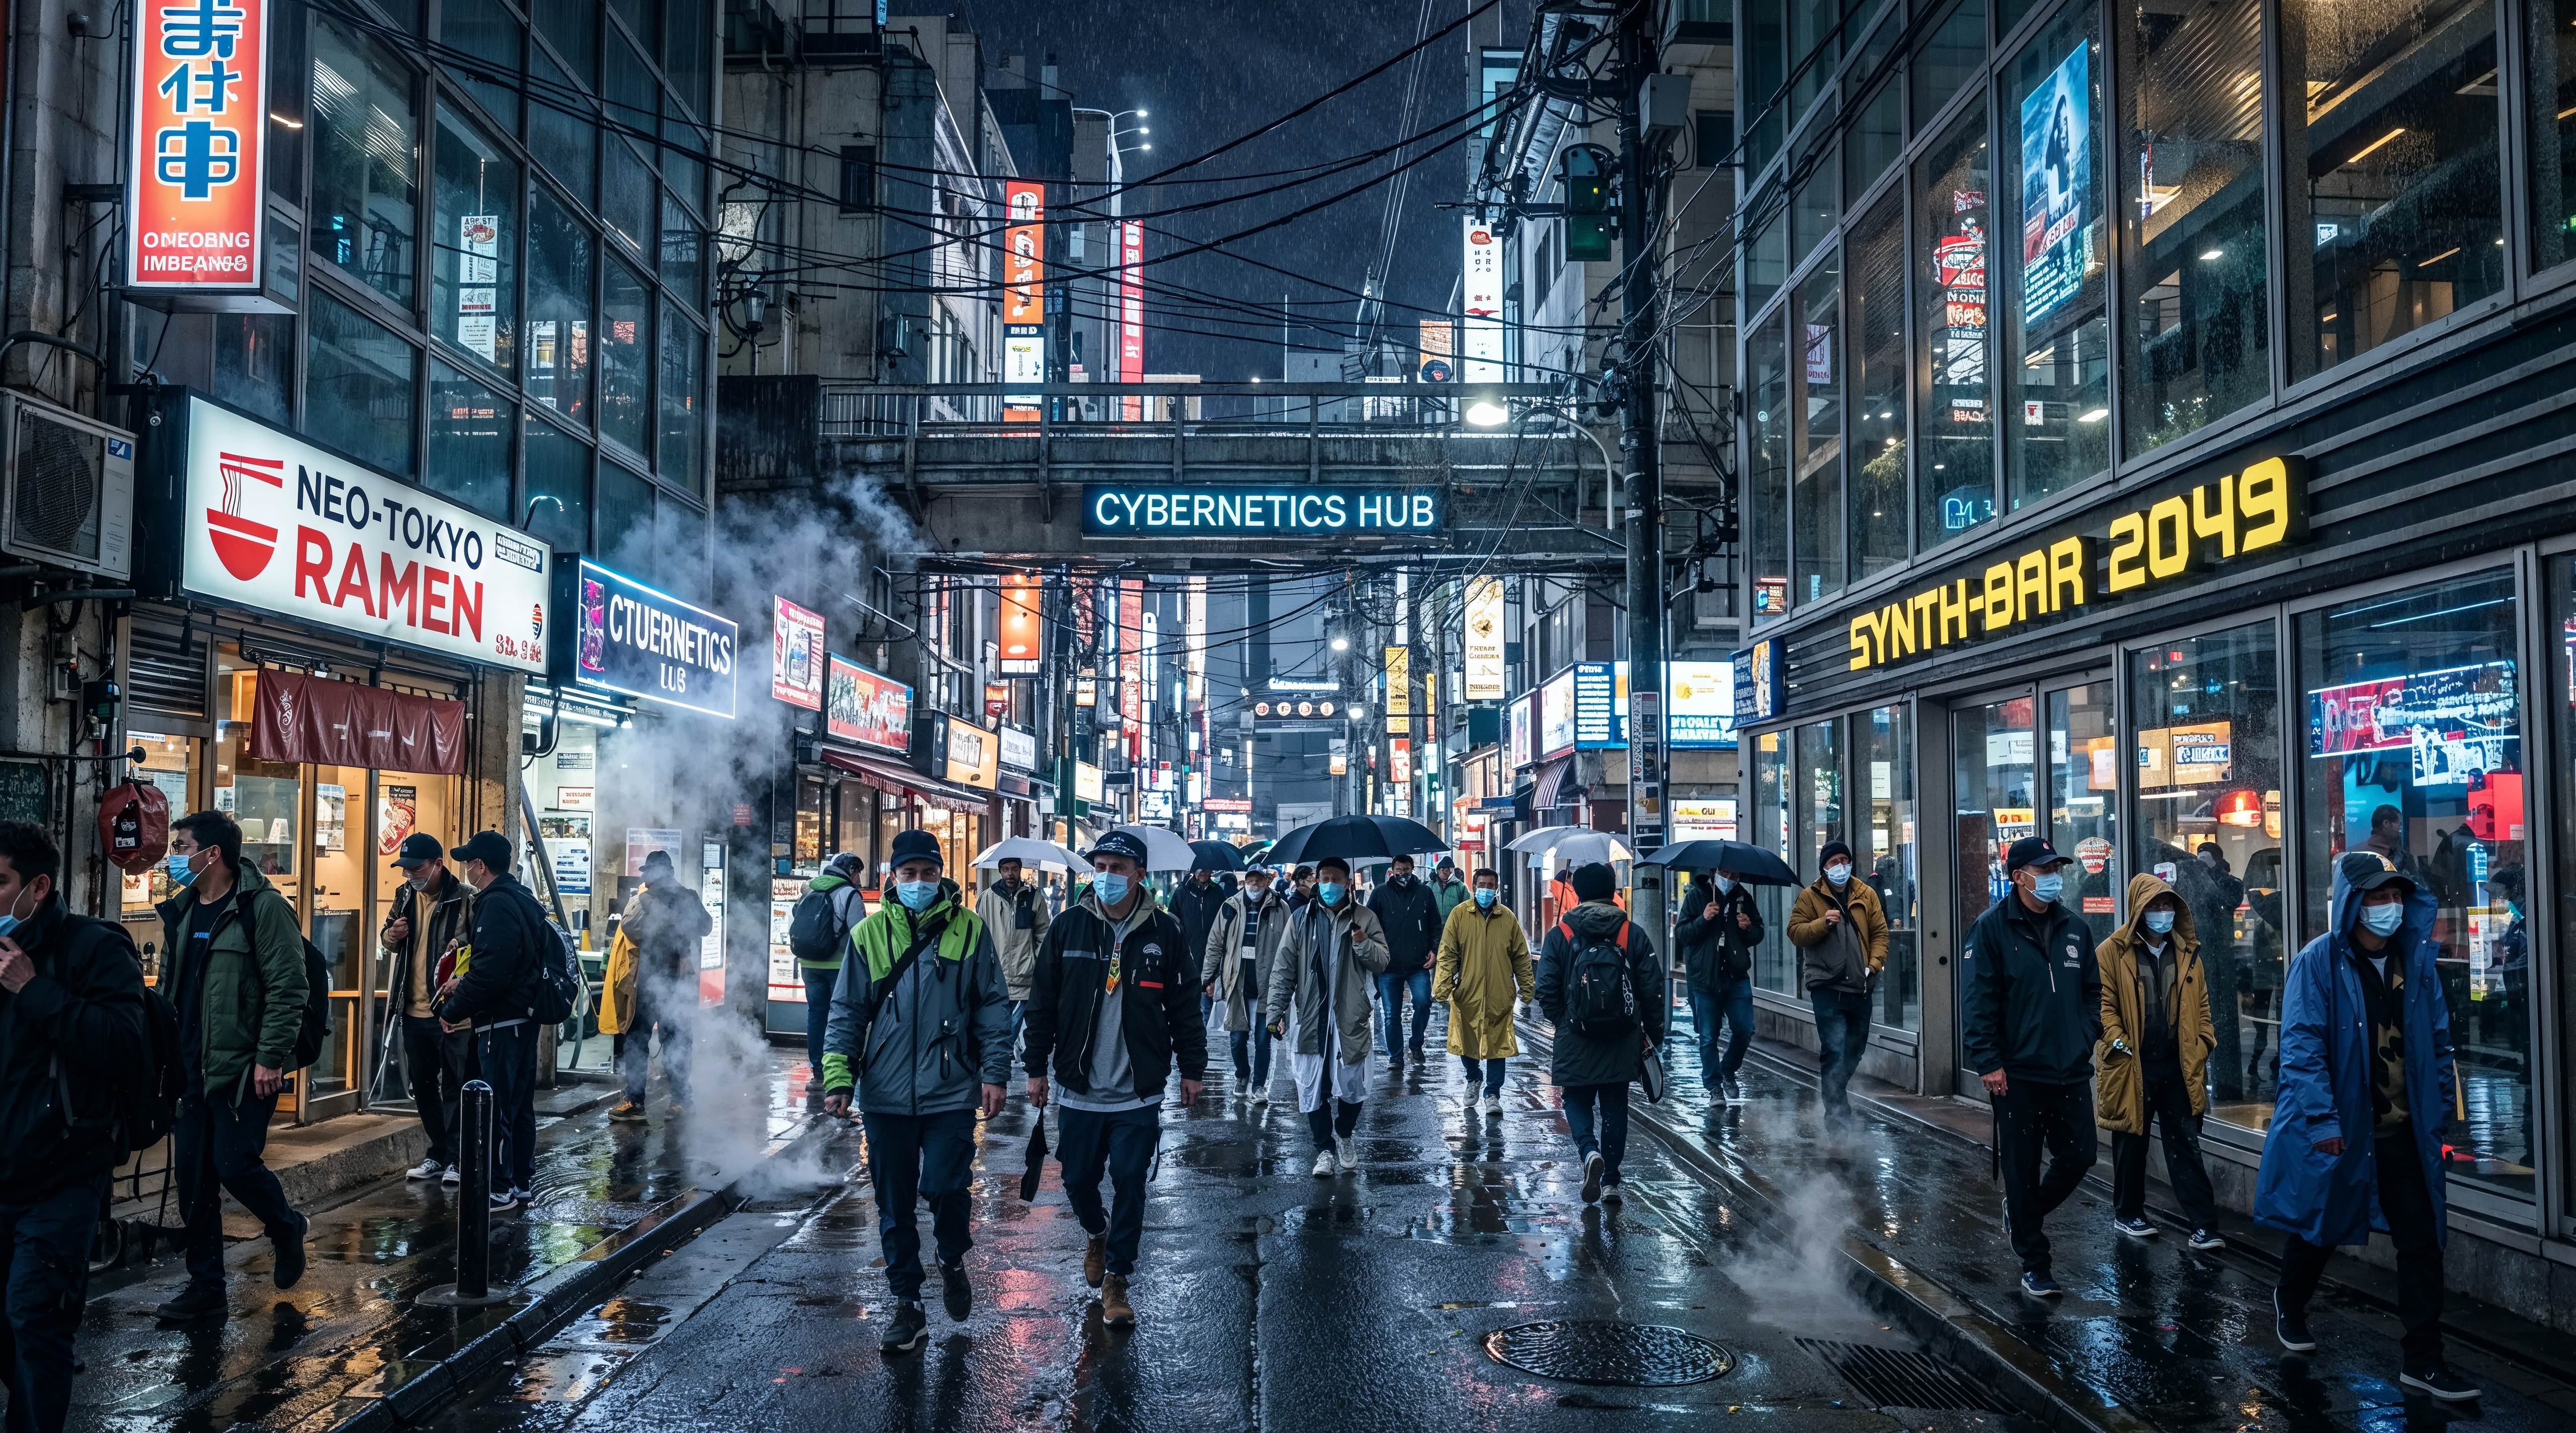
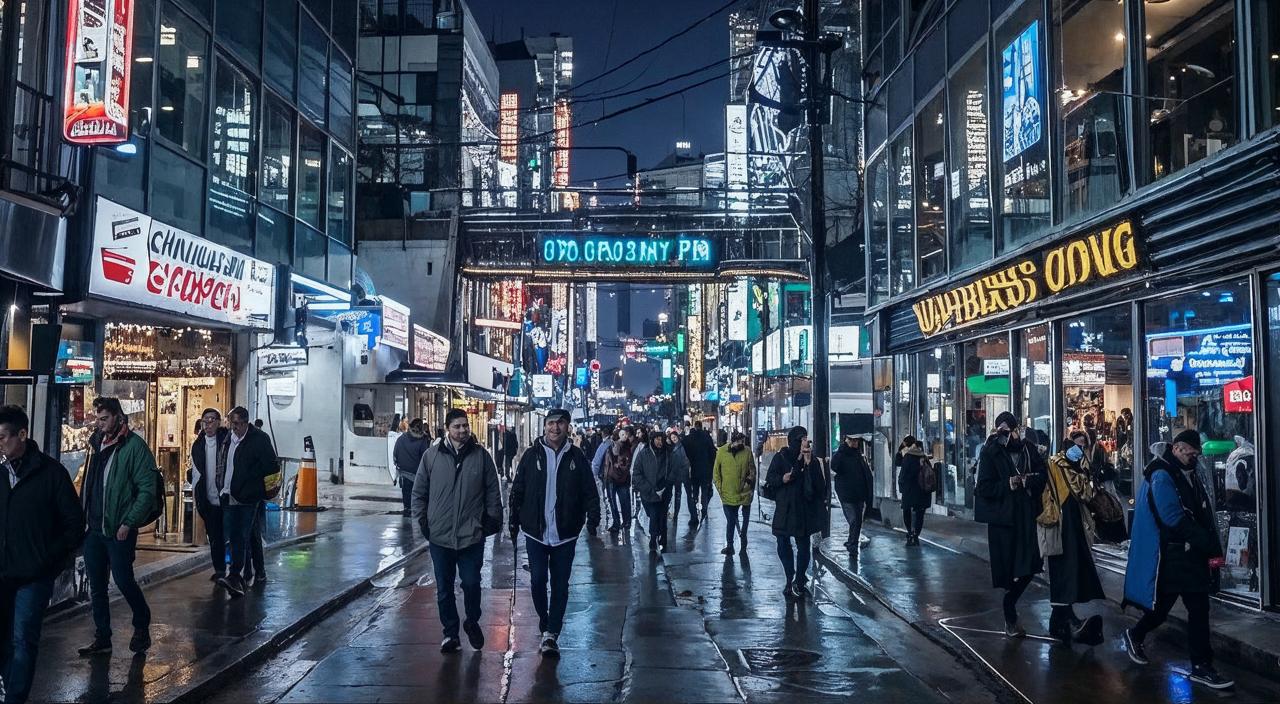
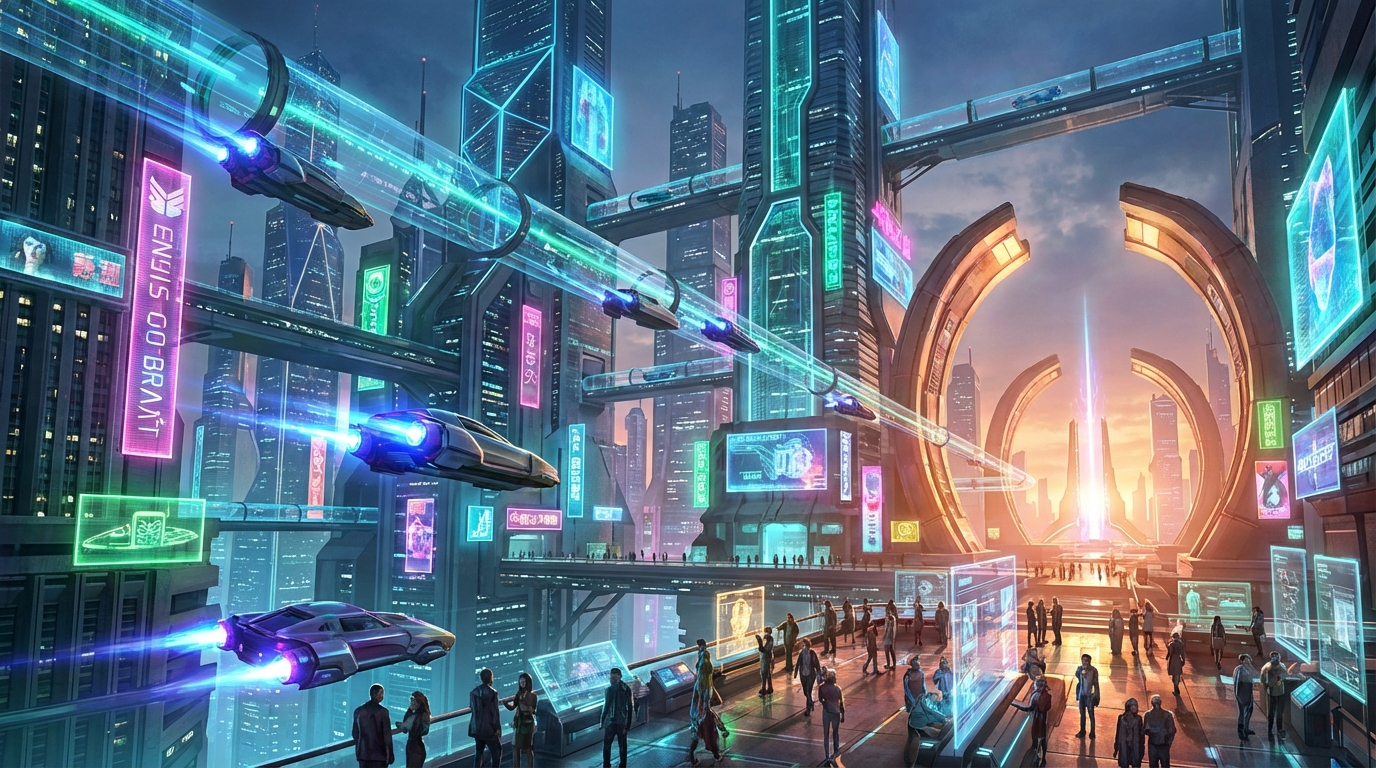
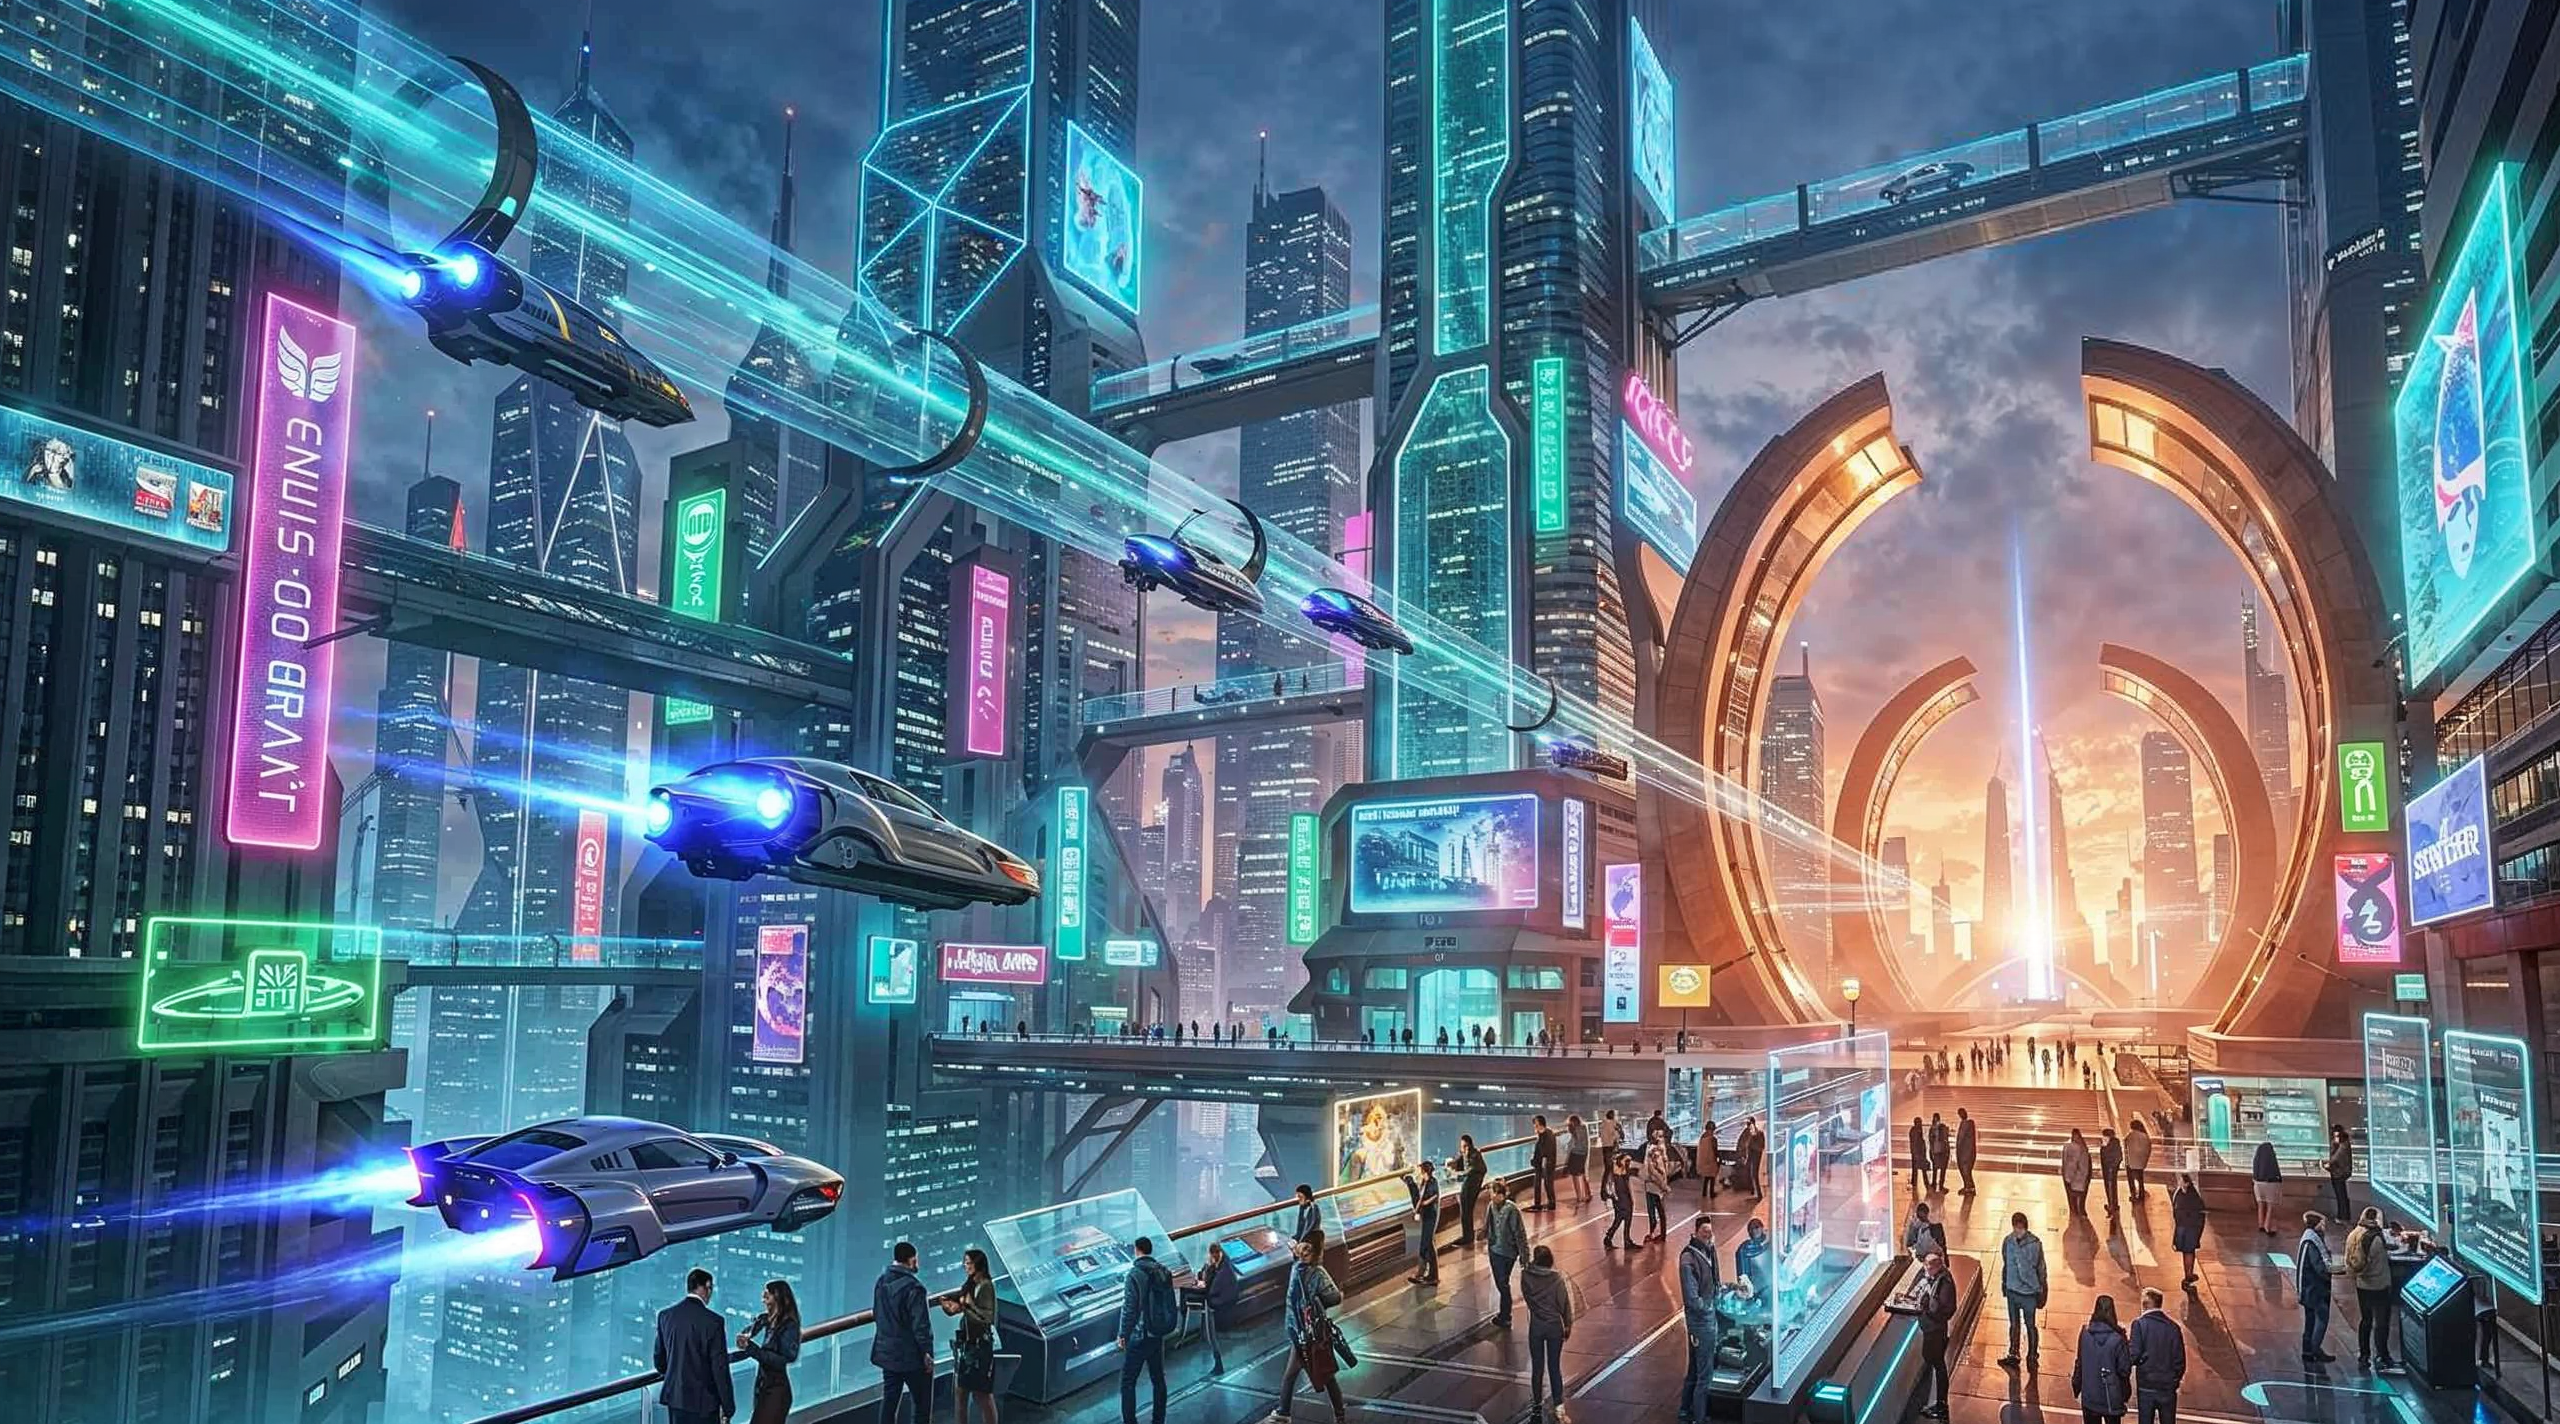
Science fiction - enhances stylization and is suitable for futuristic and sci-fi scenes.
Example:
Original image:
Result:
Engine
This parameter allows you to choose the type of image processing depending on the desired result.
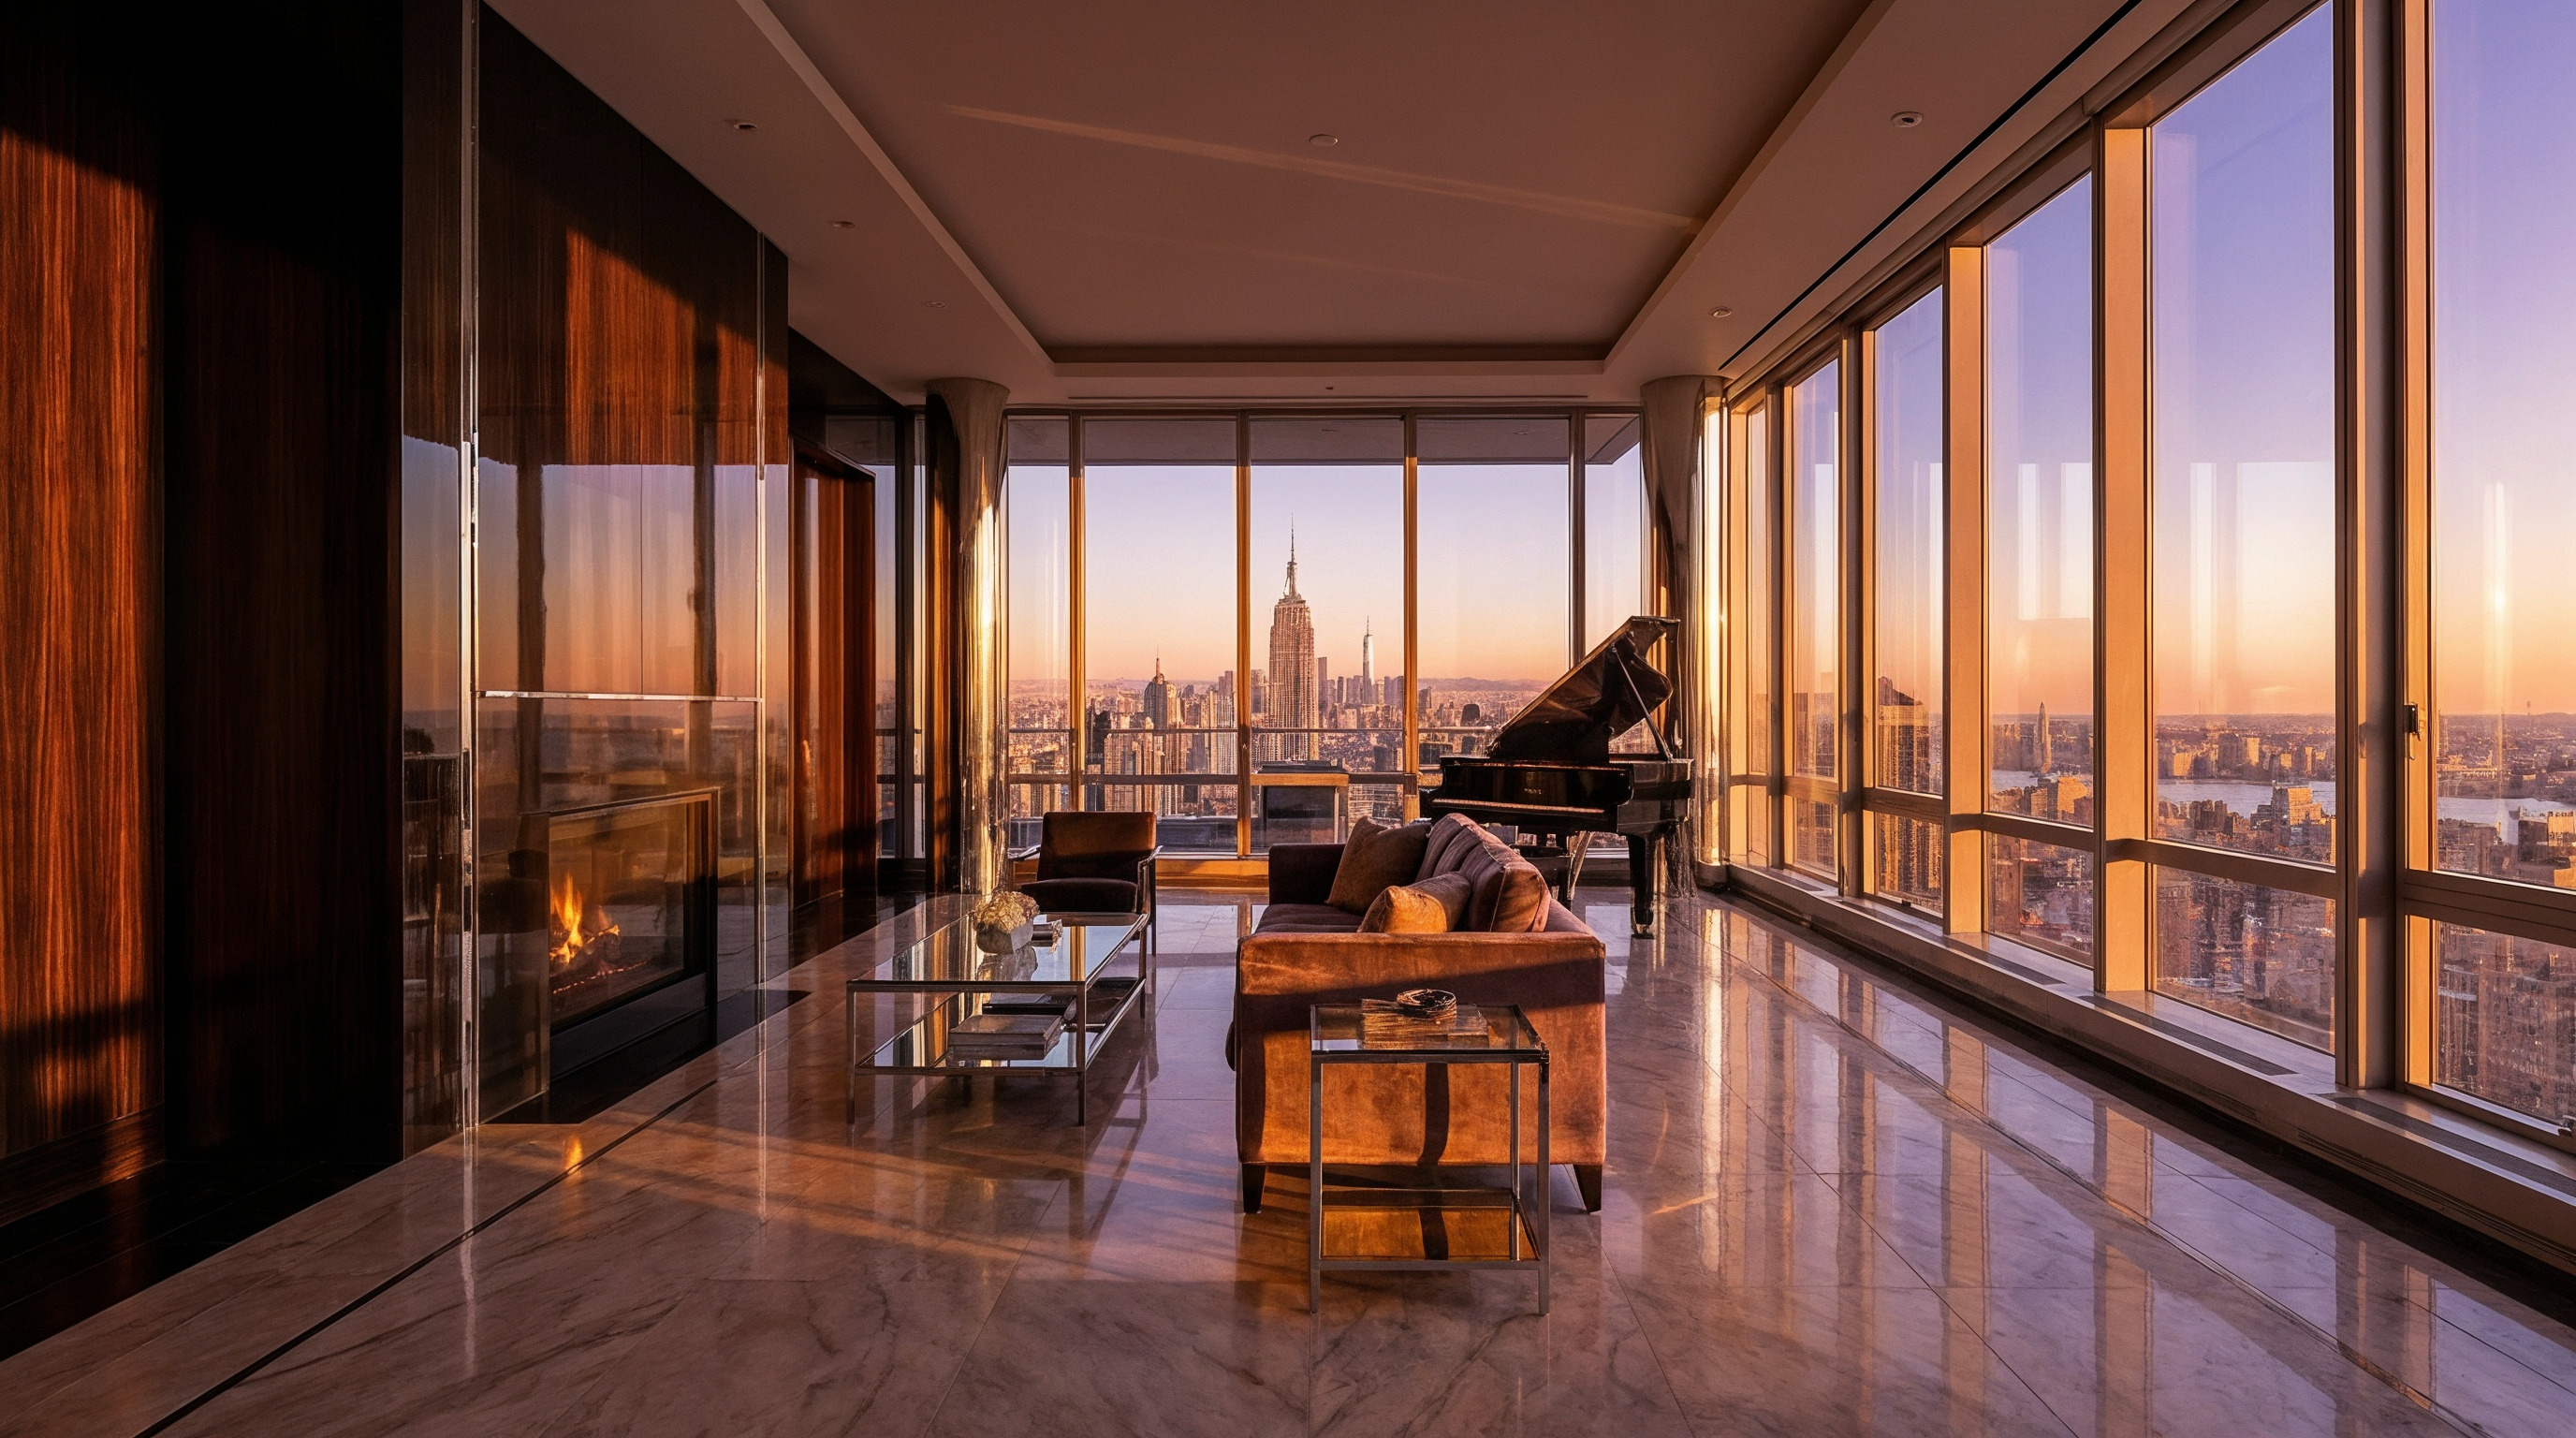
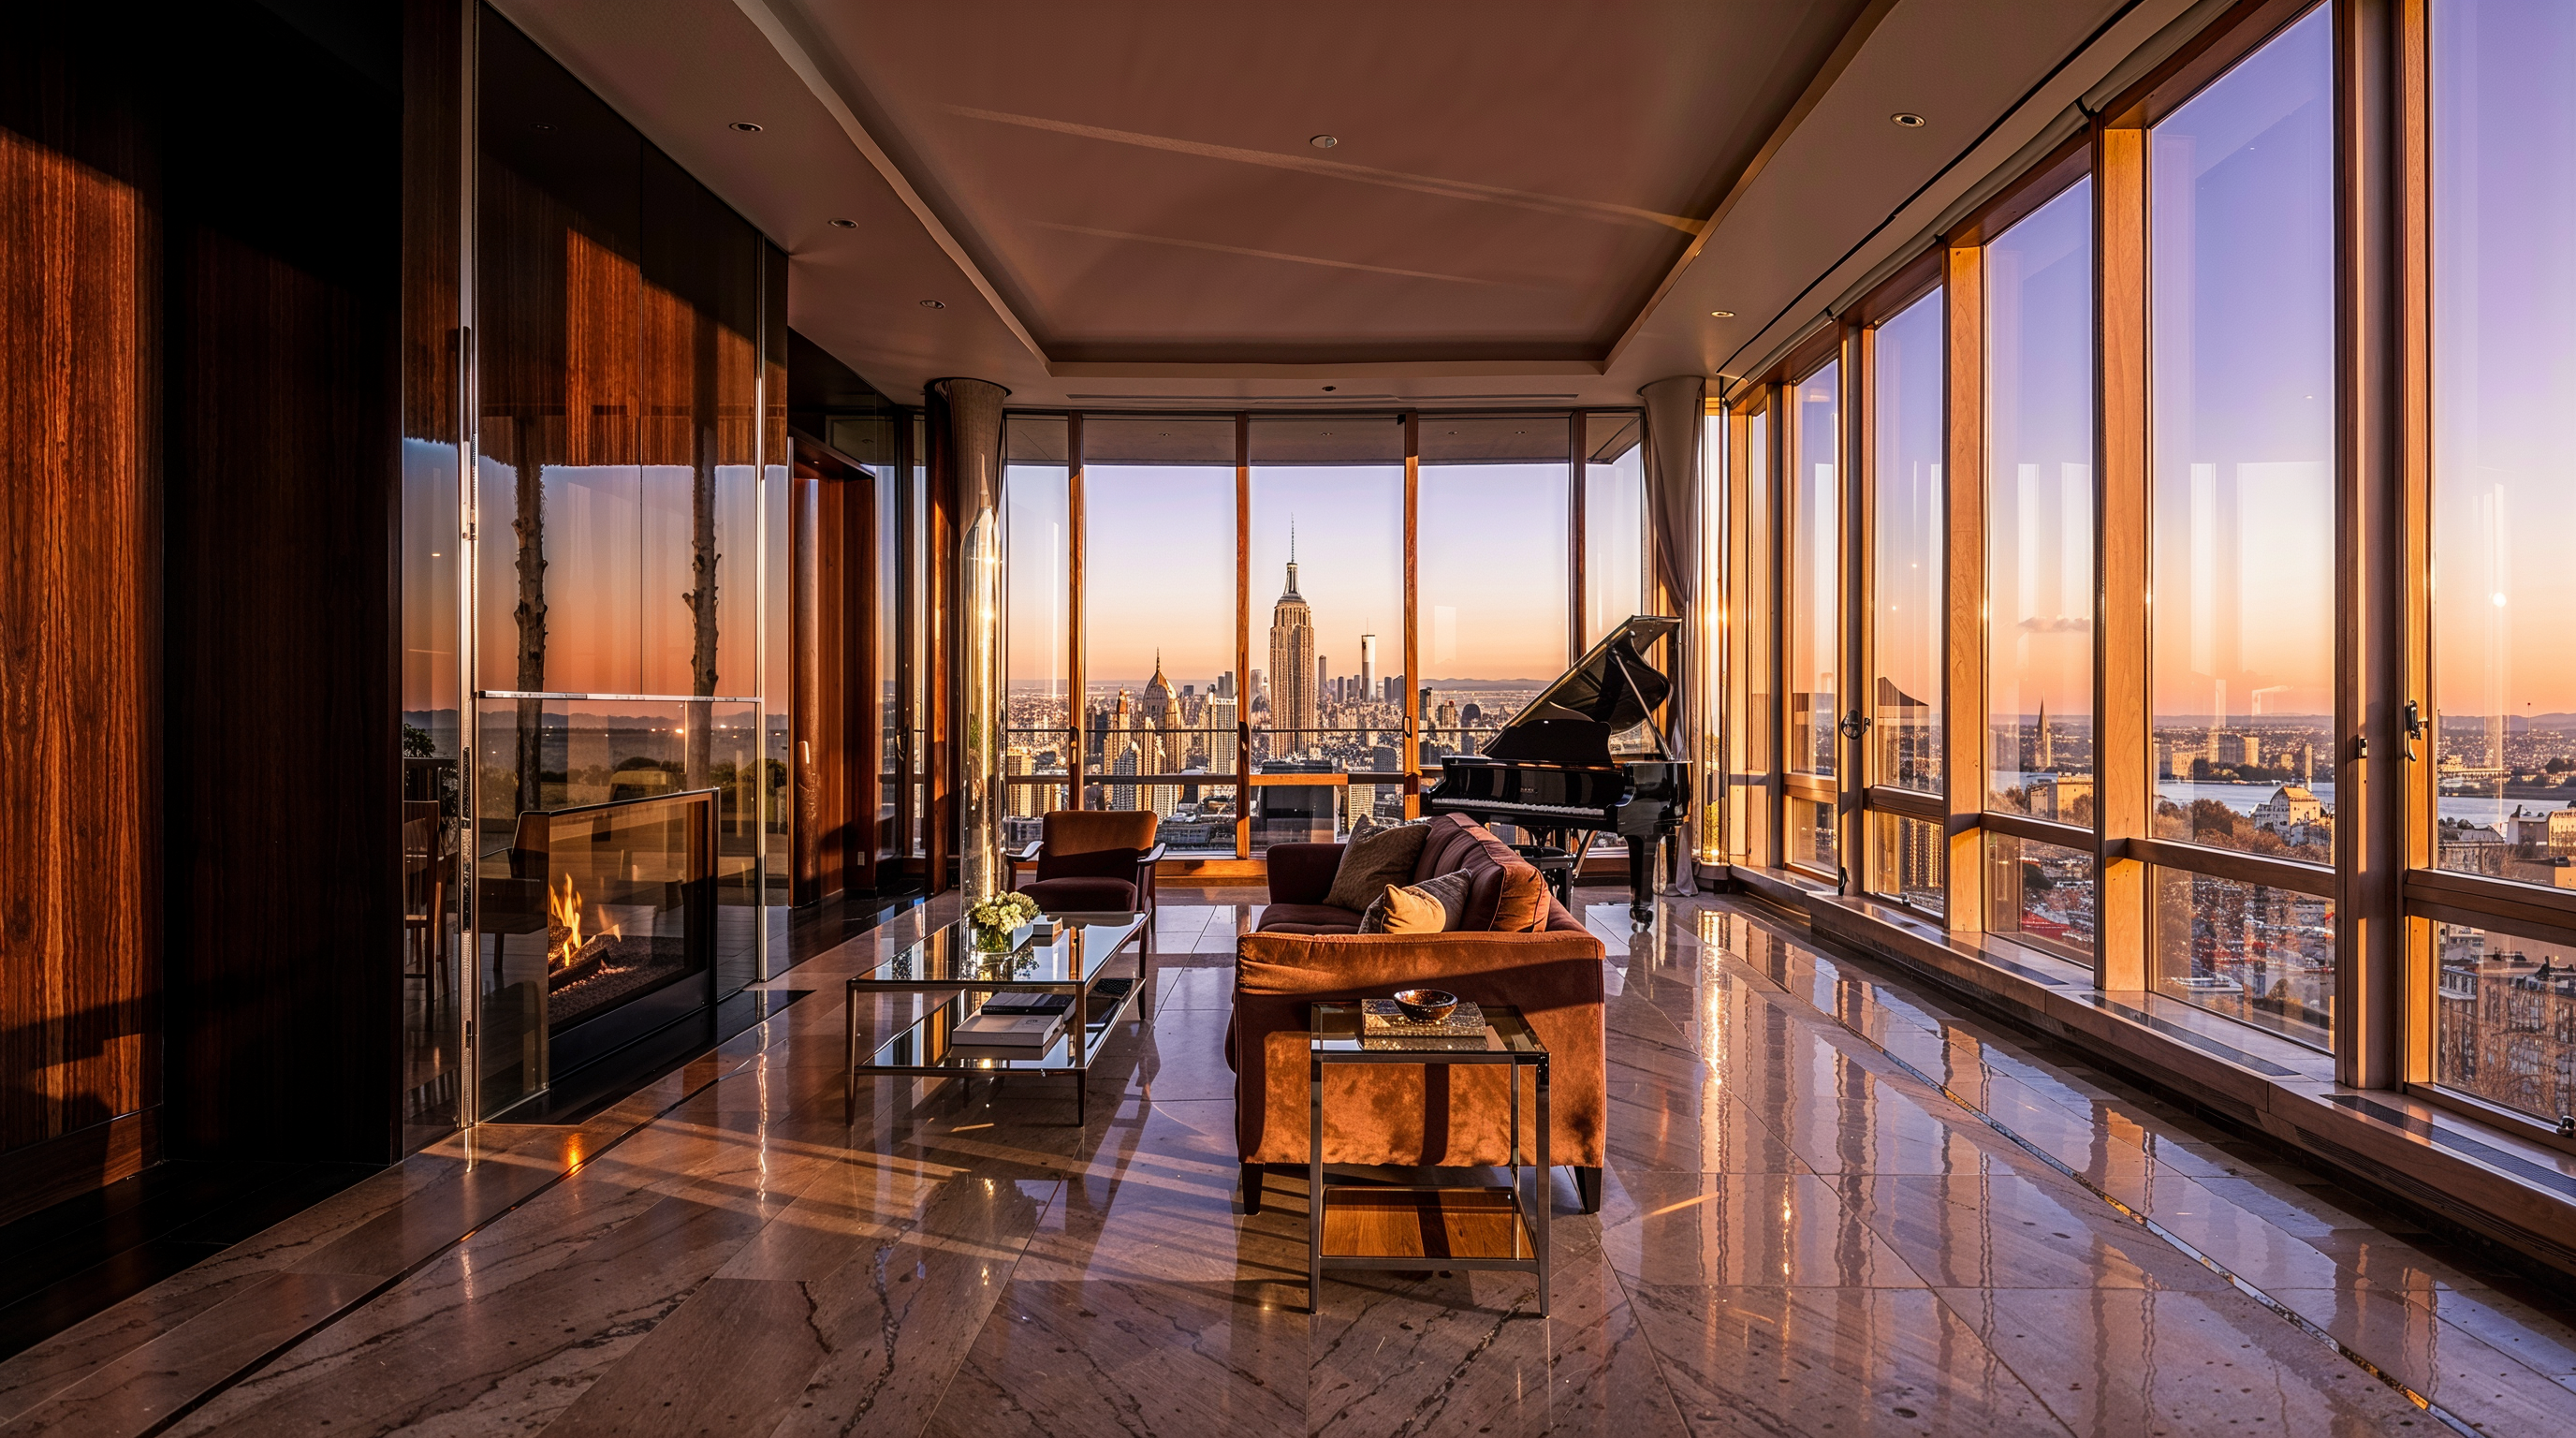
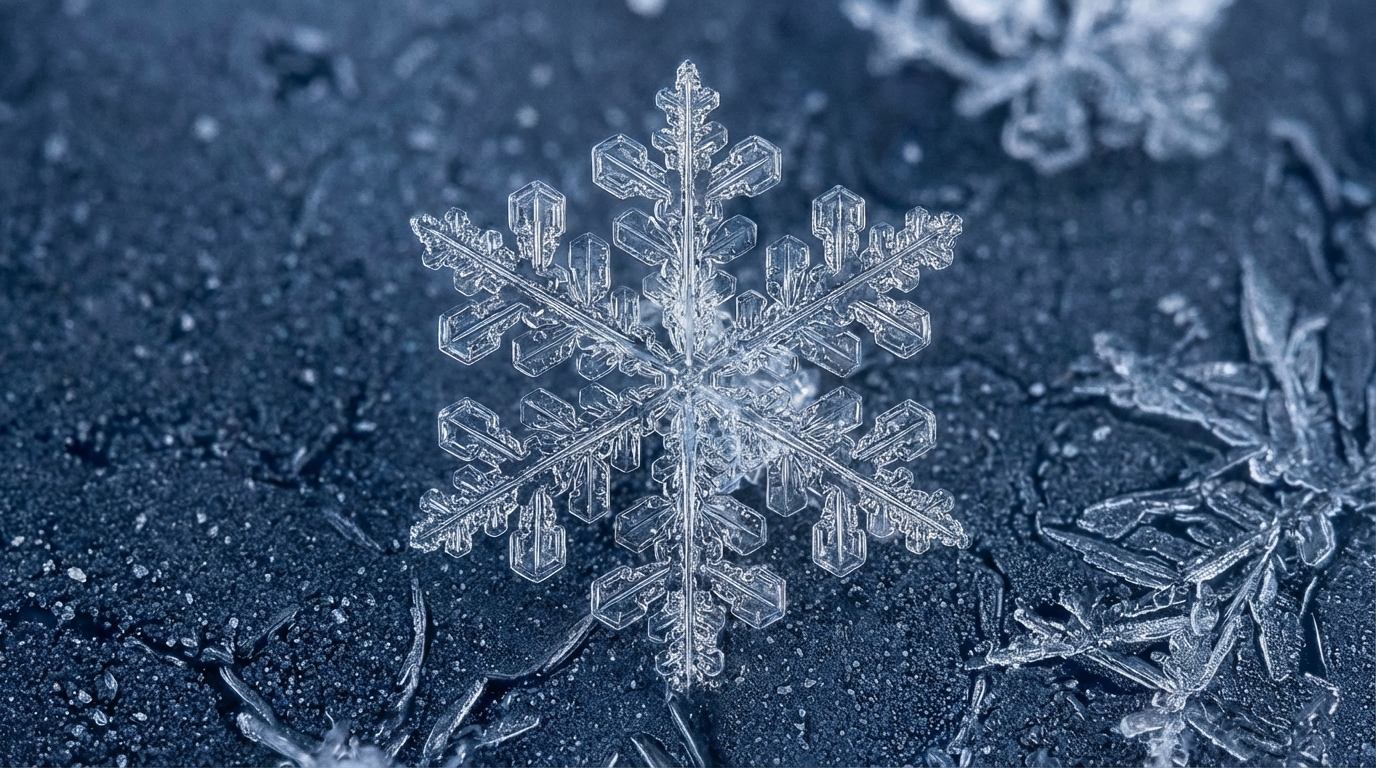
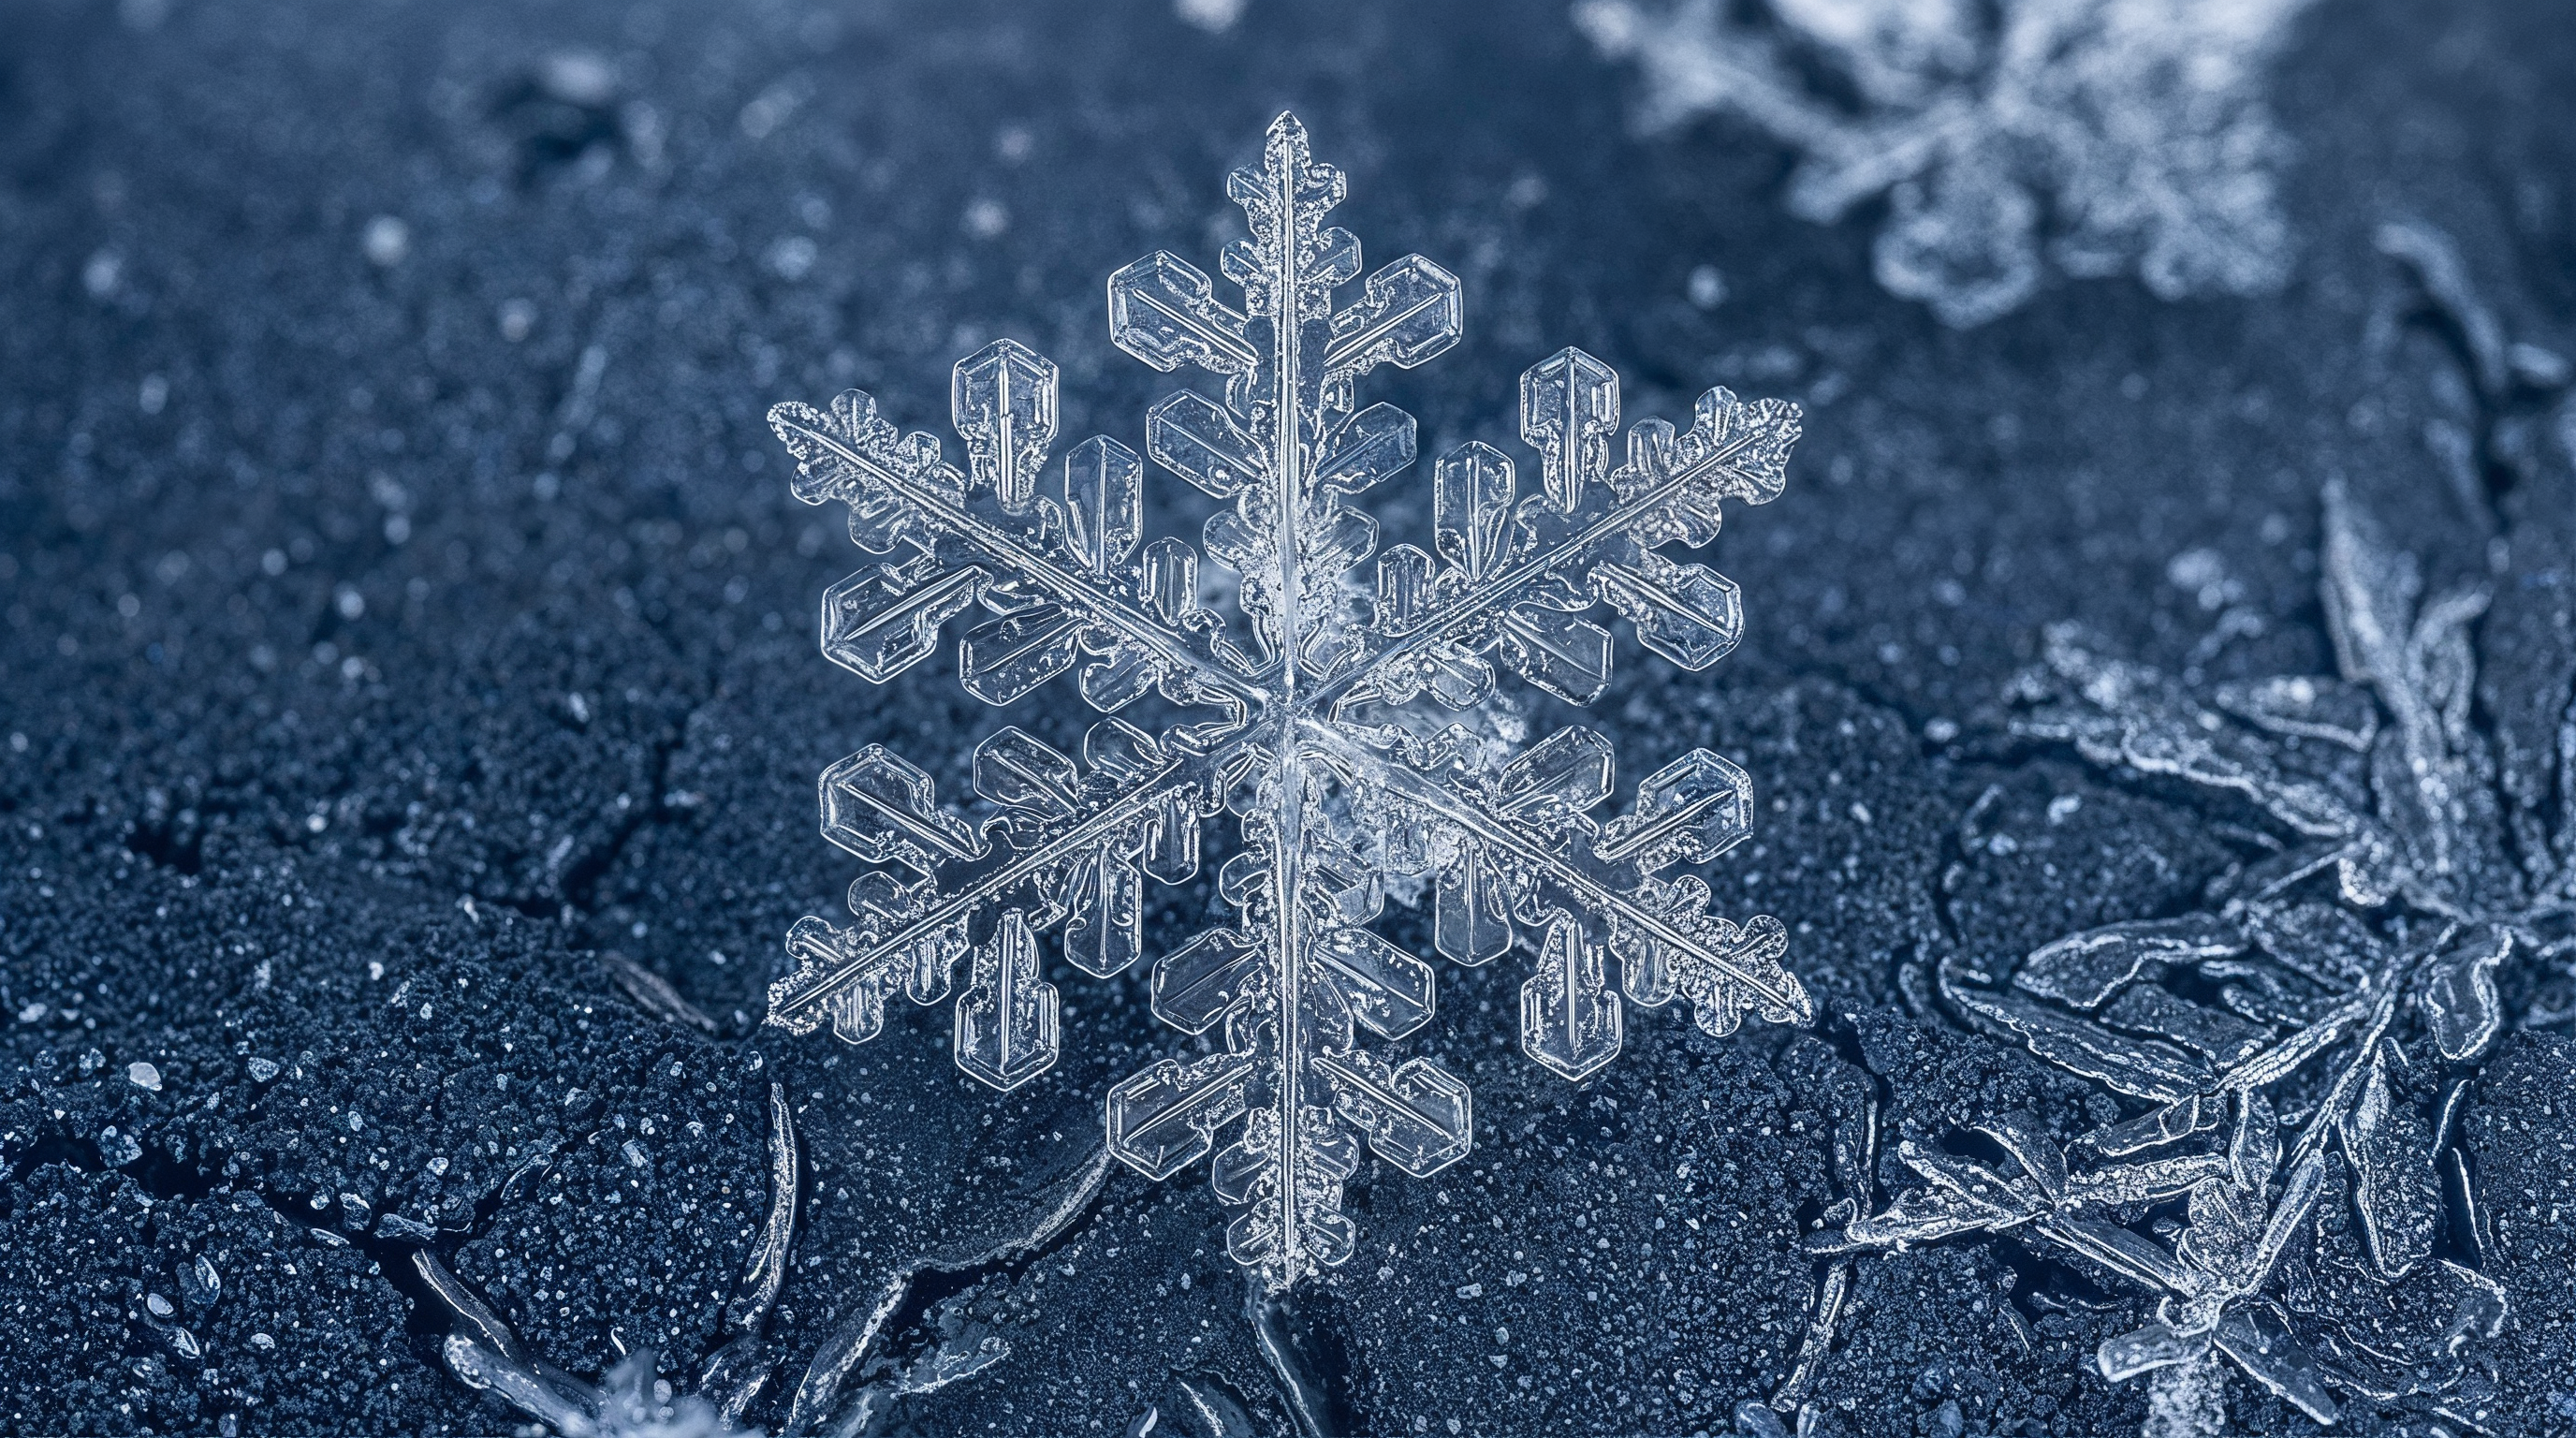
Original:
Automatic - the AI automatically selects the optimal processing mode based on the uploaded image.

Magnific Illusio - suitable for working with illustrations. Preserves artistic style while carefully refining details.
Magnific Sharpy - enhances sharpness and improves fine detail rendering.
Magnific Sparkle - improves lighting and makes the image more expressive.
Prompt
This parameter is used for additional control over the result. With a prompt, you can specify which details should be enhanced, modified, or added during the upscaling process.
❣️Using a prompt is not required.
We recommend using the following prompt structure:
-
Object of change
Specify what exactly should be changed or improved (face, skin, clothing, background, lighting, etc.) -
Type of change
Describe what kind of changes should be applied (enhance details, smooth, adjust lighting, etc.) -
Style or visual effect
Define the overall style direction (realistic, cinematic, fantasy, soft lighting, etc.)
Example:
“Enhance details, add realistic textures, increase sharpness, refine lighting, add depth and clarity, ultra realistic, highly detailed.”
Original:
Result:
Creativity
This parameter determines how strongly the AI will modify and interpret the image.
At lower values, the result stays closer to the original with minimal changes. As creativity increases, the AI begins to add new details, alter textures, and introduce more unconventional visual elements.
Higher values are suitable for achieving a more expressive and unique result.
You can set the creativity level from -10 to 10.
Example:
Original:
Creativity 0:
Creativity -10:
Creativity 10:
HDR
This parameter affects the overall brightness and color intensity of the image.
At lower values, the image appears more contrasty, with brighter highlights and deeper shadows. Higher values produce richer and more saturated colors.
You can set the HDR level from -10 to 10.
Example:
Original:

HDR 0:

HDR -10:
HDR 10:
Resemblance
This parameter determines how closely the final image matches the original.
At lower values, the AI modifies the image more significantly - adding new details, changing textures, and altering the overall appearance. As the resemblance increases, the result stays closer to the original with minimal changes.
You can set the resemblance level from -10 to 10.
Example:
Original:

Similarity 0:

Similarity -10:
Similarity 10:
Fractality
This parameter controls the level of fine detail and texture complexity in the image.
At lower values, the image appears smoother and simpler, with fewer small details. As the value increases, the AI adds more detail, enhances texture complexity, and makes the image visually richer.
You can set the fractality level from -10 to 10.
Example:
Original:
Fractality 0:
Fractality -10:
Fractality 10:
Precision v1 Mode
When using Precision v1 mode, the image is upscaled by a fixed factor of 2x.
Additional settings for sharpness, grain, and level of detail are available, allowing for more precise control over the final result.
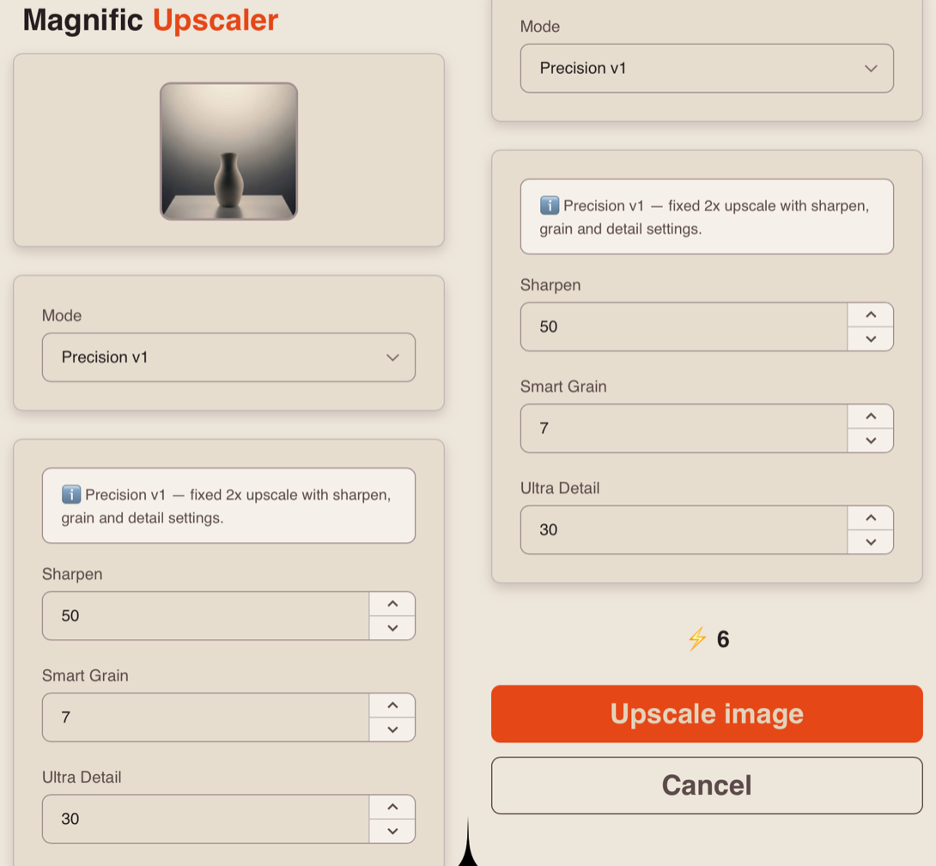
Sharpen
This parameter controls the clarity of the image and the definition of edges.
At lower values, the image appears softer and more smoothed. As the value increases, the AI enhances object edges, making details sharper and more defined.
You can set the sharpness level from 0 to 100.
Example:
Original:
Sharpness 0:

Sharpness 50:
Sharpness 100:

Smart Grain
This parameter controls the level of texture noise in the image.
At lower values, the image appears smoother and cleaner. As the value increases, a subtle grain is introduced, adding texture and making the image feel more natural.
Higher values can be used for artistic effects or to simulate a film-like look.
You can set the grain level from 0 to 100.
Example:
Original:
Grain 0:

Grain 50:

Grain 100:

Ultra Detail
This parameter controls the level of fine detail in the image.
At lower values, the level of detail remains more basic. As the value increases, the AI adds more small elements, enhances textures, and makes the image more refined.
You can set the ultra detail level from 0 to 100.
Example:
Original:

Ultra Detail 0:

Ultra Detail 50:

Ultra Detail 100:
Precision v2 Mode
When using Precision v2 mode, you can upscale images from 2x to 16x.
Additionally, you can choose a processing style and use advanced settings for more flexible control over the final result.
❣️ Please note: upscaling up to 16x is only available with the Sublime (art) processing style and only for images with a small original resolution.
If the uploaded image is too large, the system will automatically limit the maximum upscaling factor.
For example, for square images, 16x scaling is typically available only for sizes up to around 600 × 600 px. For larger images, the maximum upscaling may be limited to 8x or lower.
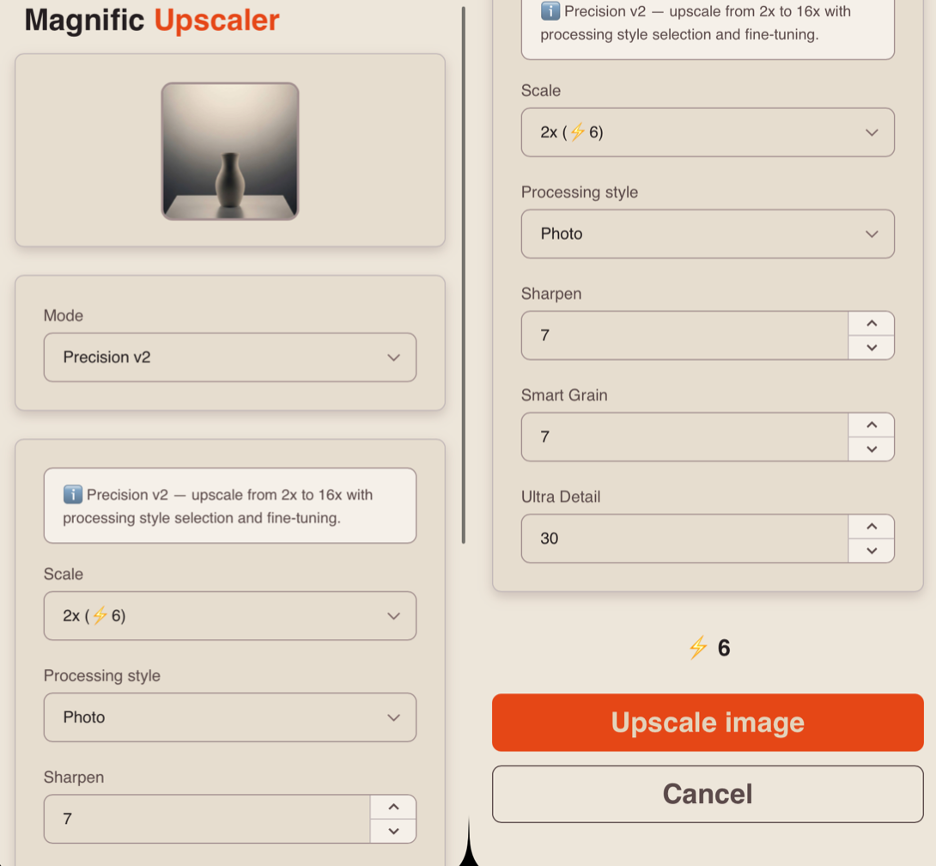
Scale
In this mode, a fixed 2x upscaling is applied.
❣️ However, when selecting the Sublime (art) style, you can choose a scale from 2x to 16x.
Processing Style
These parameters define how the image is processed and influence the final visual result.
Original image:

Sublime (art) - transforms the image into a more artistic style by adding stylization elements and modifying textures.

Photo - preserves the realistic look of the image. Processing is more subtle, with minimal changes to structure and details.

Photo Denoiser - reduces noise and grain in the image, making it cleaner and smoother.
Sharpen
This parameter controls the clarity of the image and the definition of edges.
At lower values, the image appears softer and more smoothed. As the value increases, the AI enhances object edges, making details sharper and more defined.
You can set the sharpness level from 0 to 100.
Example:
Original:
Sharpness 0:

Sharpness 50:
Sharpness 100:

Smart Grain
This parameter controls the level of texture noise in the image.
At lower values, the image appears smoother and cleaner. As the value increases, a subtle grain is introduced, adding texture and making the image feel more natural.
Higher values can be used for artistic effects or to simulate a film-like look.
You can set the grain level from 0 to 100.
Example:
Original:
Grain 0:
Grain 50:
Grain 100:

Ultra Detail
This parameter controls the level of fine detail in the image.
At lower values, the level of detail remains more basic. As the value increases, the AI adds more small elements, enhances textures, and makes the image more refined.
You can set the ultra detail level from 0 to 100.
Example:
Original:
Ultra Detail 0:
Ultra Detail 50:
Ultra Detail 100:
Generation and Result
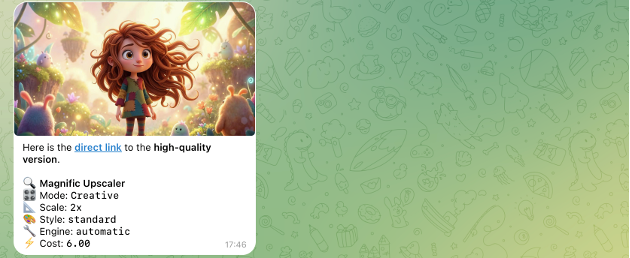
After selecting all parameters, click the “Upscale image” button.
The request will be sent for processing, and once the generation is complete, the final result will appear in your chat with the bot.
Additional recommendations
-
Choose the upscaling factor based on your task
The highest value does not always give the best result. For most cases, 2x-4x provides the optimal balance between quality and detail. Using 8x or higher is recommended only for images with low original resolution. -
Consider the original image size
The larger the original image, the lower the available upscaling factor may be. If 16x scaling is not available in Precision v2 with the Sublime (art) style, try using an image with a smaller resolution. -
Select the processing mode based on your goal
For fast and predictable results without additional setup, Precision modes are recommended.
If you need more control, want to experiment with settings, or aim for a more creative result, use Creative mode. -
Use default settings as a starting point
In Precision modes, optimal parameters are already set by default. These modes are designed to deliver high-quality results with minimal manual adjustments, so it is recommended to start without changing settings and only fine-tune them if needed.
We hope this guide helps you better understand and easily use the Magnific Upscaler tool and use it effectively in your work. We aimed to make the process as clear and simple as possible.
Don’t be afraid to experiment with the settings - this is how you can achieve the most interesting and high-quality results. Over time, you will better understand how the tool behaves and consistently achieve the desired effect! 💛
SYNTX AI: Syntx AI
SYNTX Support: Syntx Support
YouTube channel “SYNTX”: Syntx YouTube
SYNTX.AI Academy: SYNTX Academy